Some of our recent posts show changes we have made to our dining room. I have hated our dining table for the past year or so, but Ben loves our table. It’s solid oak and the price was great. The problem? The table measures in at a whopping 4 foot diameter. The pedestal base makes it impossible to push the large chairs within 6 inches of the table. Our small (9 foot wide by 10.5 foot long) dining room is even smaller.
After discussing a new table with Ben and looking around town, the search died; we couldn’t agree on a table. We discussed building a wooden table and painting it white. But how to make it sturdy enough? Back to the drawing board. Then, Ben had a great idea. Why not build the table out of steel? It’s cheap, durable and rigid.
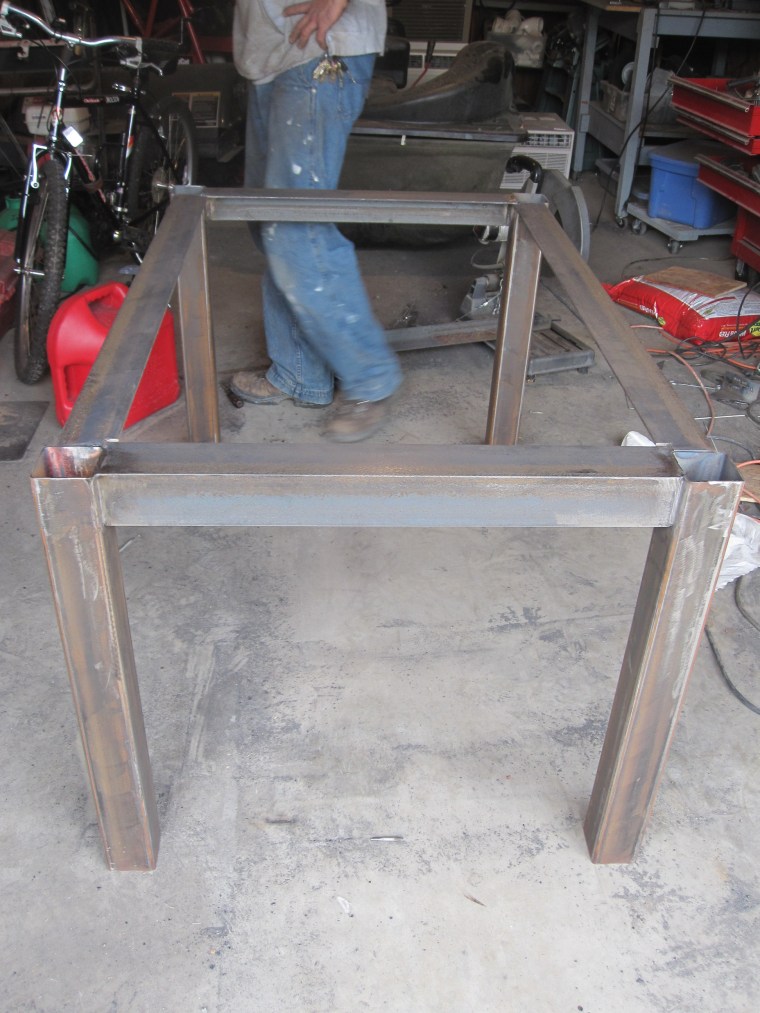
Ben went to the local steel supply warehouse to see what he could find. He found three-inch square steel tubing for the legs and three-inch ‘L’ pieces for the rails. Score! The supply yard cut the pieces to length, too. Ben left $58.00 poorer and 100 pounds heavier, ready to start welding.
We decided on four outer legs connected by a 1/2 inch inset apron with a cross support. Pass about 4 hours and we had this:
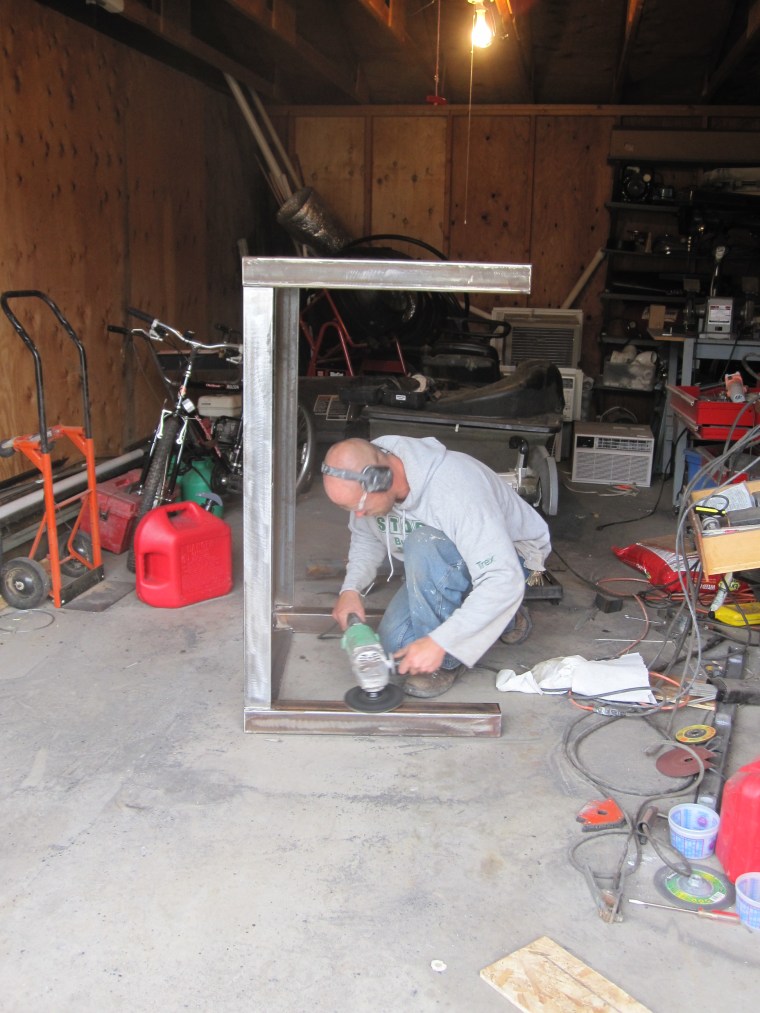
Here’s Ben touching up some areas:
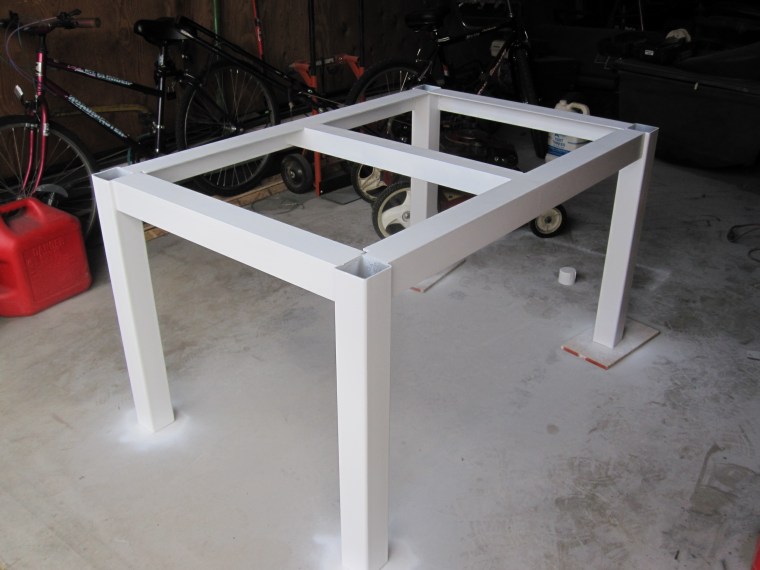
Ben is so amazing, he even added feet!
Add some spray primer and three coats of gloss white Rustoleum spray paint and we had this:
And this:
Because we plan to sell our entire dining set, we began searching for new dining chairs. The plan is to have 4 matching chairs at the table at all times, with these stacking chairs available for larger groups-we already have two.
I loved World Market’s Loft Chairs (see below), but at $100.00 each, they are a little out of our current price range.
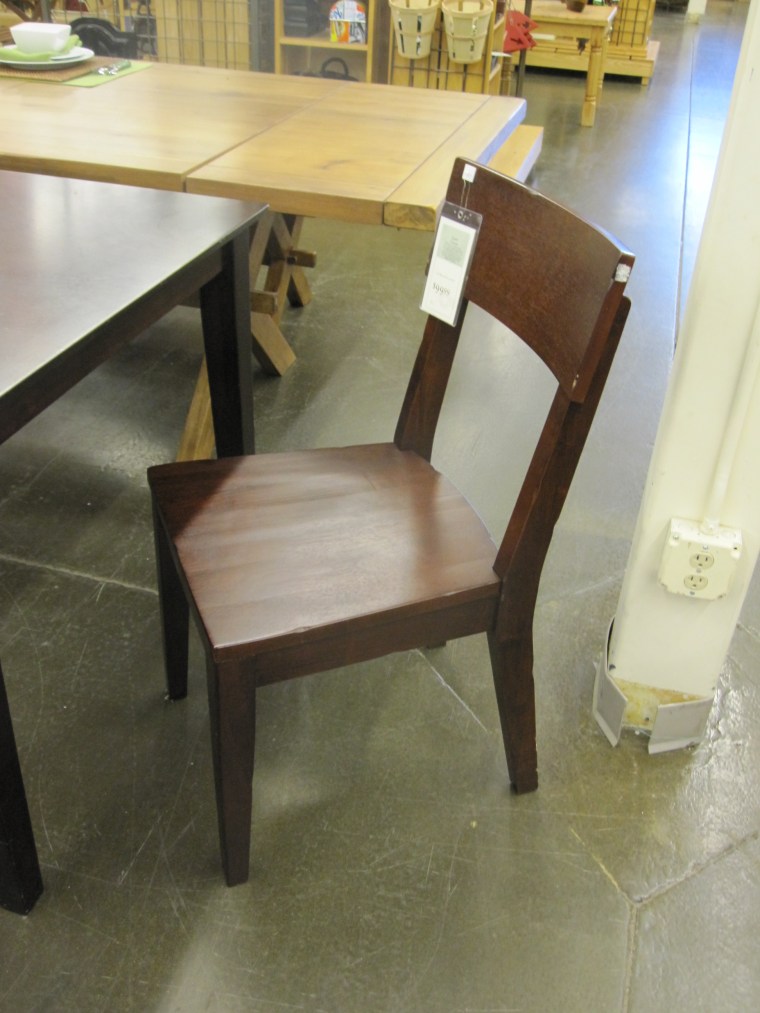
After some online searching, Ben found these:
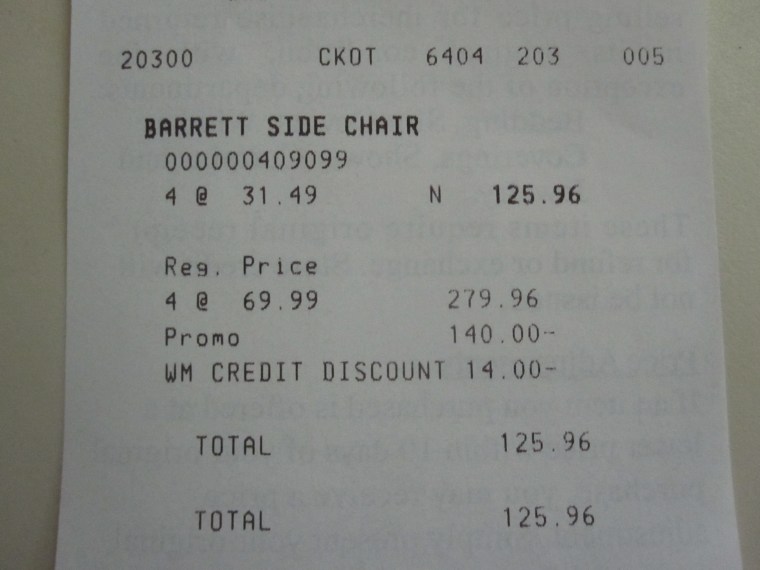
They aren’t quite as good-looking as the Loft chairs, but the price was definitely right and they are nice, solid chairs. The chairs are discounted because they are discontinued. We were sold-we bought four. World Market offers 10% off your entire purchase if you open a World Market credit card, so we got an additional $14.00 off! Here’s our receipt. I love when stores show the amount you’ve saved. I really love when the amount saved is more than the amount spent. Check it out:
Yep, we spent $125.96 and saved $154.00!! Amazing!
We went to our local granite and marble yard. We found a dark greenish-black marble with white swirls. It’s b.e.a.utiful and it’s a remnant! Ben helped cut the slab at the granite supply- it was too heavy and large to cut at home. 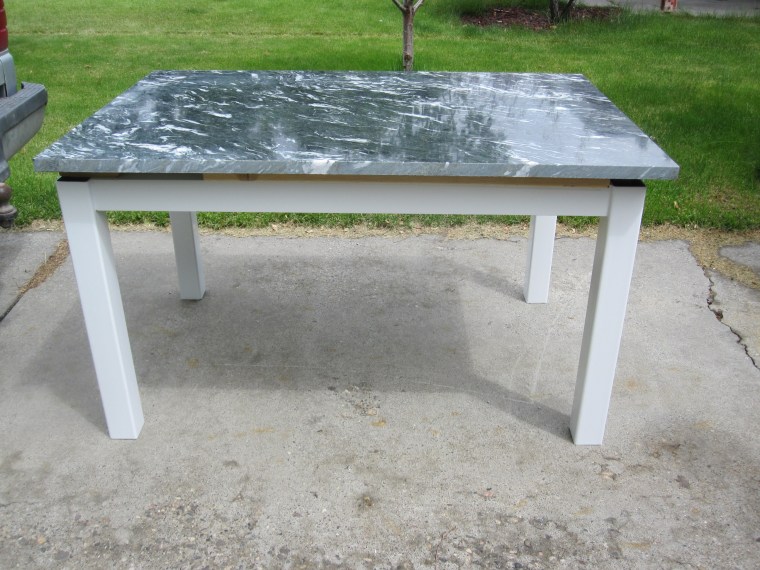
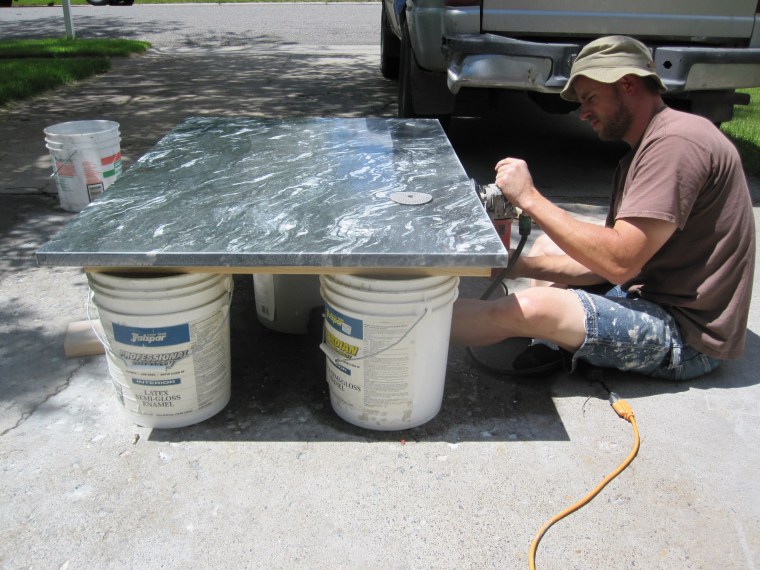
Then he hauled the 4 1/2 foot by 3 foot cut piece home and polished the edges using granite specific polishing pads on a right angle grinder. Here he is, hard at work:



Love the table. Now, Ben’s hat….not so much.
I agree with Andrea’s comments, 100%.
this is a sucha great idea!!!
Love this!! Followed you over from YHL. Great job, and way to think outside the painted-wood box! One question- how much did the granite remnant run you? Did you have to pay for the whole remnant, or only the 4.5×3′ piece you took? Did they charge you for cutting? I’d love to do something like this for our new eat-in-kitchen breakfast nook. Thanks!!
Hi Julia,
Thanks so much for your support! The marble top was $200. They did not charge us for cutting becuase Ben helped. Of course that was totally cool to him. We didn’t have to pay for the whole remnant slab becuase it was a fairly large slab, that happened to be a remnant. Your granite and marble supply may have different rules and pricing, so I would recommend stopping by and checking out their remnants and discuss pricing in person. They seem to like if you’re willing to take it asap and get it off their hands.
Thanks!
Amanda
Nope, sorry, I like the hat too. I would have never thought to do THIS, it turned out great!
Had he ever welded before? How did you attach the top to the base? How heavy is it? We have outgrown a table I covered in tile, and would love to have something like this!
Hi Tiffany,
Ben had only done minimal spot welding to fix things before. He actually did his first welds on the inside joints as practice since they would not be seen. The marble slab weighs about 300 pounds (the base is about 100), so we didn’t need to attach it to the base-it’s not going anywhere.
Thanks!
Amanda
WOWZA! Your table is awesome! All I can say is I am awestruck. This is so creative and looks wonderful. Now if only my hubs could weld…
Just visiting from YHL. I had to tell you what an awesome job you guys did!!! The dining room looks BEAUTIFUL!
Wow love your table! I’m in the process of welding a coffee table and would love to know what kind of spray primer you used? Did it help keep it from rusting? And just out of curiosity how did you cut the notches for the table apron? Thanks!
Hello Rachelle,
Thanks so much!! We LOVE it, too! We used regular spray paint primer. We actually sanded off most of the rust, then primed and painted and it definitely doesn’t show any rust. Though, it would be easy enough to haul the table outside and repaint it down the road. Ben used a right angle grinder to cut the notches. I don’t really have specifics on how he did it. We did use L shaped steel for the apron, so the apron is inset from the legs, but welded flush. Does that make sense?
Have fun welding your table! I would love to see pics!
Thanks!
Amanda
First off, that table looks awesome! As a matter of fact I am going to attempt to duplicate your success and make my own table for my dinning room. Which leads me to my question, what are the dimensions for the table top and for the metal base? I am trying to decide how much overhand is appropriate. It seems to just be an inch or two so any dimensions you had would be very helpful. Thanks!
Hi Dusty!
Thank you so much! Here’s a little more info on our table. The top is 3 feet by 5 feet with a 1 1/2 overhang at the corners. The horizontal rails are 1/2 inch inset from the legs, so there’s a 2 inch overhang in the middles. 🙂
Hope that helps, but I’m always here to answer questions! Also, I’d love to see pictures when you’re done.
Thanks!
Amanda
I love this so much! How’s the paint holding up?
We have a piece of granite waiting for us to build this!
Hey Lauren!
The paint has done pretty well considering the crashes it has endured. But, it’s not perfect. There are a few areas that have chipped. Realistically, it wouldn’t take long to lightly sand those areas and give it a few fresh coats of paint. I’ve just been too lazy to haul the heavy top off to make that happen. The rest is still as sturdy and great as ever. I hope that answers your questions, but I’m happy to chat. 🙂
Thanks!
Amanda
Hey Amanda,
One more question, and thank you for being so willing to share about your project from a while ago :), what thickness of steel did you get? And I guess what kind of steel, stainless or not?
Thanks so much!
Hi Lauren!
Absolutely! Always happy to help and answer questions. 🙂 This steel is just under 1/4 inch. It’s just normal steel that we painted over. Nothing crazy or special about it.
Thanks!
Amanda
plz send table measurements