
In the last pool house update, I shared all of the details on the guts inside our walls: insulation, electrical, and a little bit of plumbing.

With all of that important, but generally unseen business taken care of, we are able to start hanging our vapor barrier and sheeting.
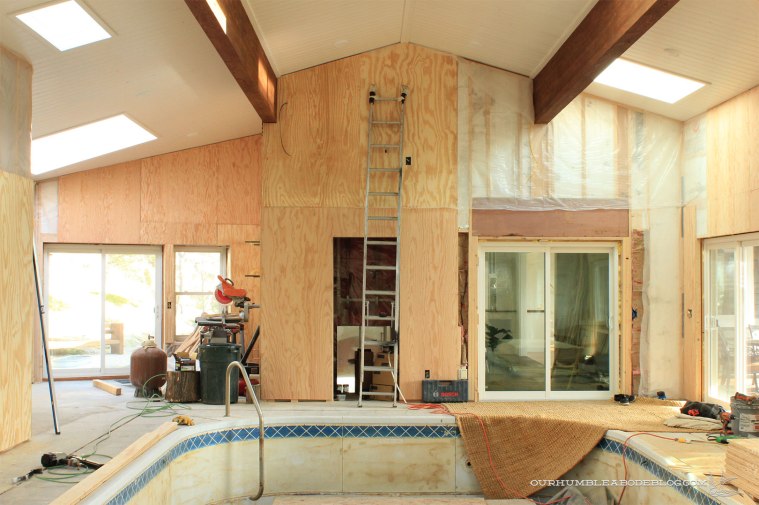
To create the board and batten look, we’re using exterior grade A/C (one side is good A grade, the other a lesser quality, C) plywood as our base. After, thin (1 1/2 to 2 inches wide) strips will cover the seams and nails.

Before installing, Ben meticulously measures all obstructions, then transfers the measurements to the sheet before cutting the sheet to fit. Once cut, I hold the cut sheet in place, about an inch off the floor to prevent the plywood from wicking up water that will be on the floor. A quick nail into a visible stud helps hold the board in place while we mark the stud placement across the panel. Obviously, nailing into the stud is necessary to securely hang the sheet on the wall. But it also ensures the nails will be hidden beneath our spaced batten strips. Marking is made quick with an eight foot level and pencil.

More nails along the pencil lines keep the panel firmly in place.

Installing the sheets isn’t difficult, just time-consuming thanks to the many necessary cuts around outlets, windows, and doors. Particularly the kitchen wall, which had as many as seven cuts around objects in a single panel. Careful measuring and marking of the sheet before hanging is crucial to keep the sheets as seamless as possible.

Knocking out the most intricate pieces first makes the rest of the sheets feel easy by comparison.

We’re continuing, working our way around. In an effort to prevent as much waste as possible, we’re cutting pieces in strips to avoid big, unusable chunks taken from the windows. The gaps below will get filled in with left over pieces cut from other areas like doors.
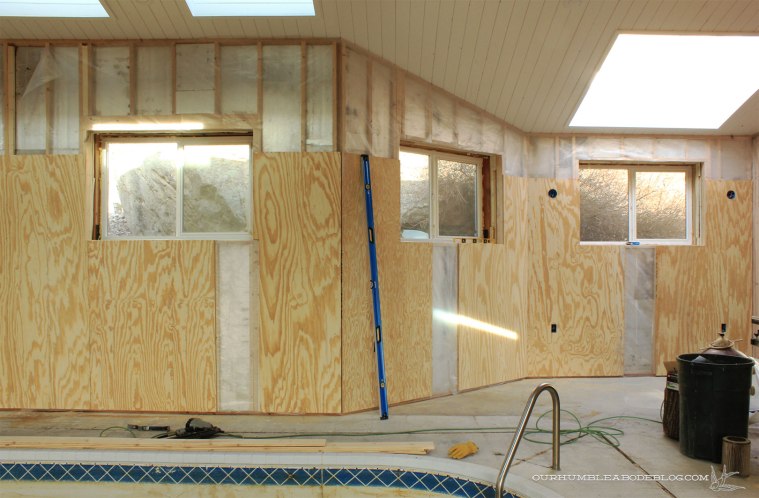
Essentially, we’re putting together a big puzzle, looking at each piece and how to best use it. It might not look like much yet, but this is similar to the drywall phase of a project. It’s the turning of the corner from “unfinished construction” toward “beautiful, finished room.” Because the batten strips will terminate into the baseboard, we’ll have to tile the floors after hanging all of the sheeting. Big, exciting things coming up!

Such a big complicated job! You folks are amazing.