
With the decision made to install the board and batten wall treatment above the eight foot mark before flooring, we set our sights on finishing the vent hood. It’s right off the main pool area, and near the house kitchen, but we wanted a range for entertaining and summer cooking/baking. When we found a 48 inch range for a steal on Craigslist, we snapped it up for this space.
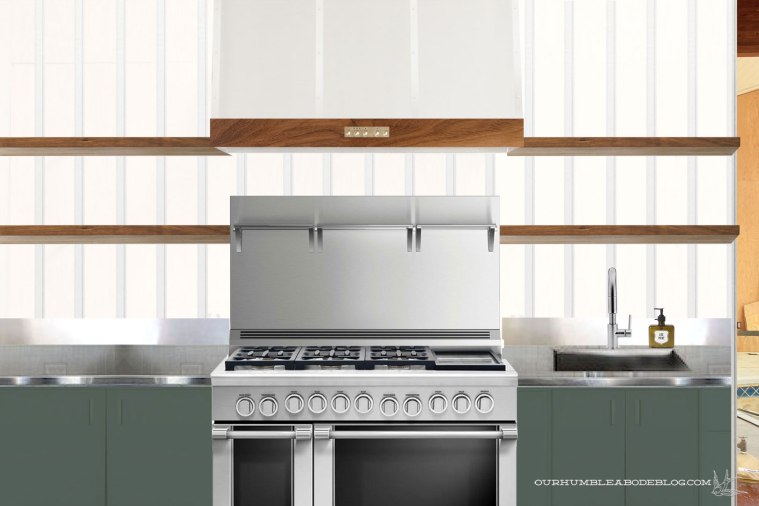
As a refresher, here’s the plan:
Before we can attach the batten strips, we have to address everything at or above the horizontal dividing band.

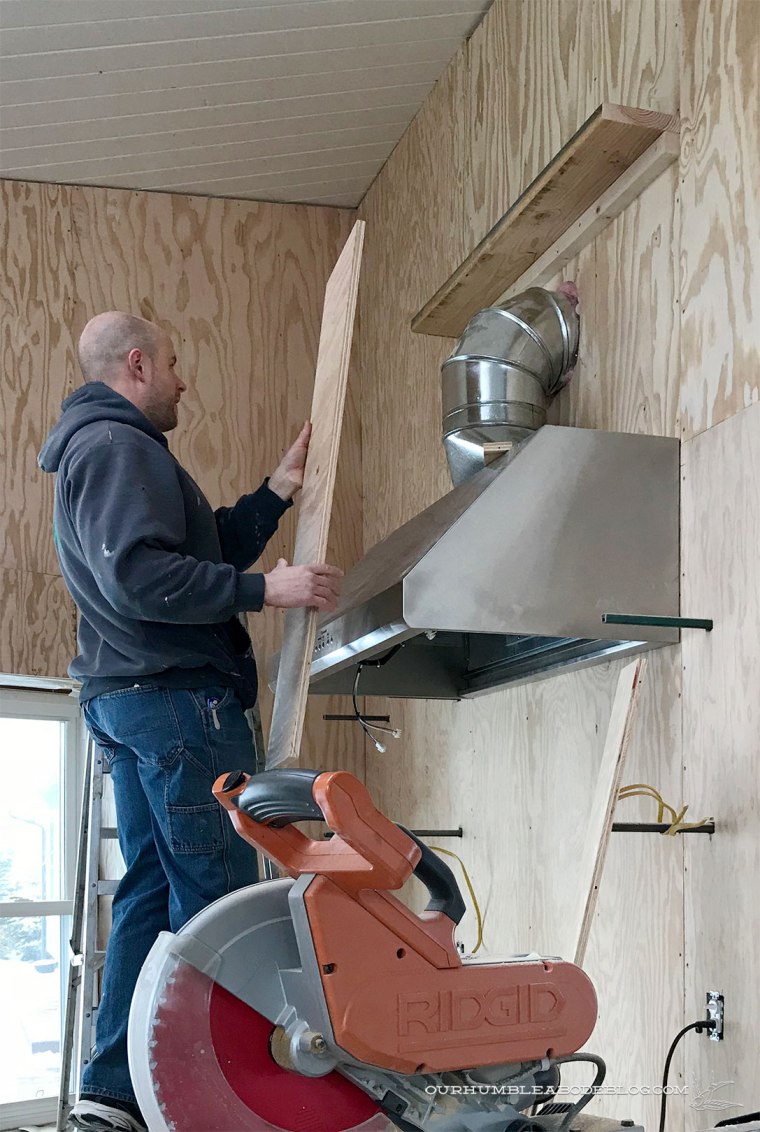
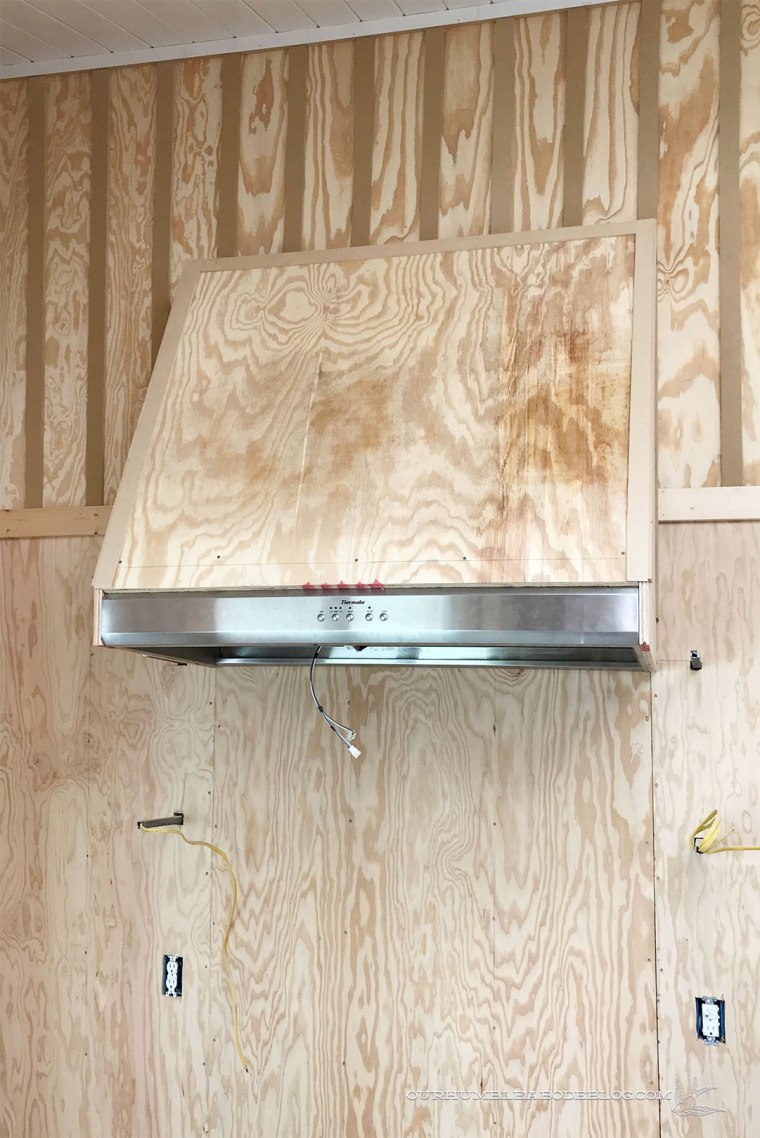
The vent hood straddles that band, which meant it was time to build the cover. To start, Ben nailed a strip of wood a few inches above the top of the duct work. A 2 by 8 board rests on top, nailed into the wooden piece, creating the top of the vent hood frame.
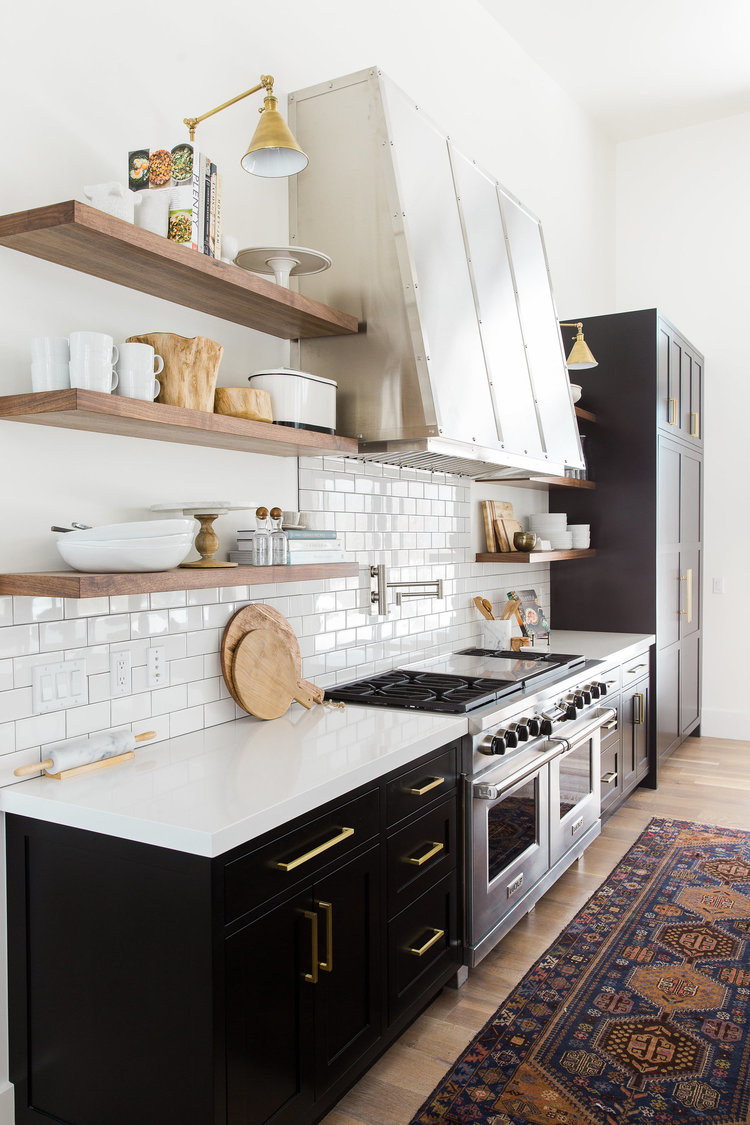
High ceilings call for a different vent hood treatment, and I personally prefer a tall vent hood that doesn’t go all the way up to the ceiling. This example from Studio McGee is pure perfection:
Holding a scrap of plywood in place, Ben was able to get an accurate measurement for the front of the cover. Before boxing it all in, he also added 2 by 4 pieces vertically between the vent hood top and the base of the wood structure.

Then wrapped it with plywood, screwing through the upper part of the vent hood stainless and into the plywood to keep the sides as streamlined as possible.
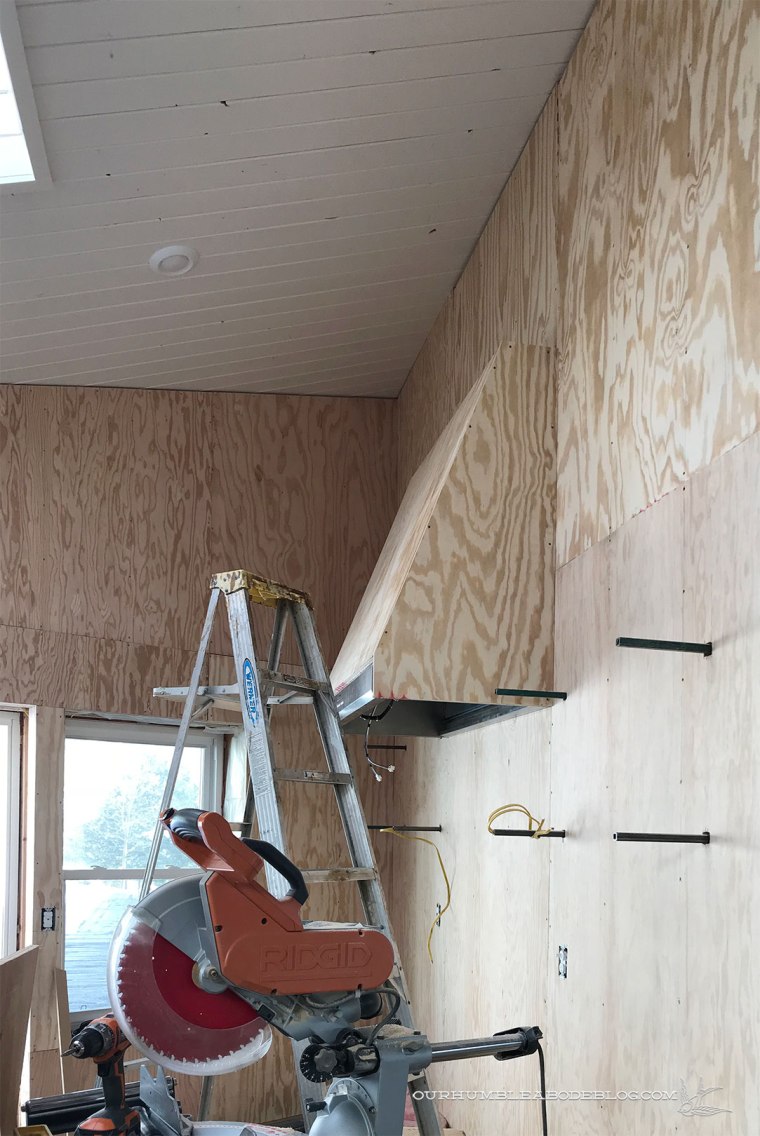
Quarter inch thick by 2 inch wide strips line the edges, covering the seams of the plywood sheeting.

A six-inch walnut band (to be installed after paint) will wrap the front and sides.
Two floating walnut shelves will flank each side of the range.

Until then, we have plenty of work to keep us busy, but we’re rounding the corner from construction crazy to cohesive cool.
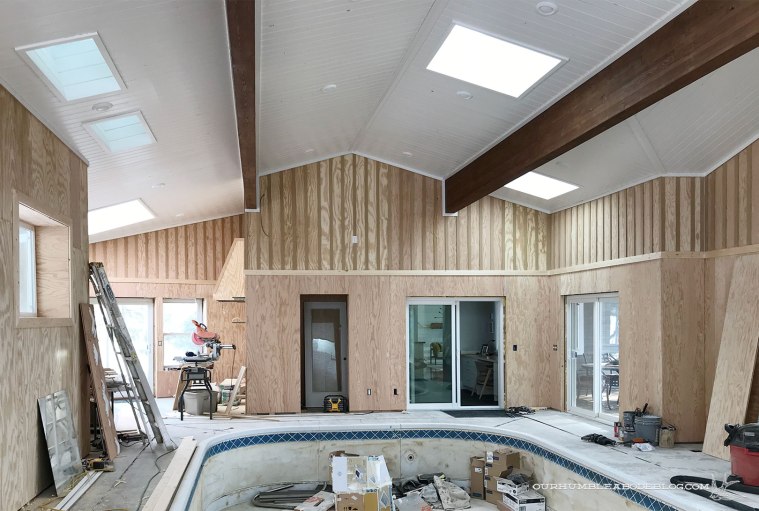
If you can ignore the mess of junk scattered throughout the room, that is.

This is looking SO good!
He makes it look so easy! The whole space is looking so much better.
The whole space is looking so much better!!
thanks for sharing this with us.