
Over the weekend, something exciting happened. If you follow us on Instagram, you may have seen that Ben and I installed our pool liner. Several weeks ago, I shared work we’d done to get ready for the pool liner, which included hanging the standard bead track.
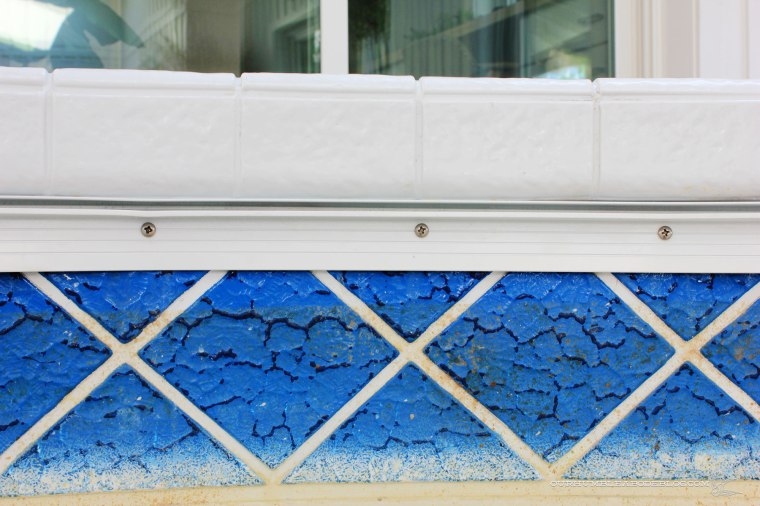
In order to prevent the screws rubbing against the future liner, Ben applied a few layers of Gorilla Tape to soften the screw heads.

With the track ready, we measured the pool. Different sites have slightly different measurements, so we measured according to the company we planned to order from and filled out the paper.

After sending that form in, they sent us a drawing detailing the dimensions we gave to them, asking us to confirm the sizes were correct.

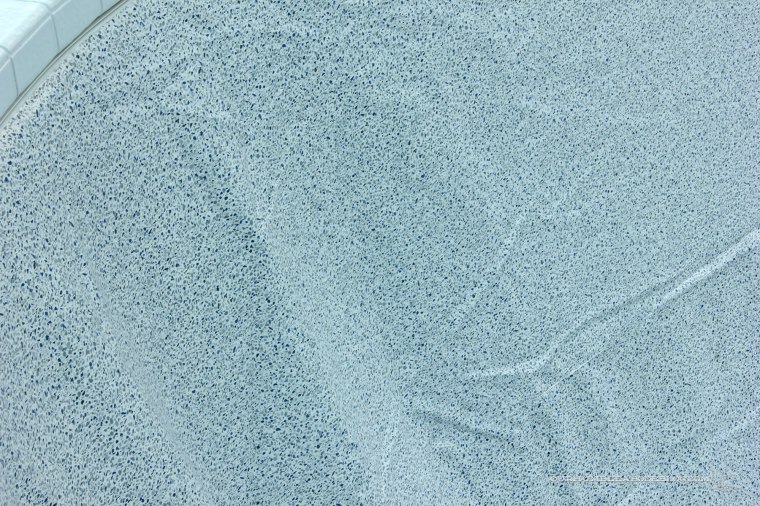
After looking over dozens of liner pattern and color options, I chose Crystal Quartz, a white, gray, and blue terrazzo pattern. In the Swim was quick and sent our liner out within a week of placing the order. A big, 140 pound box arrived with a list of instructions printed on the outside of the box. The box was to be placed at the deep end, centered on the width with the arrows facing the shallow end.

The pool liner has a thicker ‘bead’ along the top, with an angle cut back.
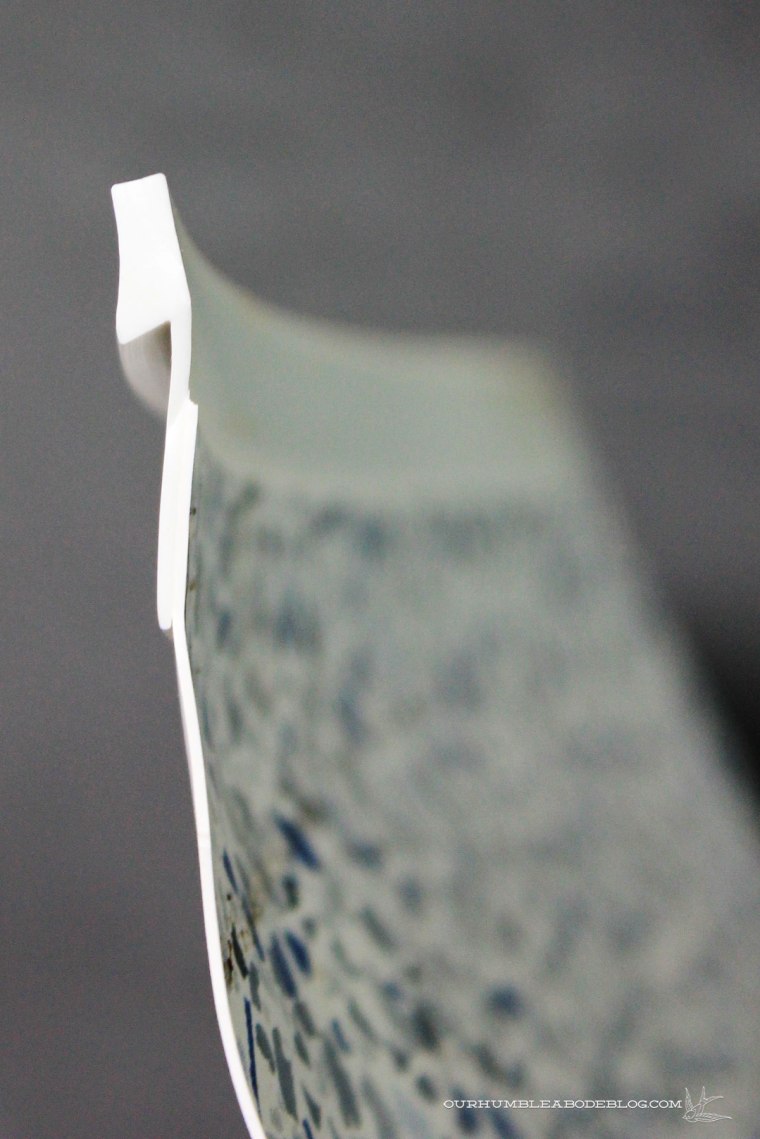
The angle of the bead grips the track, with the weight of the liner pulling it down, keeping it tucked in place.

Although the directions said it works best to have four people, Ben and I unfurled the package, bringing the marked corners toward the shallow end. Each corner had a blue Sharpie arrow on the back to indicate the corner, which we placed near the center of the radius corner.

It wasn’t perfect, one side just a little off-center, giving a bit more material to one side. With the liner still in the track, we pulled a little toward the deep end, slowly scooting it along the track. After that, the corners all lined up nicely, and Ben brought up our two shop vacs.


One hose went into the skimmer, the other tucked behind the corner of the liner. Both sealed with Gorilla Tape to keep the suction as tight as possible.

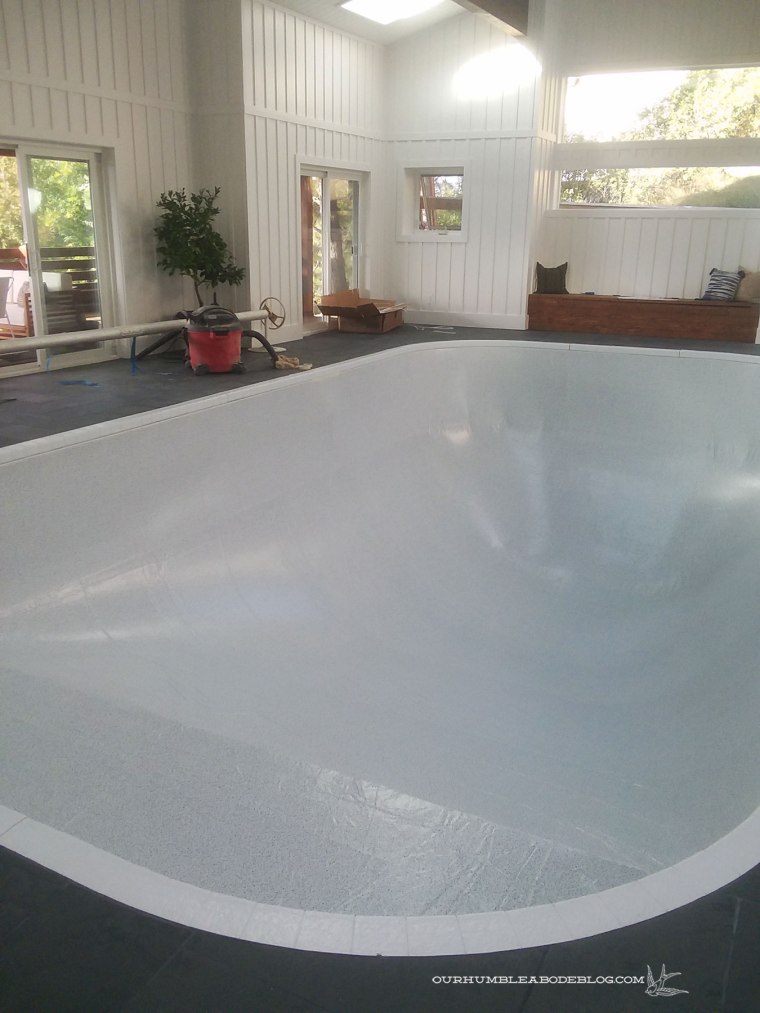
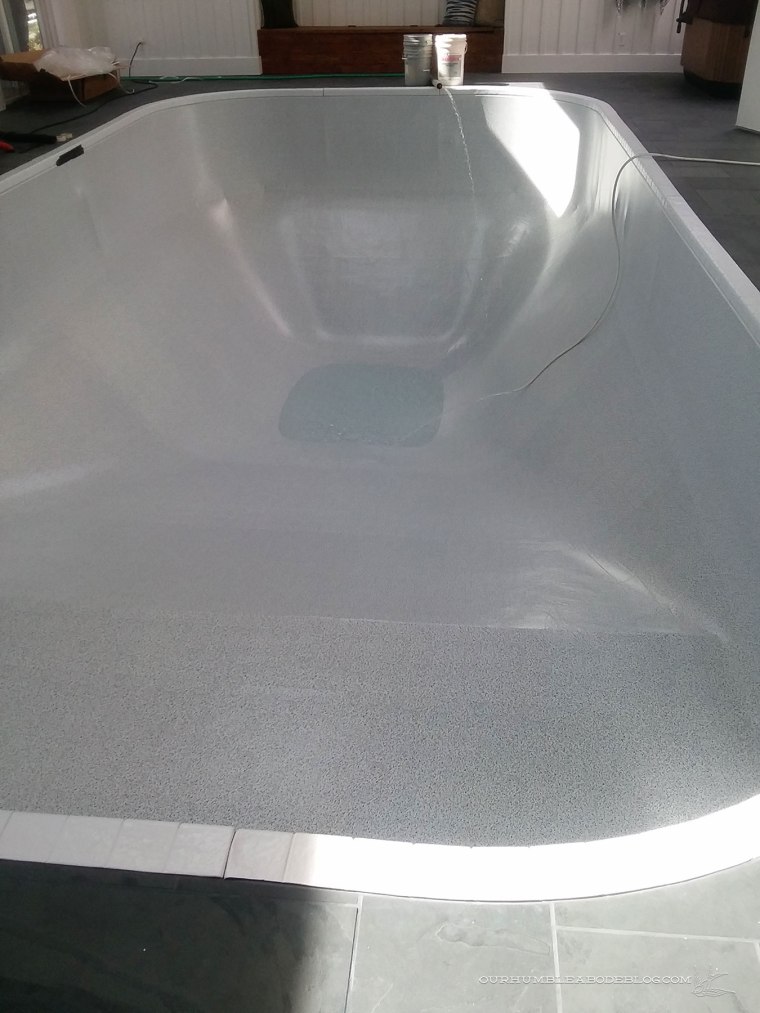
Without the vacuums on, the liner hangs loosely off the track.
Within a few minutes of turning the two vacuums on, the liner stretched and sucked into the walls and floor. But not tightly into the seams where the different planes meet.
Up until this point, everything went better than anticipated, taking about an hour total. We both hopped online in search of answers. I saw several forums that said liners stretch about 300 percent. Not wanting to risk harming the $1300 liner, we got a more powerful carpet cleaning vacuum, with three different suction levels. Unfortunately, it didn’t seem to make much of a difference.
At that point, Ben and I both worried that the liner was too small. Nothing in the instructions said the liner would be slightly small, but I thought the weight of water would stretch everything in place. After a discussion, Ben agreed we should give it a try and brought in the hoses.
As the pool fills, the vacuums have to stay on to keep the liner sucked tightly into place.
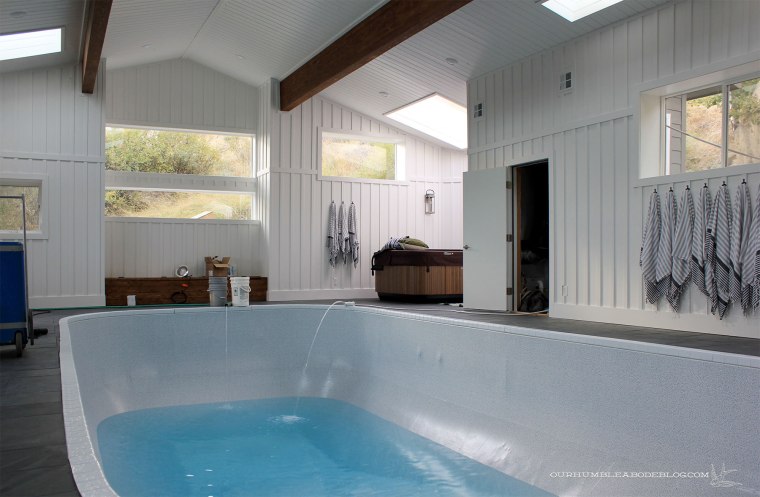
Sure enough, as the water level rose, the previously rounded corners became more defined.
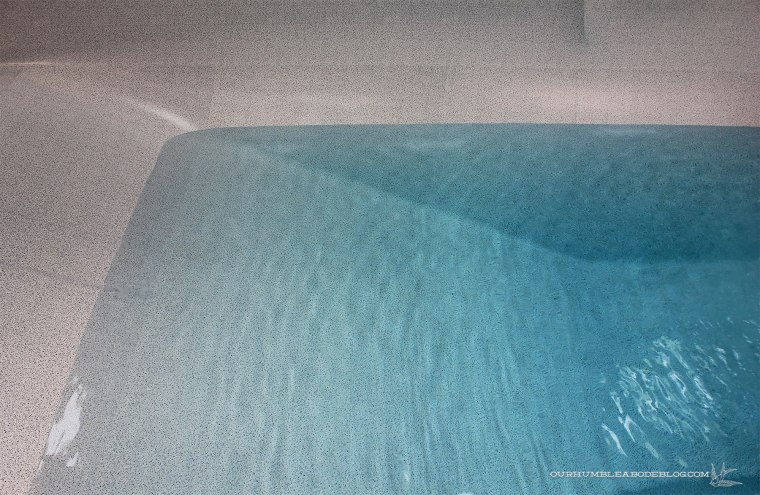
Whew, it was all okay and now a waiting game. Over on Instagram, a few people messaged me to ask why we didn’t get a water truck delivery. Mostly because we’d never installed a liner before and didn’t know how it would go/when we would be ready. Also, deliveries aren’t available on Sundays. Either way, we knew it would eventually fill up, and the hardest part was behind us. Stay tuned for the full reveal!

Ahhhhhh! This is so exciting!
This has been an amazing transformation! Can’t wait to see it all finished.
Yay!!! Super jealous, but excited for you guys to finally have this huge project coming to a close, and being able to use this space!!