
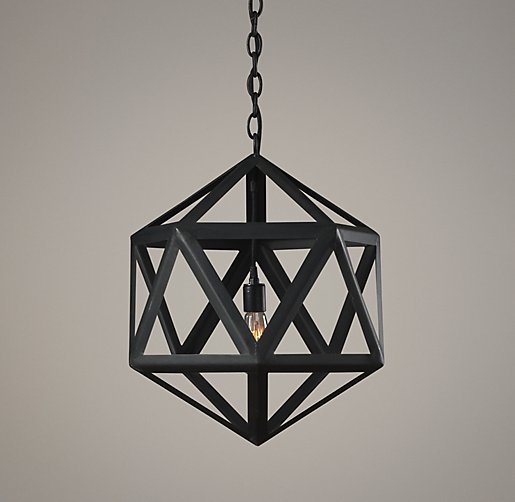
I’ve had a major crush on this pendant, dreaming of having it, or something similar in our entry since we bought this house.
While lying in bed last week, I remembered the traditional Christmas Finnish Himmeli ornaments.
Eureka! Couldn’t I merge these two together? I ran my idea past Ben, but he worried a single bulb wouldn’t light the entry adequately. Determined to give this a try, I decided to scale down the size to make a pendant for our bedroom. Goodbye old fan.

I started with my supplies, 36 one foot pieces of 1/2 inch PVC pipe (under two bucks for 10 feet!), wire, and black spray paint.

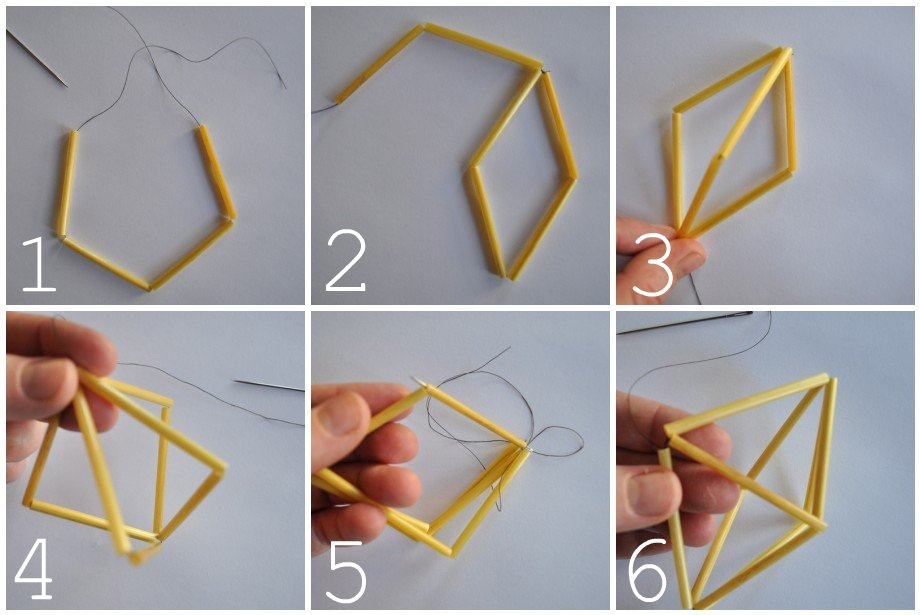
Using the wire, I threaded three pieces on and twisted the wire ends together.

Then strung through one of those pieces, adding two more on, securing the ends with a few twists.

I made a group of four, brought it in the house and realized it would hang down too far. So, I took it apart and cut the pieces down to 8 inches.

Treating each triangle individually made easier and tighter connections.

After twisting the ends several times, I cut the wire and pushed it inside the pipe.

The easiest way to think about this design is a hexagon turned to a six-sided star, like this:

To make the three-dimensional shape, connect the outer points with another piece. I’d suggest hanging it to make work easier.

String on the last six pieces, connecting all to the center point. And time for spray paint. We had beautiful weather, so I strung it up between two trees and got my spray on.

I thought I had a pendant kit, but used it in the guest bedroom. So this guy hasn’t been installed, but is finished. Off to ReStore to snag a cheapie pendant to hang this dude.

Now that it’s assembled, I wish I had made the top and bottom six pieces a little longer than the rest. The points aren’t nearly as noticeable as the Restoration Hardware version.

Not perfect, but for $16 in materials I can’t really complain.

What do you think? Are you crushing on an expensive light?

This is such a great “copy-cat” diy! I think it still looks lovely, in spite of the top and bottom not being as pointy as your inspiration pic. Nice!
Hey Marlene!
Thank you so much! I know it’s not perfect, but it’s an improvement over the fan. 😉
Thanks!
Amanda
You are so clever 🙂
Hi Caity!
Aww, thanks lady!
Thanks!
Amanda
Personally, I’m going to have to say I think it looks very ‘home made’ and I agree the top and bottom ends should have been longer. It seems to have no definition. Can you re-string it??
Hey Mintondorf!
Definitely looks home made compared to the RH one. But, at about 1/20 of the price, I think I can live with it. I might re-do the top and bottom if I don’t like how it looks hanging up, just have to see it in application. 🙂
Thanks!
Amanda
Hmm, I appreciate the effort. I will withhold final judgement until I see it hanging in its final place! 🙂
Hey Allison!
Ha, that’s totally fair. 🙂
Thanks!
Amanda
Sorry but, the fan is better.
Hi Alison!
No worries! 🙂
Thanks!
Amanda
This is great! Thanks for sharing! Definitely gives me some inspiration for our terrible fixture in the office. 🙂
http://www.gimmesomestyleblog.com
Hi Liz!
So glad you like it!
Thanks!
Amanda
This looks great! Can’t wait to see what it looks like in your bedroom. I’ve been brainstorming easy DIY light fixtures for a couple of rooms in our house and this one would be perfect =)
Hi Kristin!
Thanks, lovely! I’m still searching for a pendant to use. Hopefully I’ll find something soon and I can get it up! 🙂 Glad this gives you an idea.
Thanks!
Amanda
This rules, do you know that? 😉 How did I miss this before in blogland??
Hey Cuckoo4design!
Aww, you’re way too kind! I’m happy with a nearly dirt cheap version of a really awesome light. So glad you are, too!
Thanks!
Amanda