
Although the kitchen is slowing down, we haven’t stopped working. In fact, I’ve been painting and sanding. Sanding and painting the last several days. Even though this is mostly decorative, we’ve taken another small step toward the finish line. Notice anything new here?
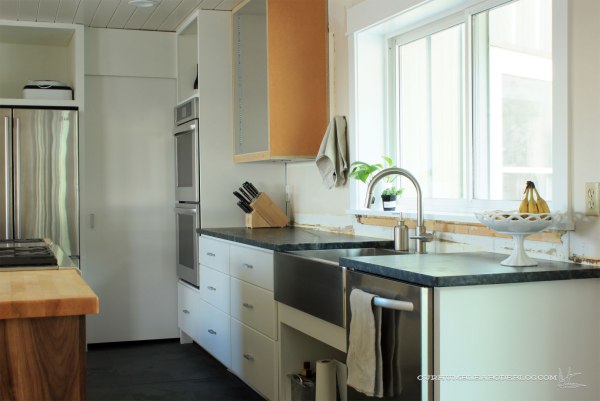
I’ll give you a hint:

Drawer fronts! And handles! Toe kick covers are curing, hopefully to be installed this afternoon.

This section of the kitchen was part of the pool house addition a few years after the house was built. I’m assuming it was level with the house, but the house already had some time to settle. So the last five or six feet are roughly 3/4 of an inch off level. We’ll cut the toe kick covers to follow the floor and cabinet gap for a seamless edge.
Speaking of seamless, even the sides of the drawers look sleek.

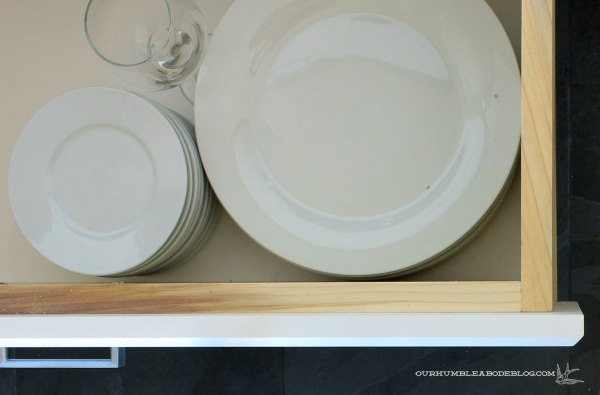
Using 1 1/4 inch long screws, Ben screwed through the drawer, into the front to secure it.

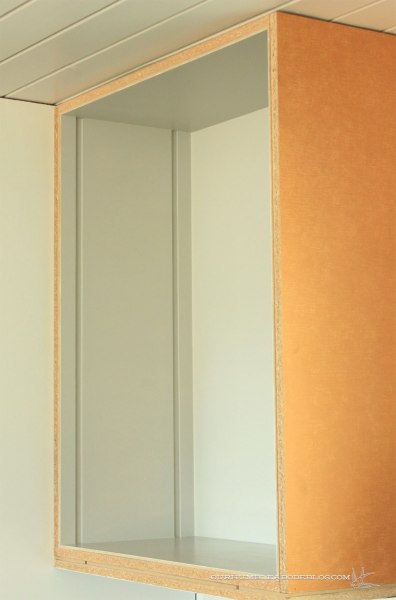
In other shocking and exciting news (sarcasm) the upper cabinet is almost ready to get loaded up with dishes.

Once loaded up with dishes, the shelves will hold a lot of weight. Ben, over-builder of everything, worried a peg and shallow hole system wouldn’t be strong enough. Instead, we chose to recess adjustable tracks by adding 1/4 inch material to the insides of the cabinet leaving a tight gap.
Then I screwed in the strip. Once the shelves are painted and dry, in the dishes go.
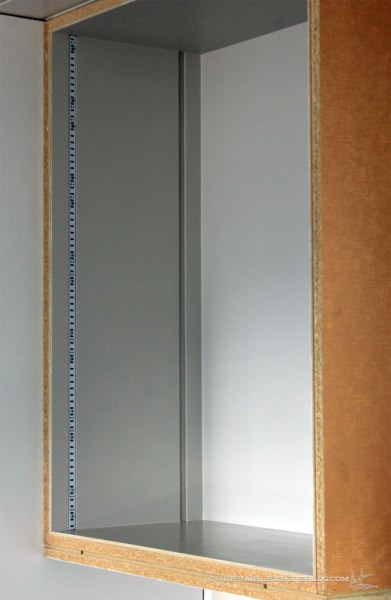
Building cabinet doors is next on the list. Glass fronts for pretty dish display, solid panels for the other two uppers. To further jazz up the glass cabinet, I painted the inside the same light gray as the living room. It’ll contrast against our white dishes. As the last kitchen step, I’m going to paint the room to match the adjoining living area. A way to unify the spaces. Time to get cracking on the cabinet doors, walnut fronts, and the drawer below the sink.

It’s looking so great!!
It looks lovely, Amanda. I love the smooth, simple drawer fronts. So clean, so classic.