
These last few weeks have been hectic, with the school year wrapping up, complete with several fun field trips-yay! We’ve also spent plenty of time helping friends of ours with projects for their upcoming wedding-double yay! The combo of the events means very little has happened on the home front in the last few weeks-boo! The little bit that has happened is boring, but necessary for the future wall finish.

I think I confused at least a few people when I mentioned building new walls, as it implied we’re building interior dividing walls. Instead, we’re building new walls following the exterior walls, simply to add insulation and electric.

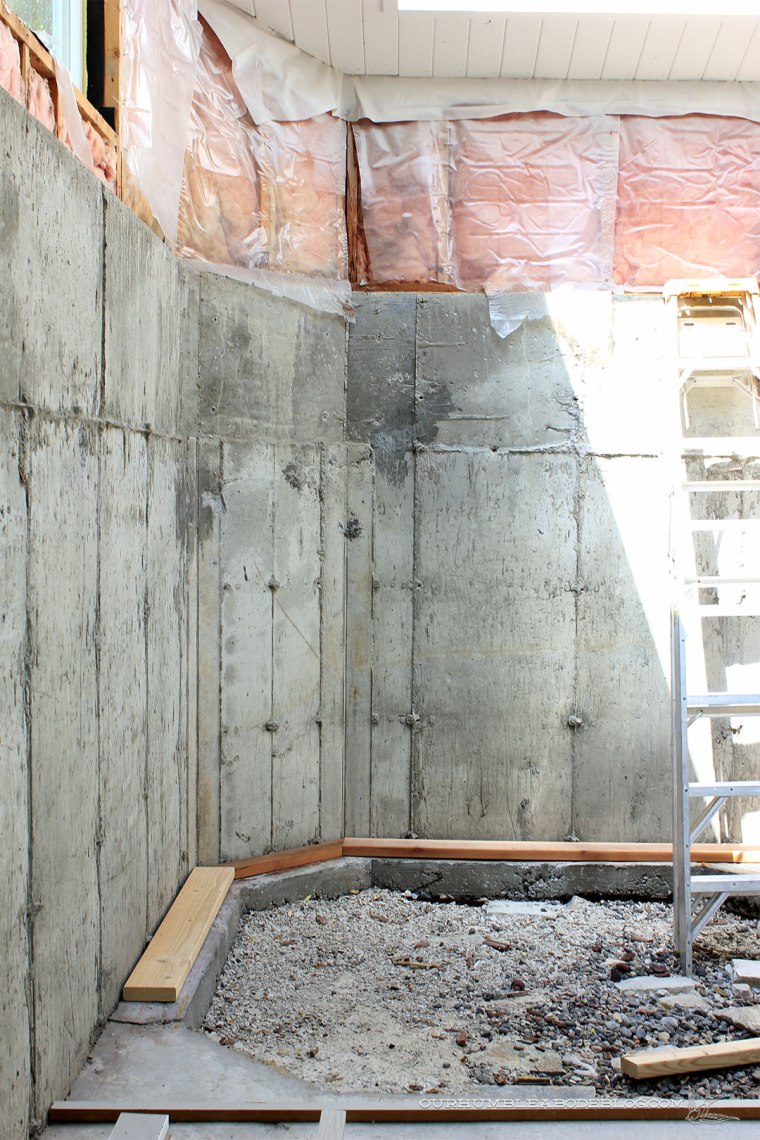
This pool space is large, around 1600 square feet. Adequately heating this large area is crucial, especially if we want to be able to use it through the winter months. To keep as much heat in without a furnace constantly running, we’re building another wall, just inside the perimeter.

Another wall gives us plenty of space to tuck insulation in front of the previously minimally covered concrete wall. It also eliminates the half ledge where the concrete and stud walls meet. Before, only 4 outlets were in the entire 1600 square feet: the pump room, one in the bathroom, and two in the wet bar. We’ll add outlets around the room, all GFCI connected for safety.
Before we can add walls around the hot tub area, we have to fill the hole with concrete. In place of the previously broken and recessed hot tub, we’ll have an above ground, stand alone tub. These self-contained models are much easier to work on, or replace if it becomes broken beyond repair.
The front wall that connects to the deck is a slightly different situation, as it doesn’t need insulation because it is a full stud wall. So it was already done, right?

Nope, because the 24 inch stud layout doesn’t match up with our wall treatment. Knowing we’re going with a board and batten finish, we need a 16 inch on center stud placement to be able to hide the nails behind the batten strips.
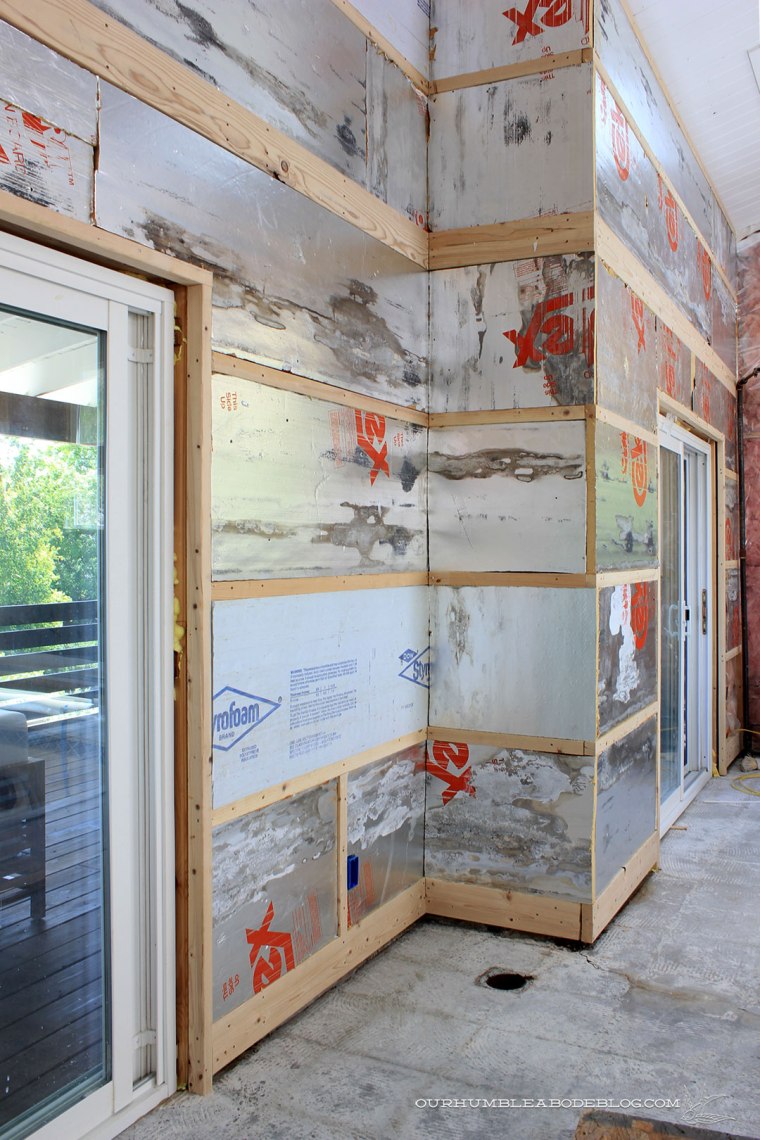
To avoid building a full wall, we opted to attach 2 by 2 strips horizontally along the wall. This will allow us to nail into the strips at 16 inch intervals, but doesn’t add a thicker wall.

Tucking insulation between the strips is just a quick way to make use of the space between the boards. A solid wall is the turning point when a project starts to look and feel finished. It’s the culmination of all the hard work that goes on behind the scenes, er, walls.
