
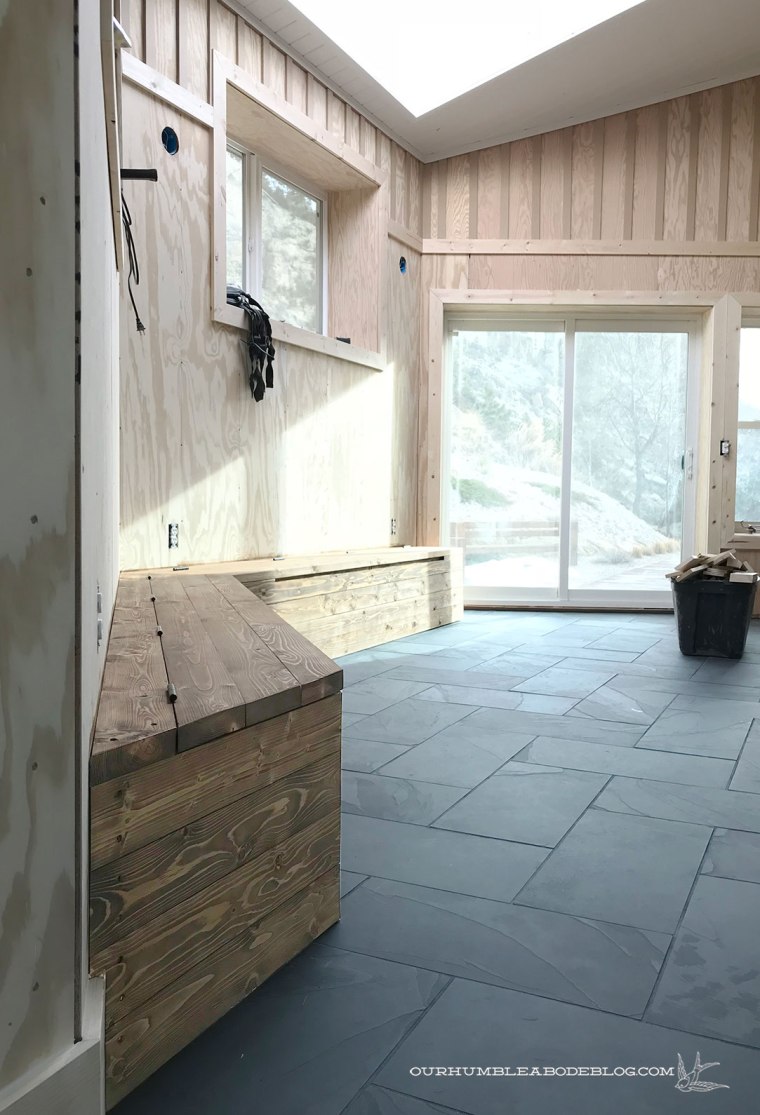
Last week, I shared our process of building the tree storage benches in the pool house, with one last lid to build.

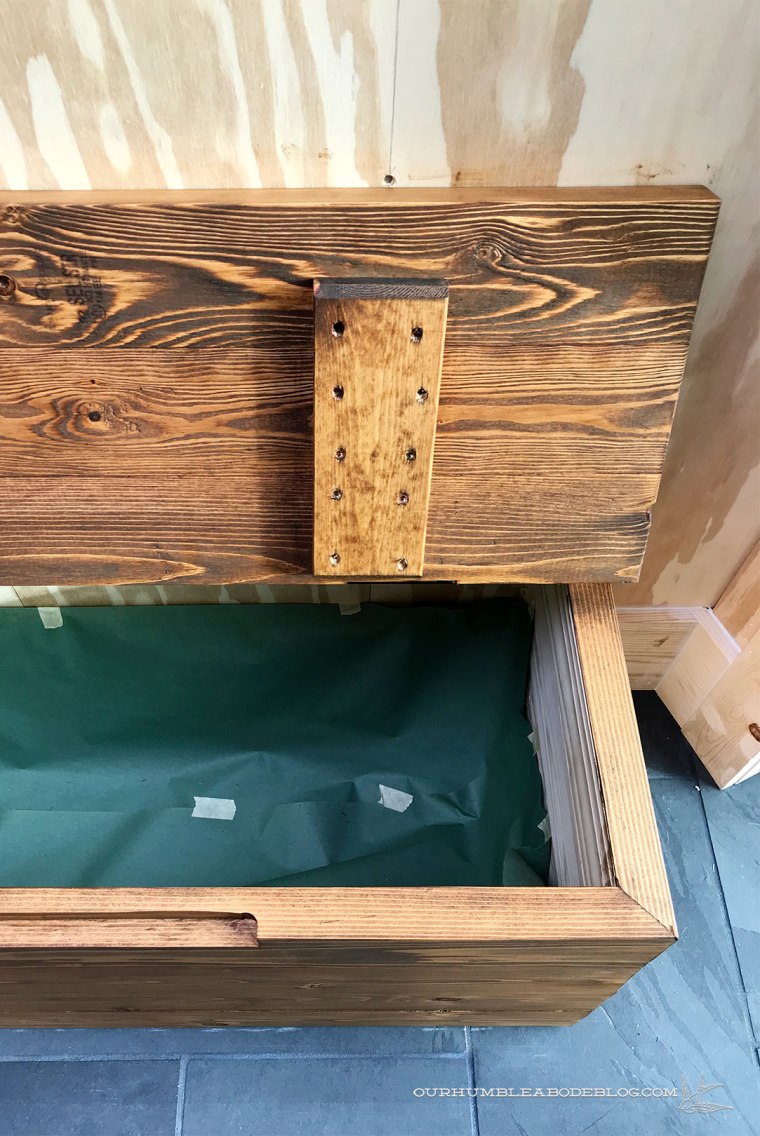
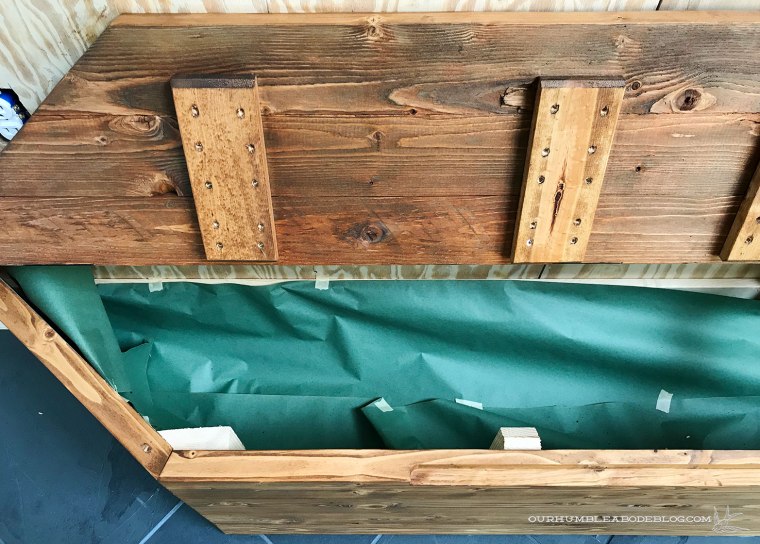
Bright and early Saturday morning, Ben built the last top. He followed up by using a router to cut the recessed ‘handles’ in the top front board. To do so, he screwed a pair of boards along the top, giving a straight edge for the router to run along. It takes multiple passes to get a smooth finish, leaving piles of shavings and dust behind.
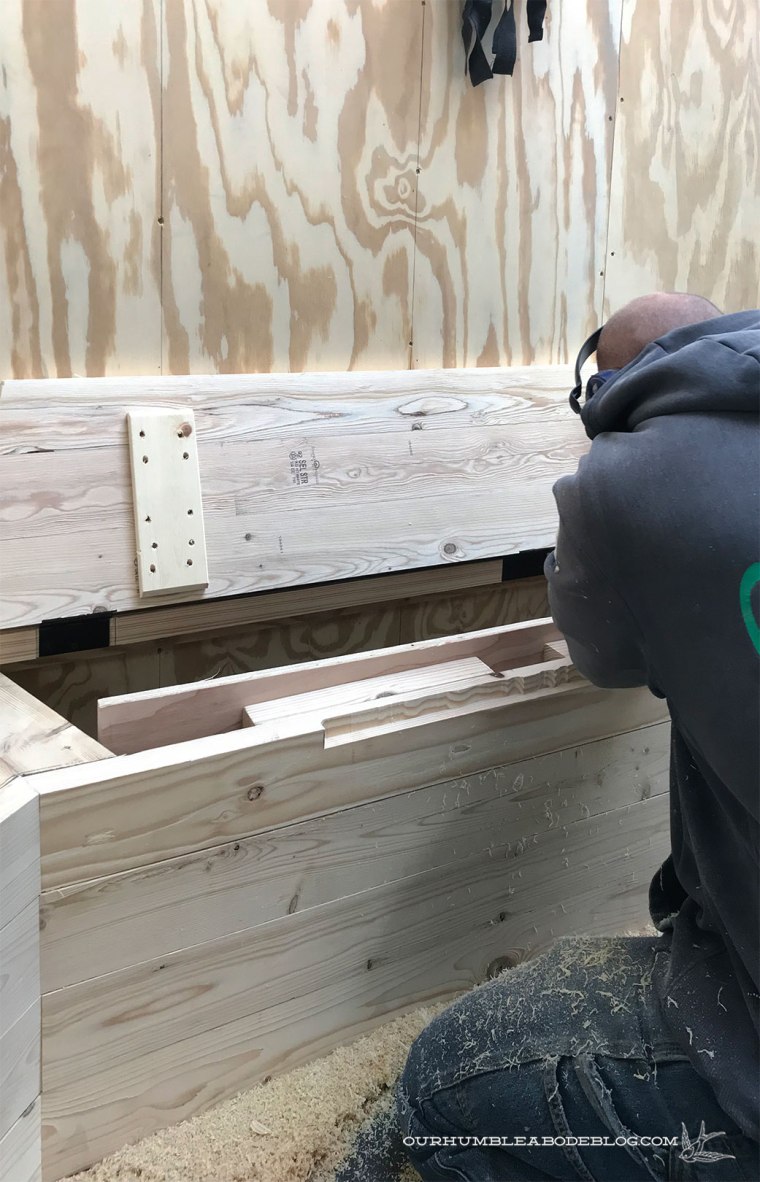
The handles are a subtle detail, allowing us to open the lids without protruding hardware.
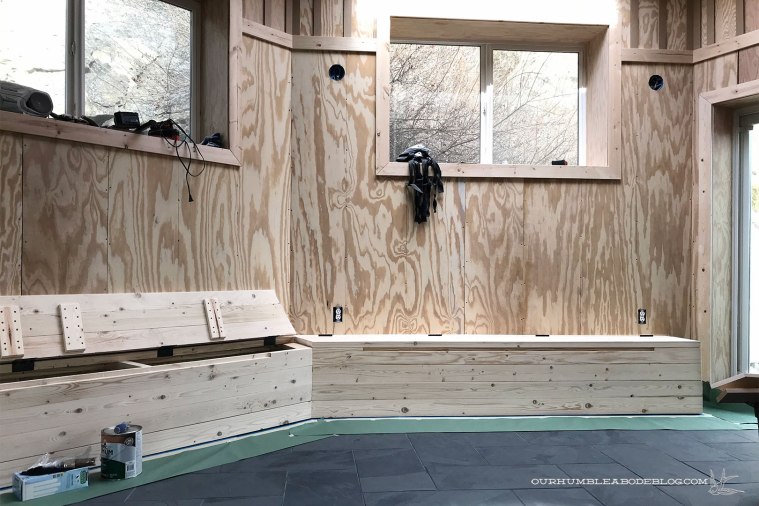
I followed up by spending several hours sanding everything smooth with 220 grit sandpaper. Wanting a deep, rich, walnut like finish for the pine, I knew I’d need to stain the benches. Although technically an indoor space, the potential splashes and humidity from the pool mean these benches need a durable finish. Either with an indoor stain and oil/poly top coat, or an exterior stain/waterproofing combo.
Exterior stains come in a variety of colors and transparencies: clear, transparent/toner, semitransparent, semi solid, and solid coverage.
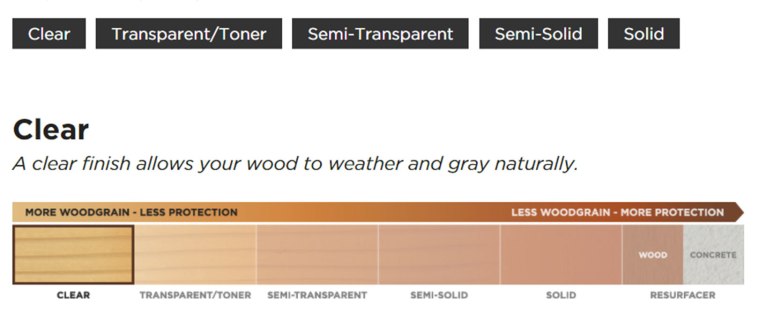
For this application, I wanted to see plenty of the wood grain, but deepen the color. When we stained our decks, I did oodles of searching for the Goldilocks in the stain world. Deep brown without a red or orange undertone, transparent, under $60 per gallon, and water-resistant. After hours of online and in store searching, I found the perfect solution: Olympic Maximum Stain and Sealant in Canyon Brown.

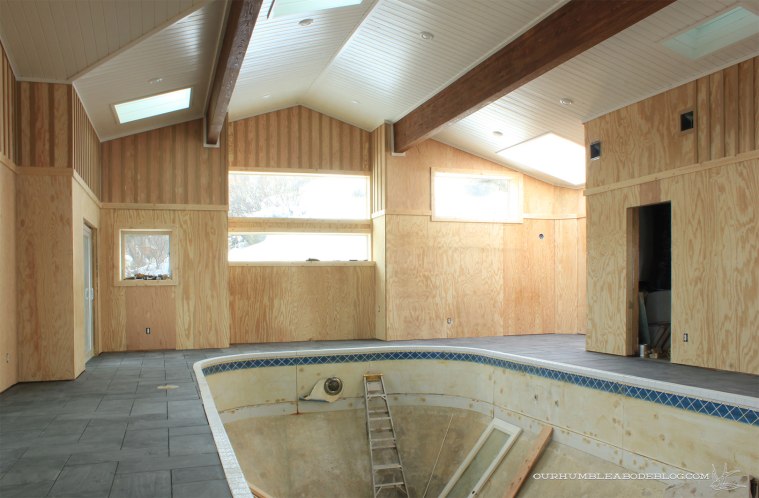
We used the same stain on the large structural beams running the length of the pool house, so I knew exactly how it would look.
Before staining, I vacuumed the benches, wiped off any dust left, then masked off the inside and the floor.

With gloved donned, I started with the underside of the lids, applying the stain with a brush to get in the deep details.
For the smoother outside faces, I applied the stain with a brush for the grooves, and an old t-shirt scrap for the board faces.

We’ll paint the entire interior of the benches to keep it all looking nice and clean.
The darker hinges aren’t nearly as noticeable against the dark wood, exactly as I hoped.

Now that the baseboard and benches are in place, we can attach the lower portion of batten strips. I’ll follow that up with miles of caulking and then we can paint it all white. Eeeek, I’m so excited to for the day we’re done painting.

It suddenly looks so close to getting finished, although I know you still have the bathroom and kitchen to do. But what a difference already!