As we near the end of the tongue and groove pool house ceiling install, I’m trying to pin down the exact finish. When new and protected, pine looks bright, but over time, with exposure to sunlight, it darkens and yellows.
That’s never been a wood tone I like, so stain is necessary to over ride those natural undertones. As is the case with all of our material selections for this space, we want an interior look but need exterior grade finishes due to the splashing and possibility of humidity.
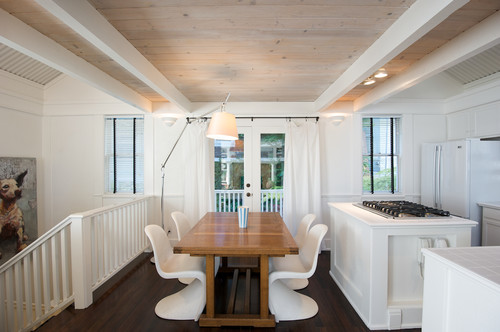
I started searching for an exterior oil based color that had a bit of both brown and gray, but wasn’t too dark. Something along the lines of this:
Sherwin Williams applied two store samples to a board as a starting point. On the left is Weathered Gray, the center is Banyan Brown.
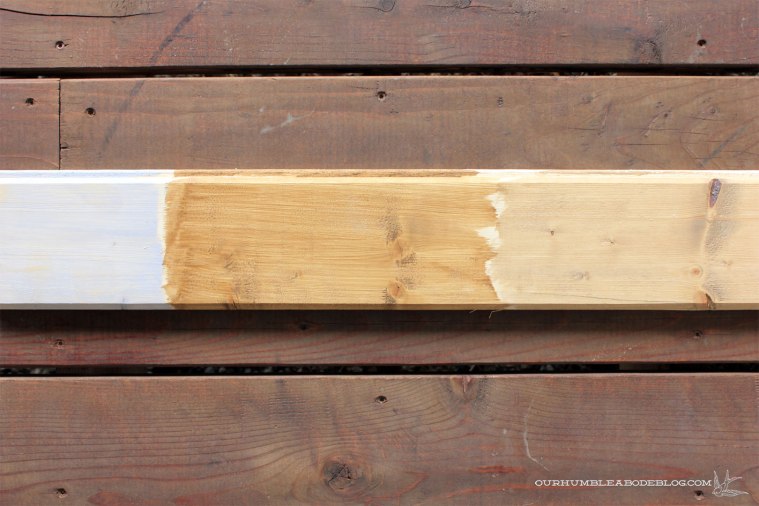
Weathered Gray was entirely too gray and read very cold, with blue undertones. Banyan Brown was darker and still too yellow. Neither were what I wanted, so I checked out Lowe’s and Home Depot. Lowe’s had an Olympic color, Madrone, that kind of fit the bill. Compared to the other two samples, shown on the right above, it was more of a blend. To get a more accurate idea of the color, I selected a variety of scrap pieces to stain, creating a large sample.
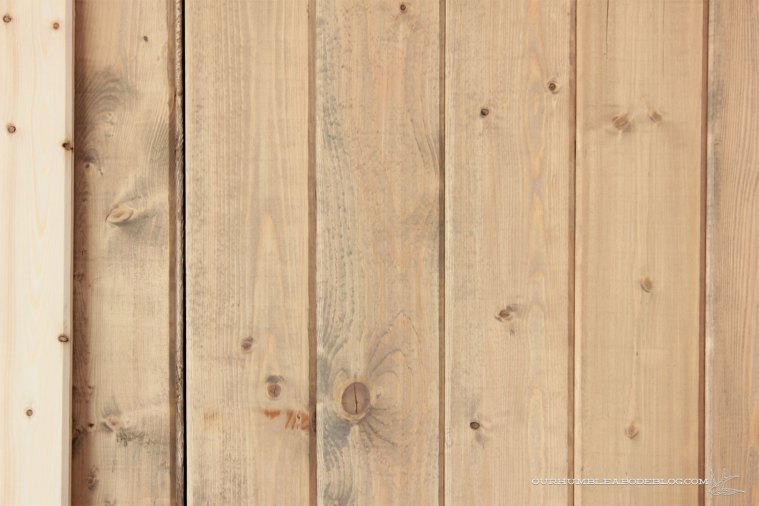
Yes, it was better, but still looked a bit too yellow. I wasn’t sold and neither was Ben, even when I held the pieces up against the ceiling and he viewed from below.
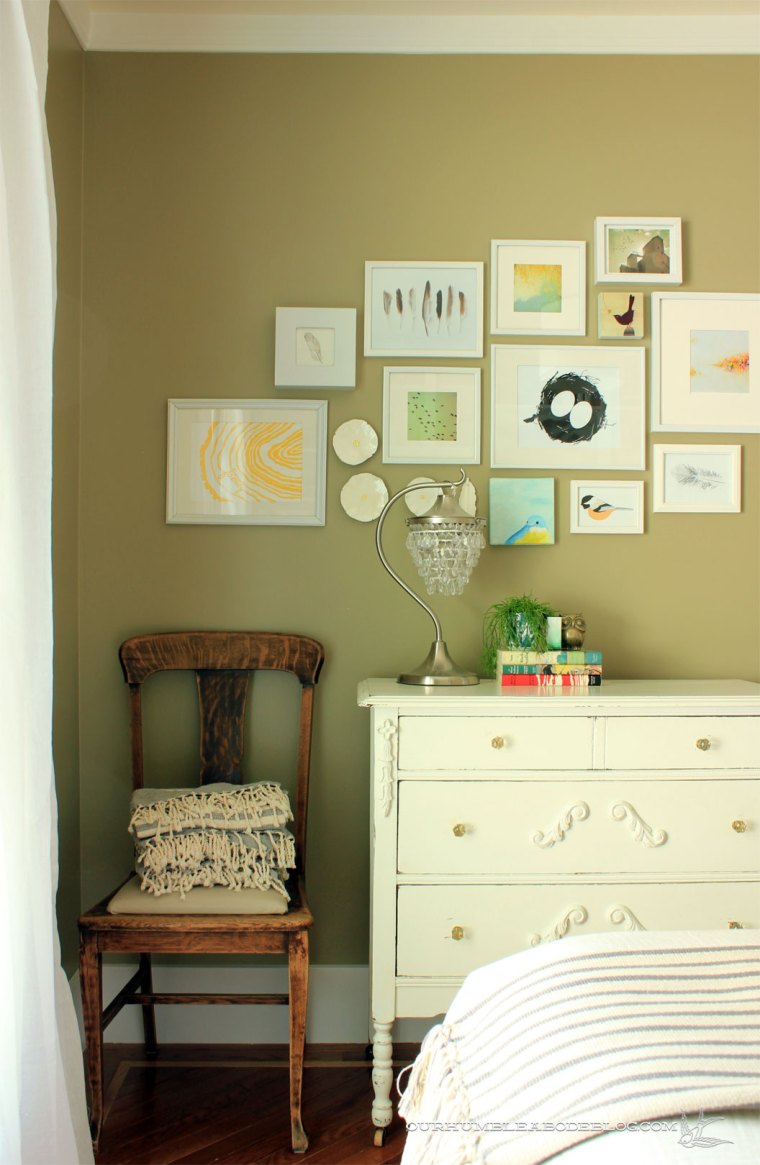
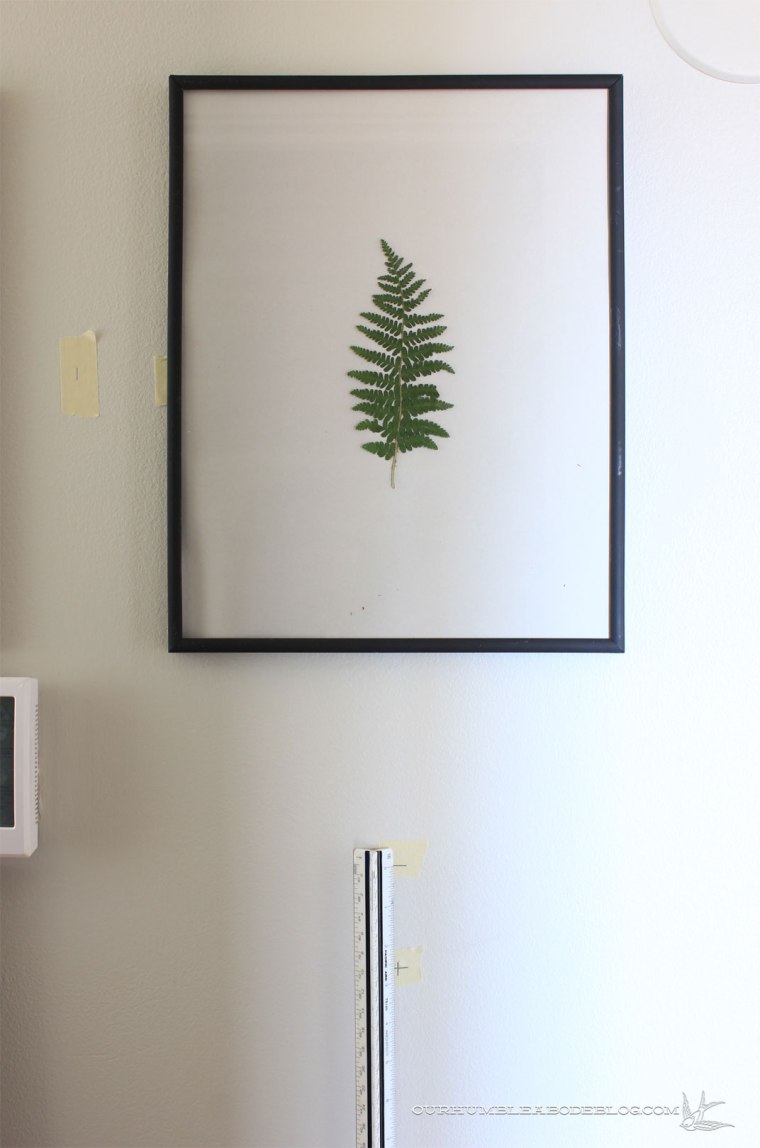
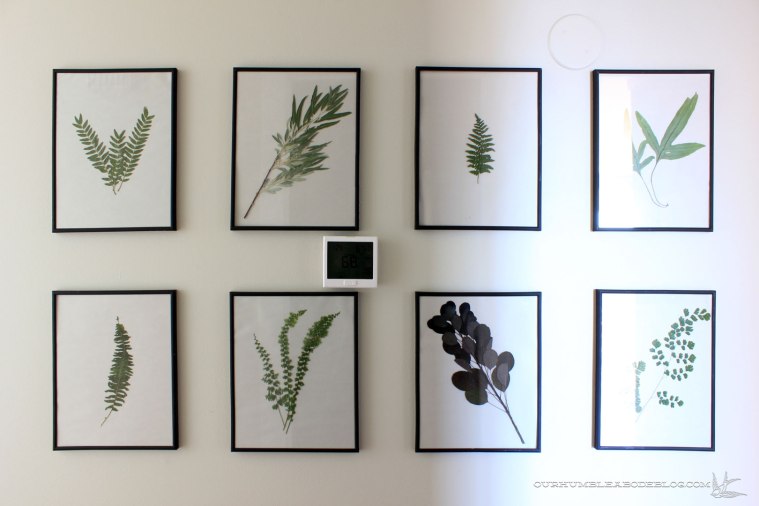
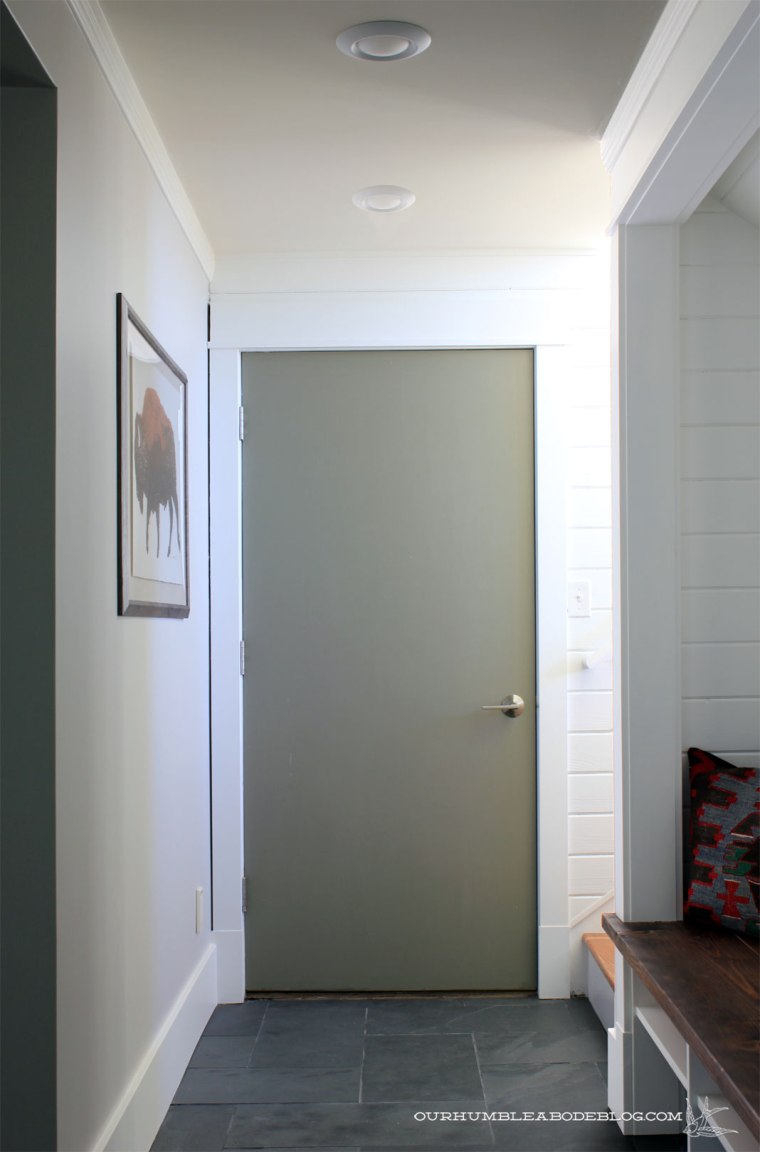
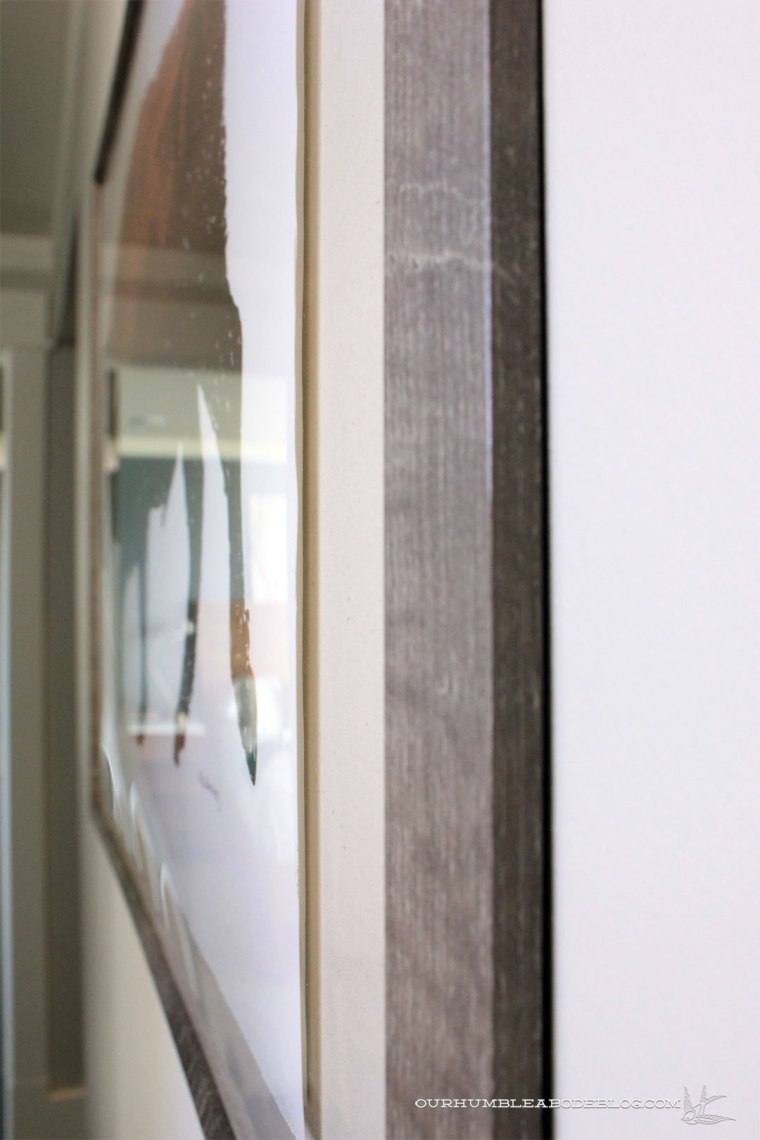
All along, my fall back option was to paint the planks white, while staining the beams. It’s a simple and classic look, something especially crucial in this situation as this ceiling is completely inaccessible without scaffolding. We also have painted tongue and groove throughout our home, so we know we like it. Images like the following have only reaffirmed my belief.
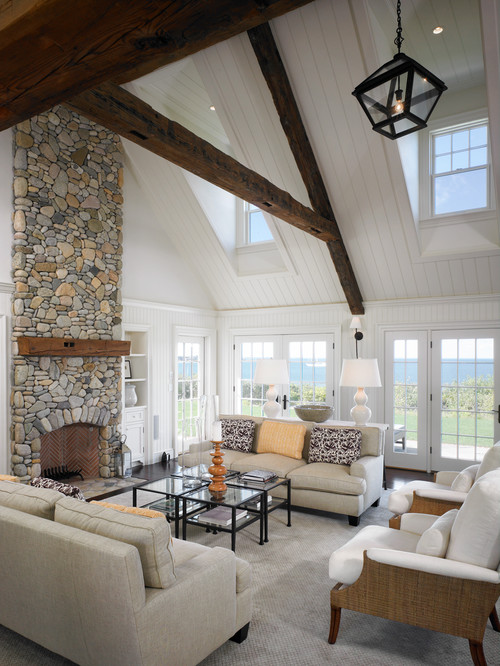

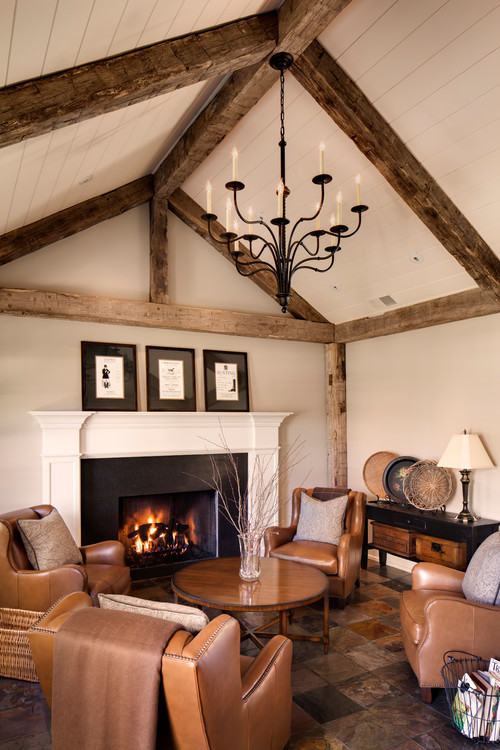
Most elements planned for this room will be simple and neutral, carrying the slate floors from the kitchen around the pool deck. A shot of wood tone via the beams will add a tremendous amount of warmth and interest, without the feeling of a lower ceiling. Add the flood of natural light through the windows, doors, and skylights and I’m picturing a private year-round oasis.

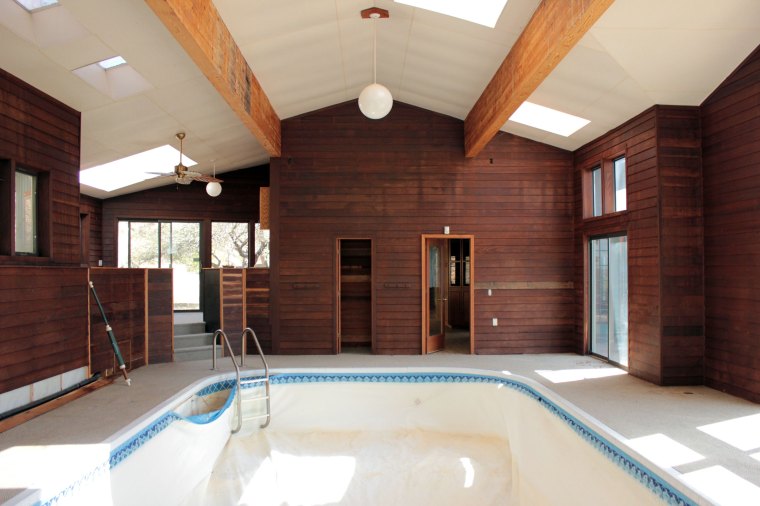


 Having a ceiling peak of 15 feet, plus a 9 foot deep hole to work over, we needed scaffolding. Rather than renting and spending the same or more money, we built a temporary structure to make working easier. Step 1 of 3,286 complete. Then, Ben tore off the old sheets, exposing the structure. Step 2, check!
 Those exposed beams are such a cool structural element, but the leaking roof had streaked and stained both. A thorough sanding brought them back to life. Steps 3-9, done!
 Once the beams were finished, Ben started prep work to install the tongue and groove pine boards. First, two by 4 boards were secured perpendicular to the trusses followed up by new light boxes to adequately light the entire room. Steps 10 and 11. Next, he cut pieces of rigid foam insulation to tuck between the boards for a higher R value and covered with a thin plastic sheeting-12 and 13 are done.
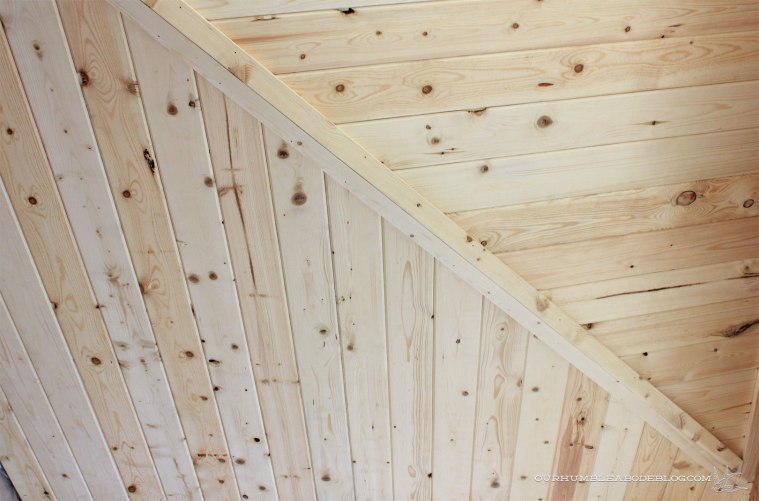
 Board by board, we’ve been installing pine planks. Let’s say that was steps 14 through 20. Below, the center had just been finished, minus the insides of the skylights.
 Due to the ceiling trusses dipping down and rising up unevenly, we decided to install the boards perpendicular to the beams. This makes the unevenness far less noticeable, unlike a long run that accentuates any discrepancies. It’s hard to see the ceiling from below with the scaffolding in the way, but it’s looking great already.
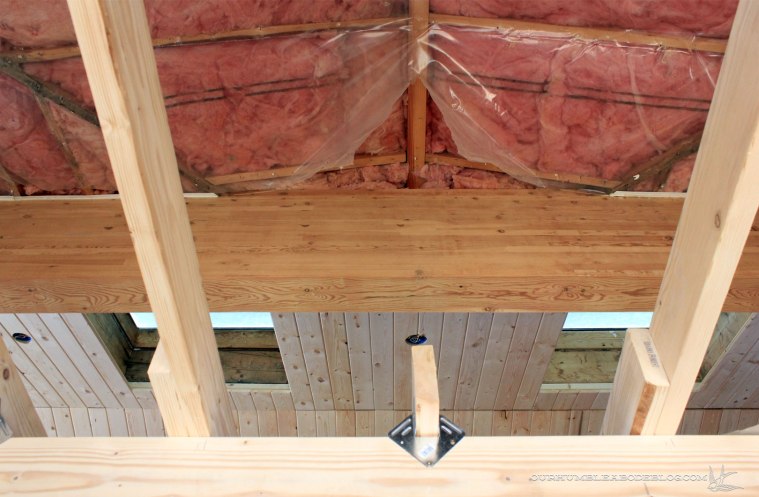 The strips on either side of the beams still need work, the skylights will get boxed in, and trim will go up to cover the gaps, so it’s not a quick process. It is, however, 20 steps in the right direction.