
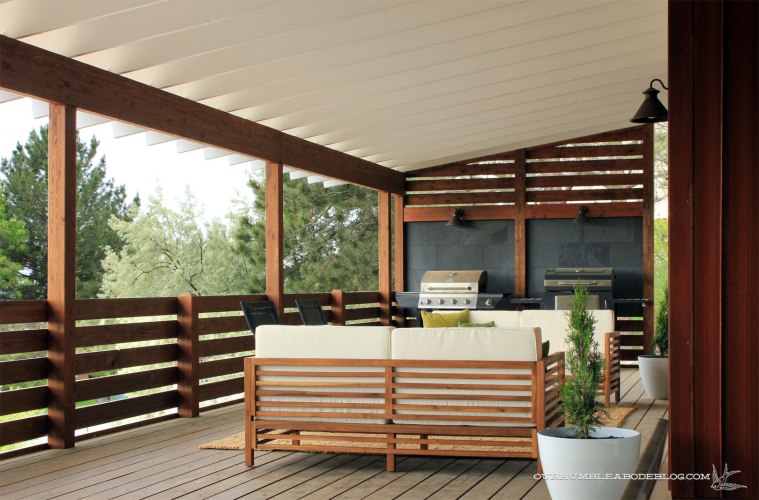
We’re in the thick of summer and a prolonged heat wave with temps near or above 100 for a few weeks now. I mention this because the heat and lack of air conditioning in the pool house make for rough working conditions, thus very little progress. Now more than ever, the prospect of a pool is really appealing and we’re excited to get the space finished. To keep myself busy (and in the cool climate controlled house), I’ve spent more time researching the exact designs and products for the space.
I’ve always had a rough picture in my mind, but now’s the time to track down every.last.piece that will go into this area. Planning the half bath is perhaps my favorite part, so let’s get into the design. I took to Photoshop to translate the vision in my head onto paper, err, screen.

This is the only half bath we’ve ever had in a house, and it allows a bit more fun, less practical choices than a full bath. That doesn’t mean it won’t be hard-working.

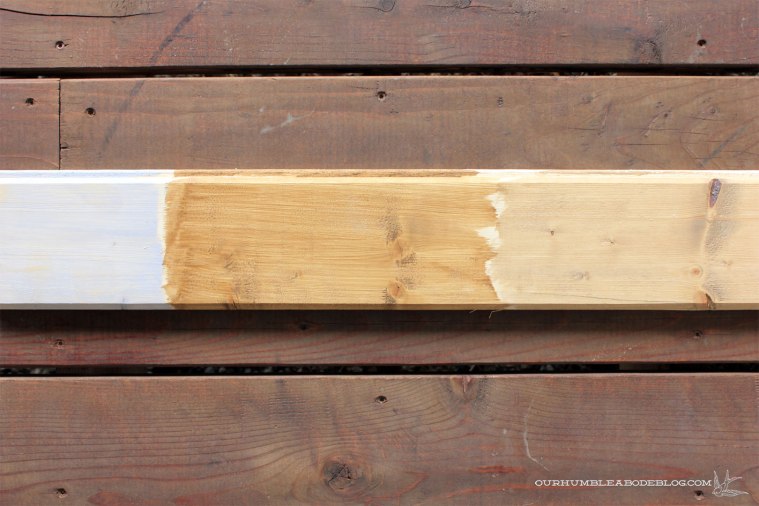
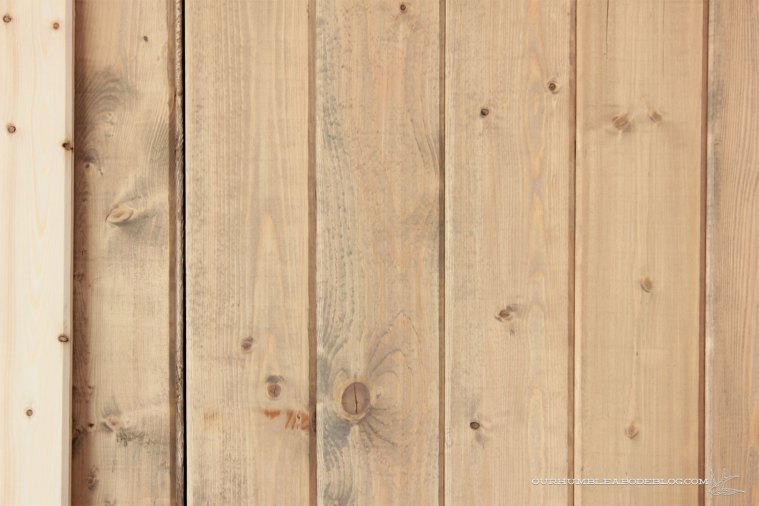
1 As with the rest of the pool house, the plan includes covering the walls in white board and batten for a bright, blank canvas. 2 We’ll also carry the Montauk Black slate into the bathroom for continuity. 3 With the black and white foundation, we need to add a warm wood to the mix, just as we did in our master bathroom. Unlike the master bath, this half bath doesn’t need much in the form of storage, and a cabinet will surely accumulate junk. Enter, stage left, the open walnut vanity of my dreams. The top plank will hide the sink, with a slatted shelf below, perfectly modern, without room for clutter. 4 These Beaker sconces are one part industrial, one part nautical, and fully perfect for this bathroom. 5 Wall faucets are so sleek and simple, I think this is the perfect place to incorporate the Delta Trinsic in chrome, to match the sconces. 6 Clean lined vessel sinks are a go to of mine, but I want to go slightly off course with this semi-recessed vessel option. 7 I adore the collected look of mixed metals, so in addition to chrome, I’ll toss some matte black accessories in there, too. We’ll need an odd sized mirror in this room, so I have plans to DIY a similar mirror with a slim shelf to store a small jar of cotton swabs and a lotion pump, both items I need after swimming. 8 Bringing in another black accessory to tie in with the mirror, this Trinsic towel ring is elegant and simple. 9 Cute Turkish hand towels will add a bit of pattern and color. 10 For a luxe touch, I’ll add a beautifully scented Izola soap in a gorgeous and reusable glass dispenser. Of course I have to add a little bit of green. 11 We’ll corral toilet paper in a cute basket, perhaps this wicker option or this black wire one. On the other side of the vanity shelf, we’ll stack extra towels.
I’m not 100 percent sure, but I’m leaning toward a white painted drywall ceiling for simplicity.
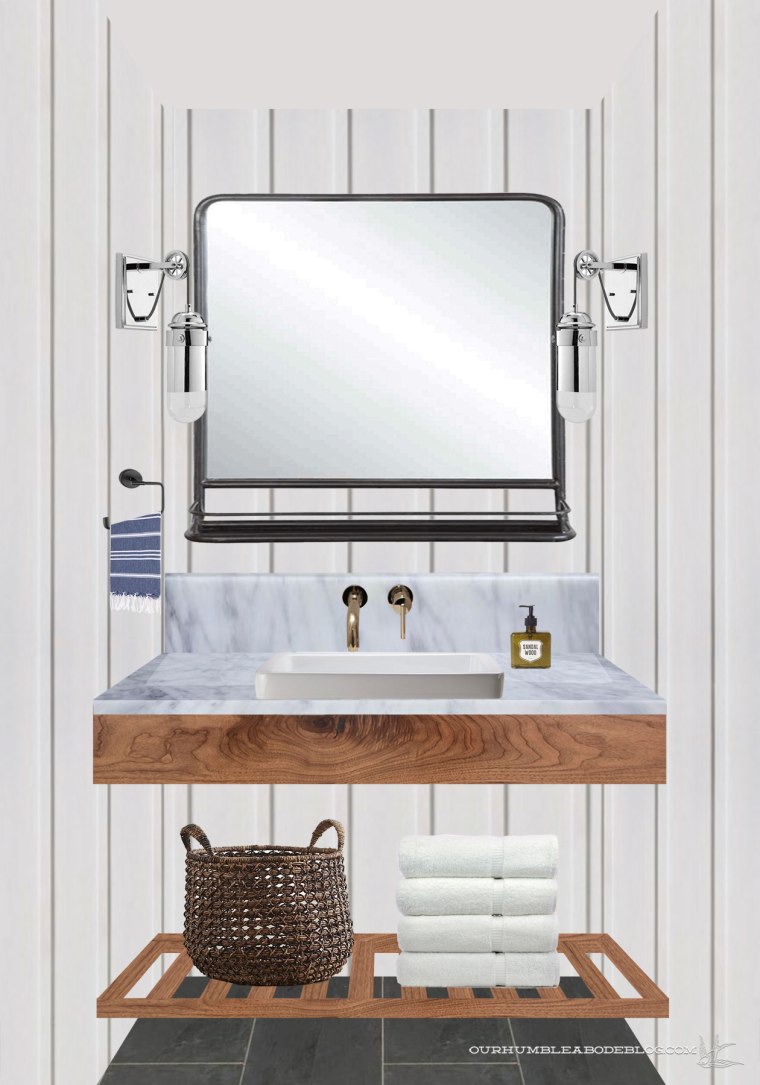
The other thing I’m undecided on is whether to add a marble back splash or not. It’s a look I love, and it certainly would be more durable. What’s your vote-back splash or without?
Over on the toilet side, things are much simpler.
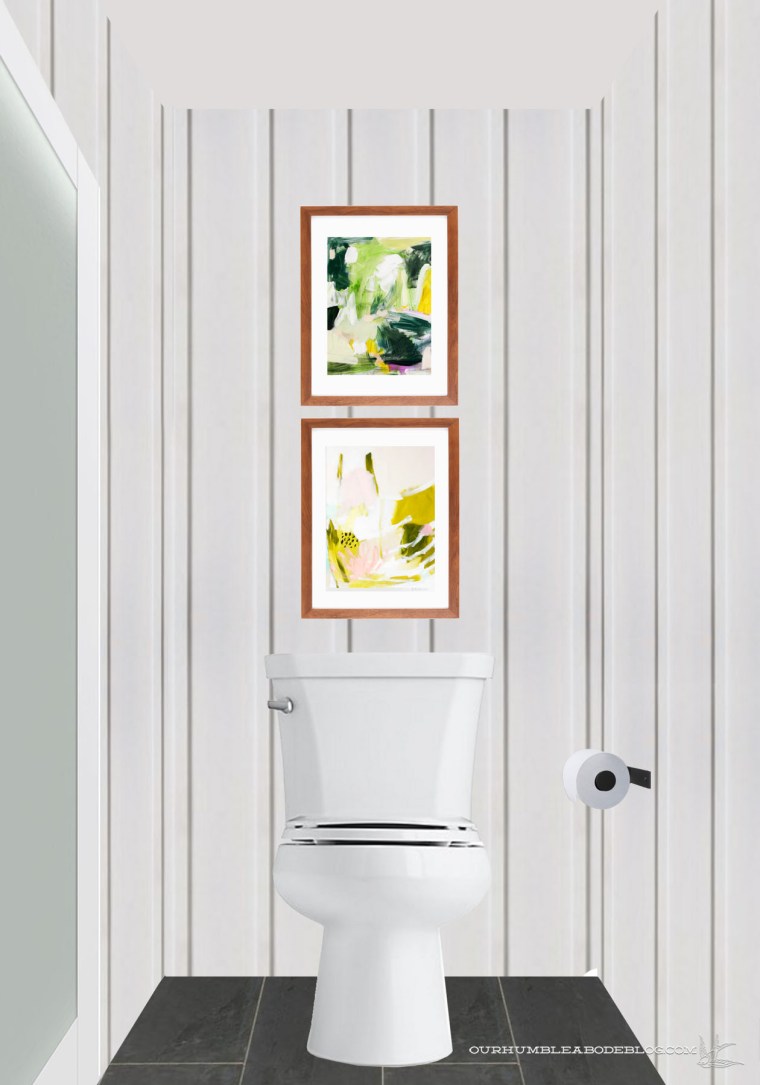
In this small space, I don’t want to overwhelm the room with stuff.

1 The lack of natural light in this room, especially compared to the rest of the pool house which is so bright thanks to the generous windows and skylights, feels so dark. Granted, before the walls were clad in dark stained wood and the only light source was an old light/fan combo. To bring a little natural light in the room, we’re repurposing an old glass door by painting the frame and frosting the glass, similar to this one. 2 Carrying a bit of the warm wood to this side in the form of picture frames will make this side feel less stark. 3 For a burst of color, movement, and interest, I’d love to add gorgeous abstract art, like the Coral and Palm Nights prints from the talented Britt Bass. 4 While in Minnesota, I took a quick run (45 minutes start to finish!) through Ikea and grabbed a Grundtal toilet roll holder for this space. The simple design was only six bucks, but I think I’ll paint it matte black to keep the mixed metals to chrome and black.
We’re still far off from the bathroom actually looking like this, but I find it helpful to get my ideas down, not only for myself, but also to show Ben what I have in my mind. And in store for him in the building department.
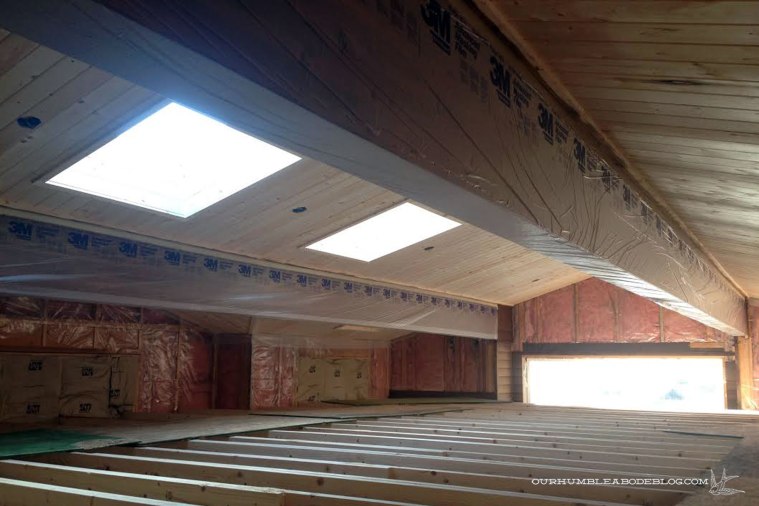
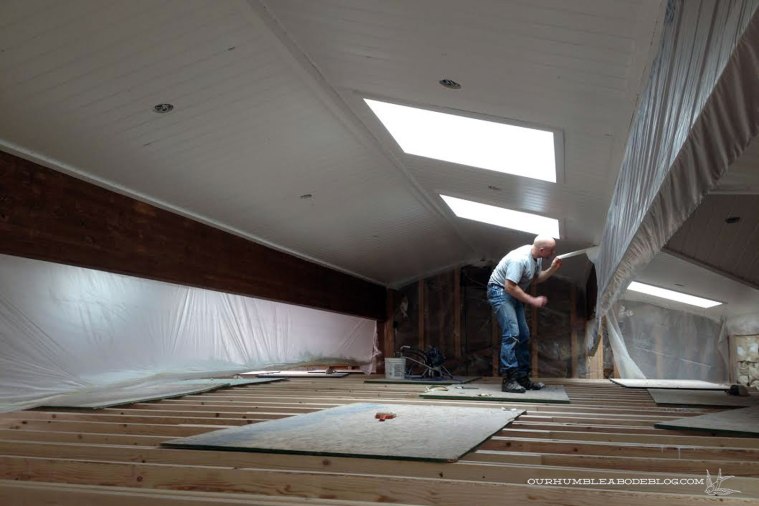


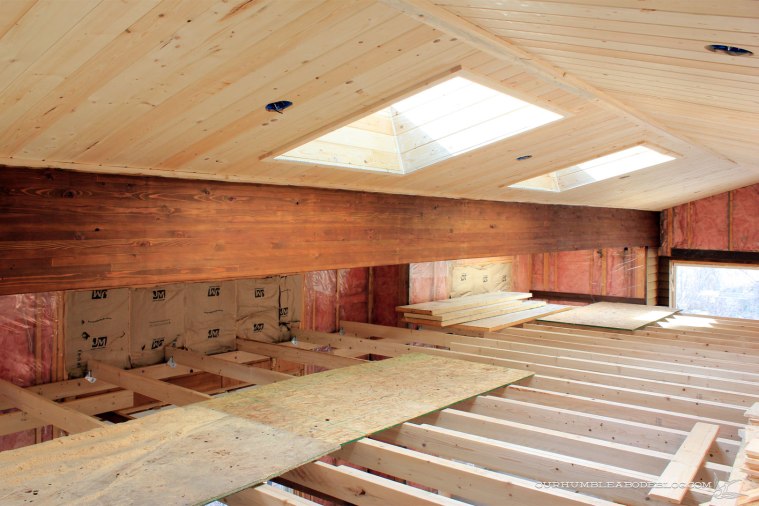


 Having a ceiling peak of 15 feet, plus a 9 foot deep hole to work over, we needed scaffolding. Rather than renting and spending the same or more money, we built a temporary structure to make working easier. Step 1 of 3,286 complete. Then, Ben tore off the old sheets, exposing the structure. Step 2, check!
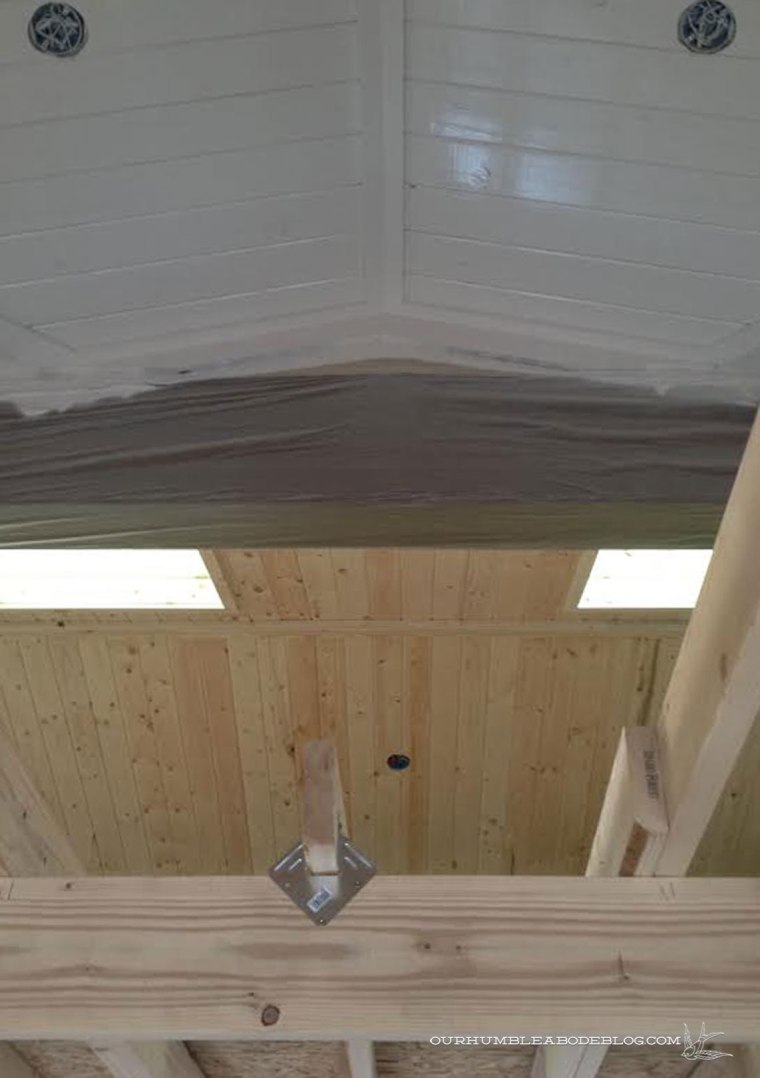
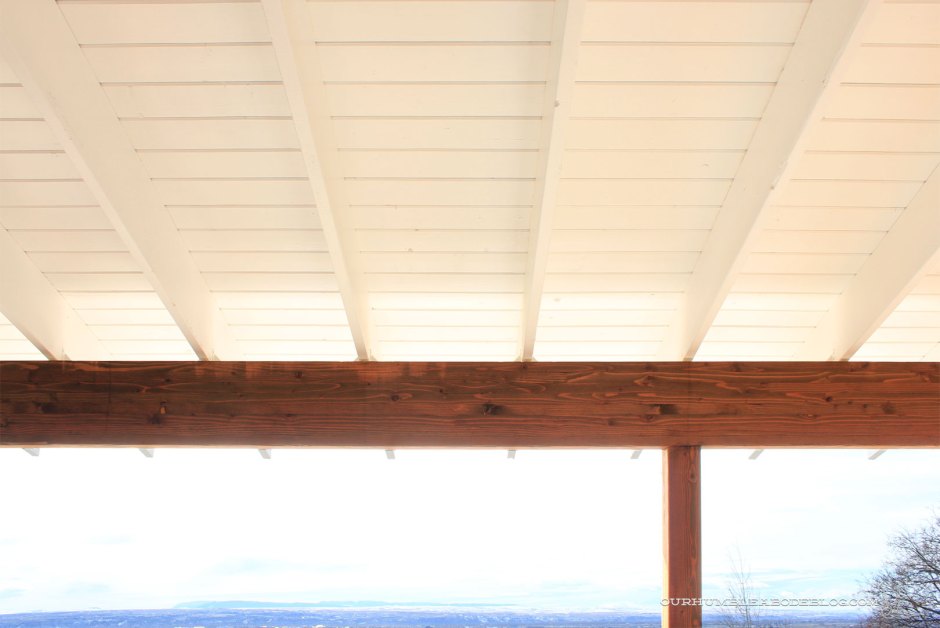
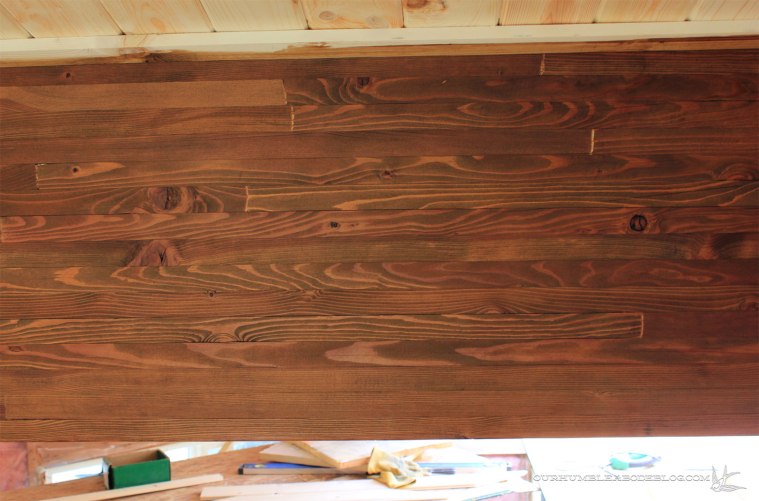
 Those exposed beams are such a cool structural element, but the leaking roof had streaked and stained both. A thorough sanding brought them back to life. Steps 3-9, done!
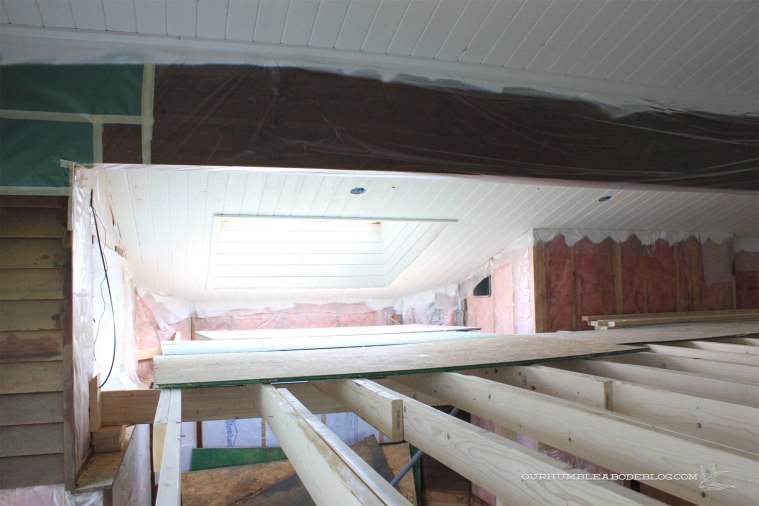
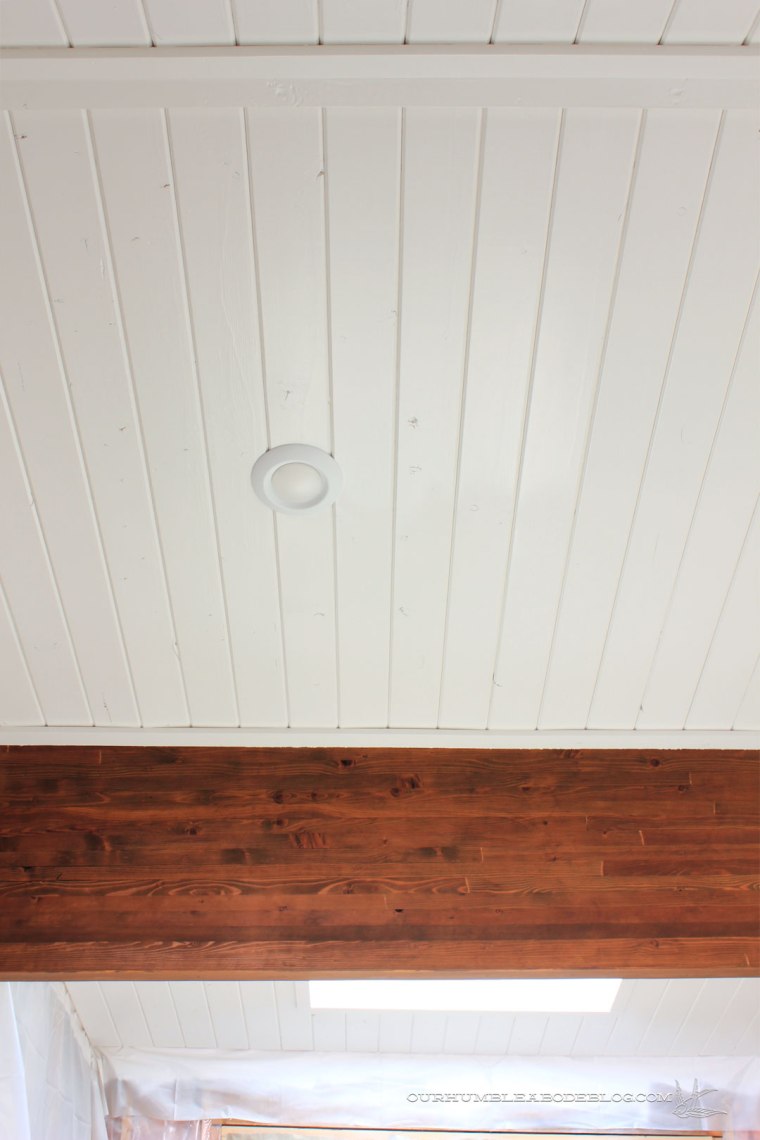
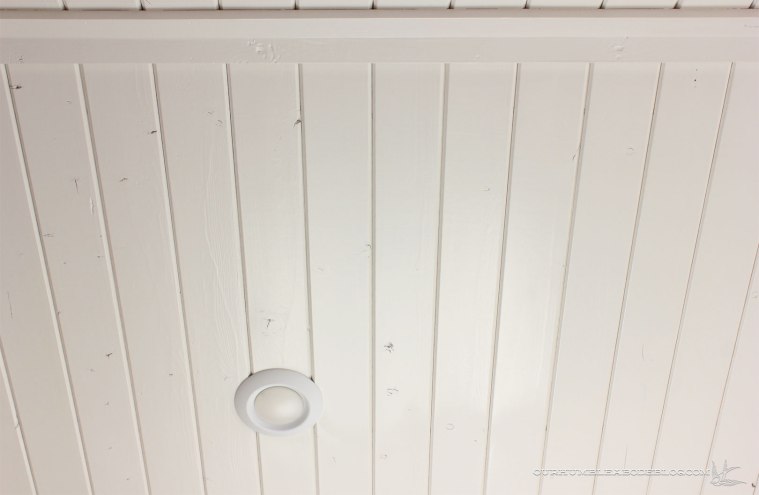
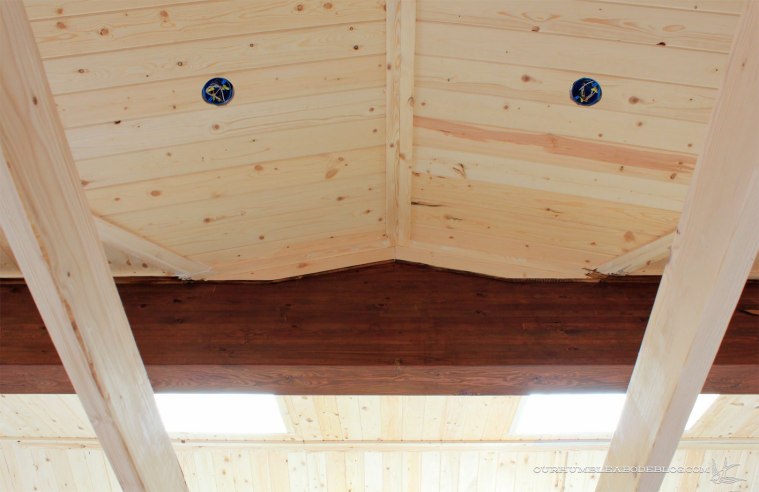
 Once the beams were finished, Ben started prep work to install the tongue and groove pine boards. First, two by 4 boards were secured perpendicular to the trusses followed up by new light boxes to adequately light the entire room. Steps 10 and 11. Next, he cut pieces of rigid foam insulation to tuck between the boards for a higher R value and covered with a thin plastic sheeting-12 and 13 are done.
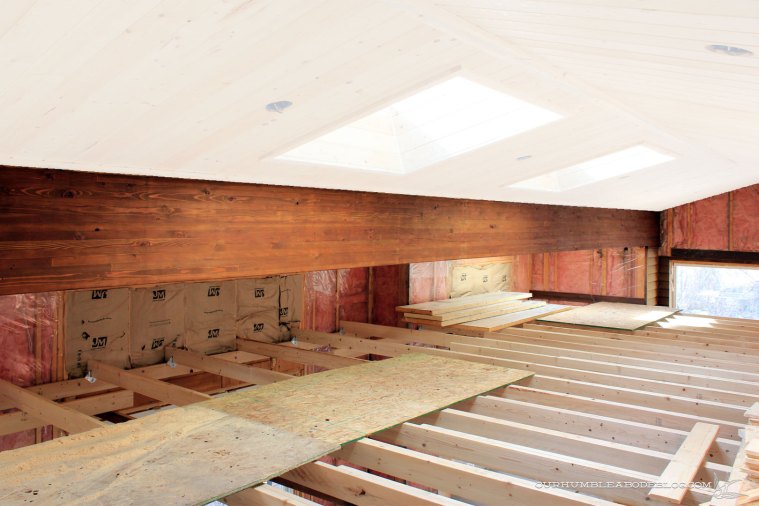
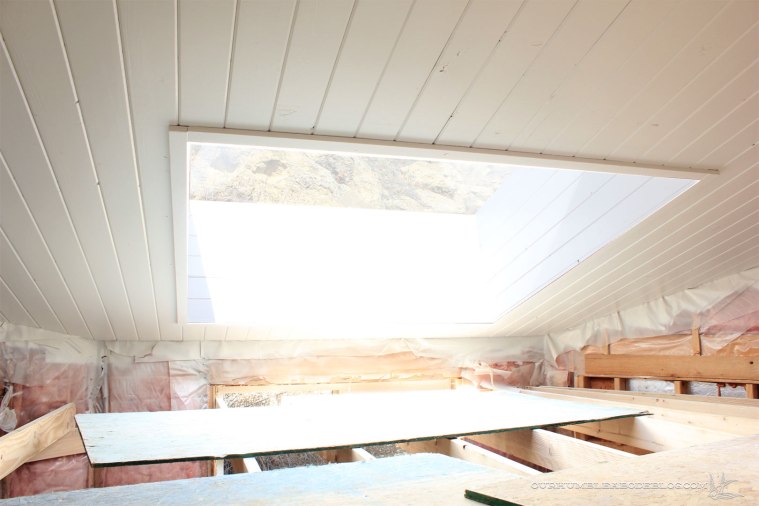
 Board by board, we’ve been installing pine planks. Let’s say that was steps 14 through 20. Below, the center had just been finished, minus the insides of the skylights.
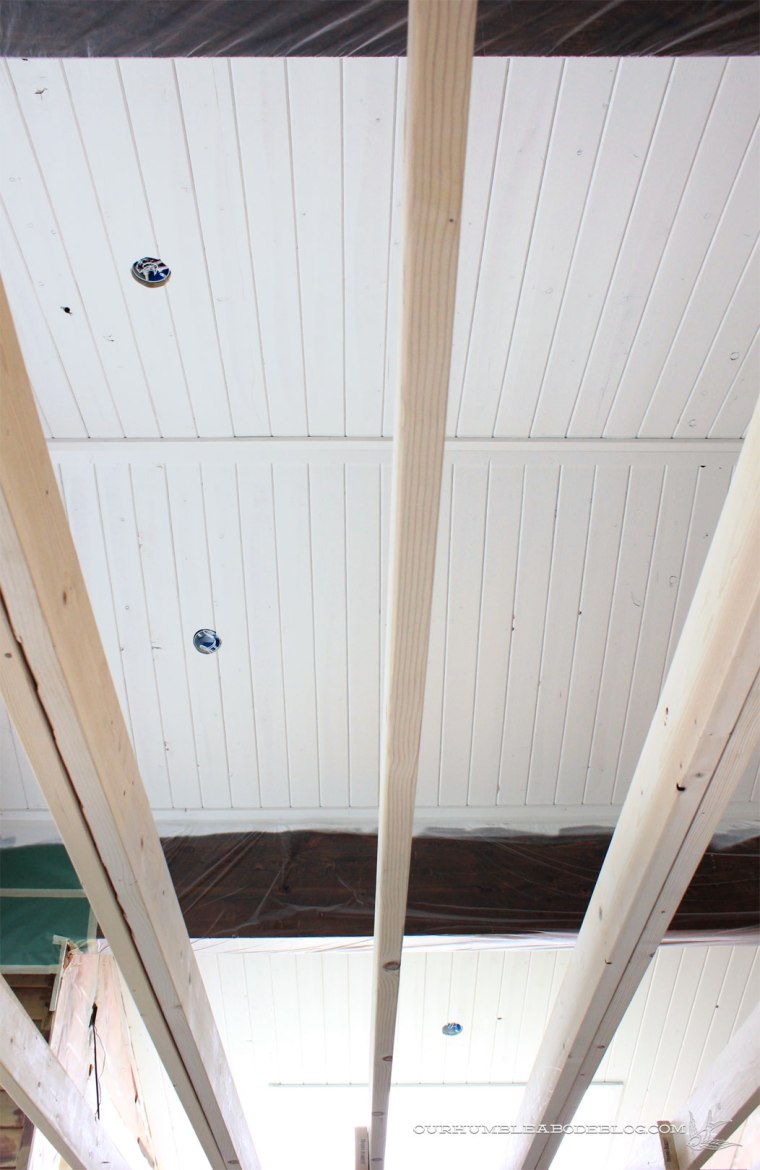
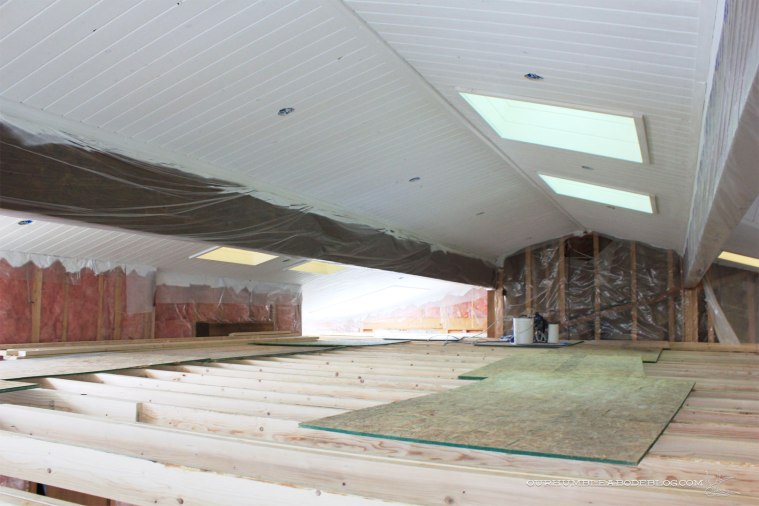
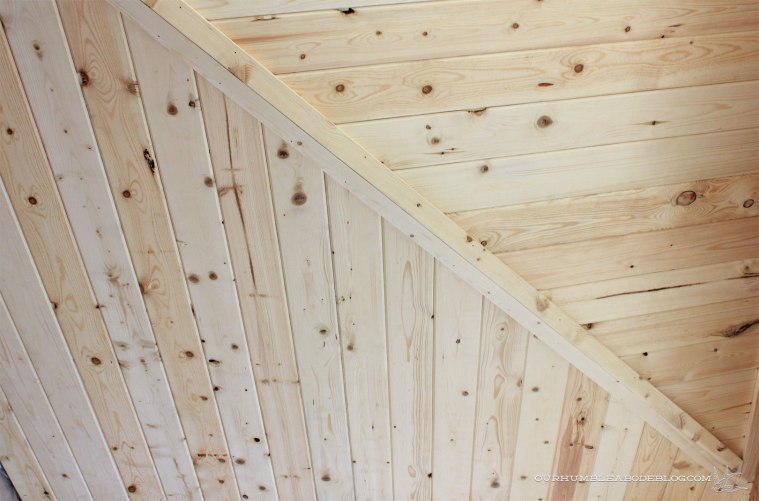
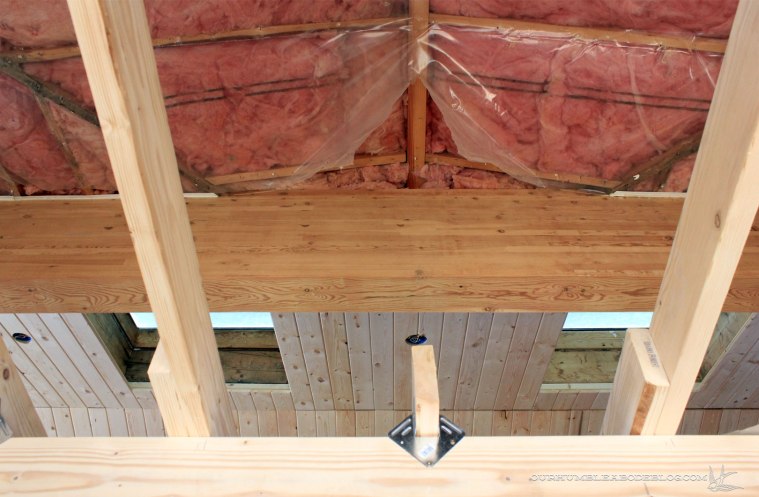 The strips on either side of the beams still need work, the skylights will get boxed in, and trim will go up to cover the gaps, so it’s not a quick process. It is, however, 20 steps in the right direction.