
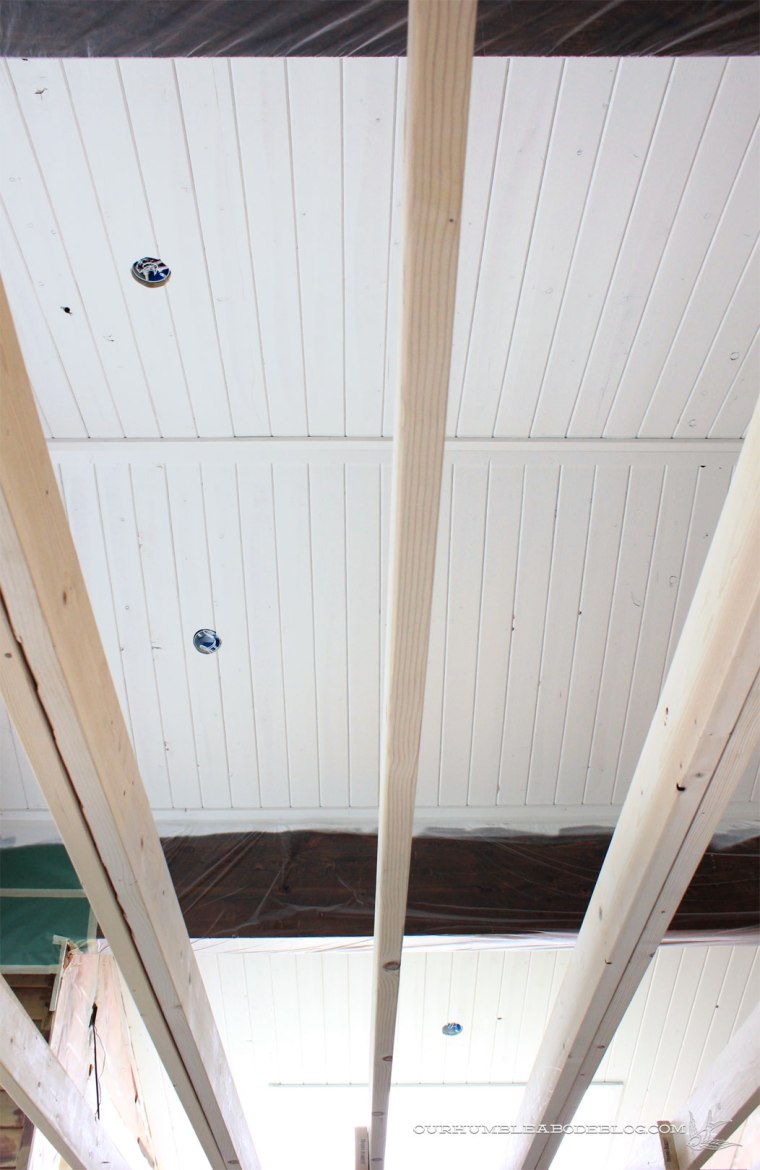
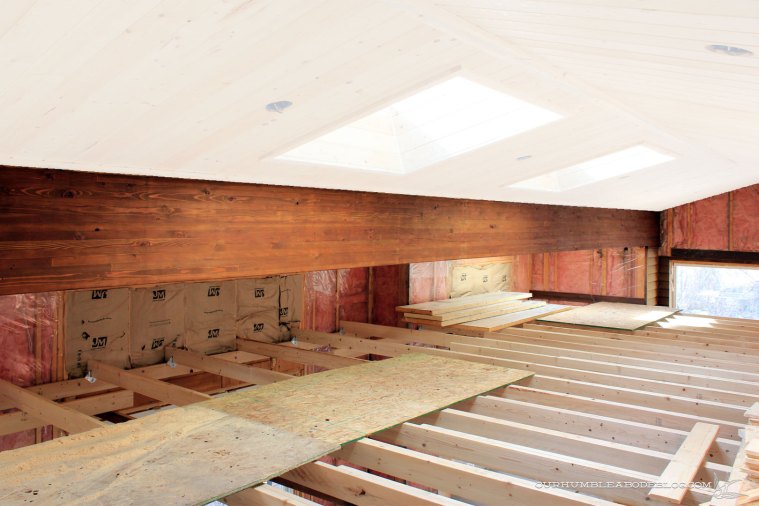
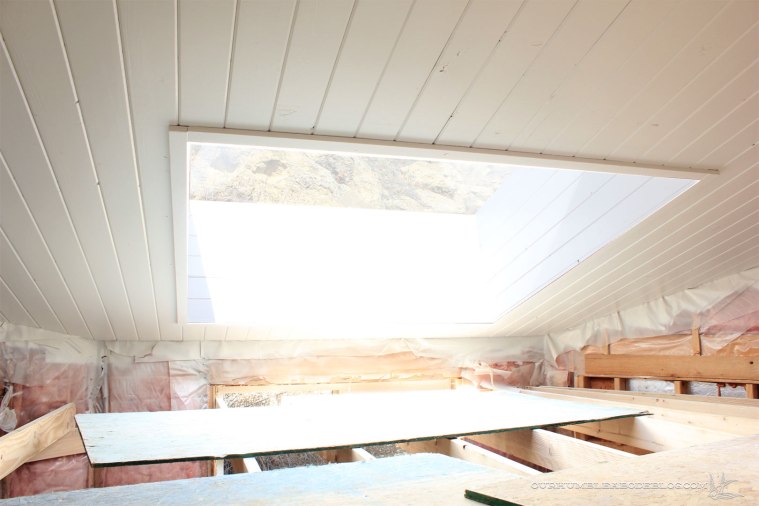
Last Thursday and Friday, to prep for priming and painting the pool house ceiling, I carefully masked off the two beams and the six skylights my short T-Rex arms could reach. I took my time on the beams, first getting masking tape tightly along the edge, then following up with a plastic wrapping.
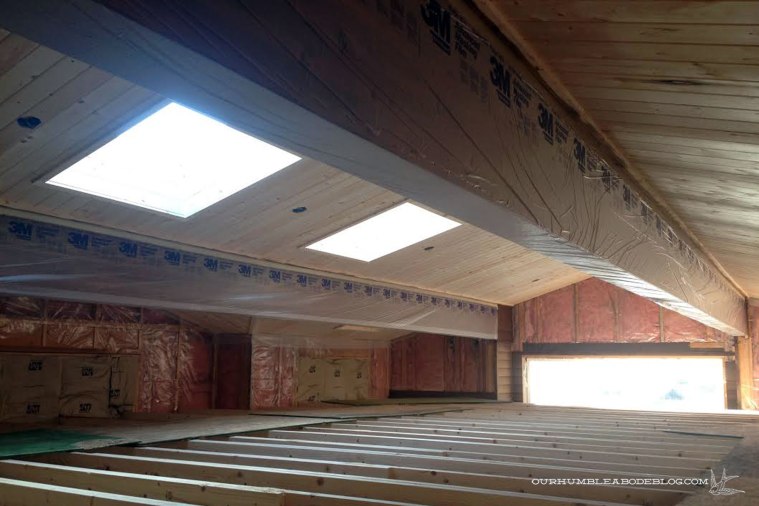
The thought/possibility of getting paint on the beams had me biting my nails with concern, because it would mean sanding and trying to feather in the stain. Or even completely resanding and staining. As a side note, we realized not all plastic masking films are created equal. Unlike cheaper film, paint doesn’t flake off of this one, even after a few coats, making clean up a breeze.
With the beams and skylights covered, we threw drop cloths over tools and stapled more plastic sheeting over the windows to protect from overspray. Saturday after lunch, we started spray priming the ceiling. Watching is like instant gratification because the process goes so quickly. Like an hour to prime everything quickly.
This isn’t our first time painting fresh wood, so we’ve learned a good primer is a crucial element. Though it is far stinkier, we used a good oil based primer from Sherwin Williams. Having used it in the past, we know it blocks stains and the tannins in the wood, preventing the annoying bleed through.
We got lucky with a gorgeous 70 degree day, so we opened windows and doors to speed up the drying process and help air out.
After cleaning up the sprayer, Ben looked at the 15 gallons of paint. That’s when he noticed a slight problem. He had ordered satin, but was given gloss. Generally speaking, I’m just not a fan of gloss paints, especially in this instance. A call to the store, followed by a trip in with the big buckets, and the helpful folks exchanged the paint for the correct sheen. Which allowed us to get painting Sunday.
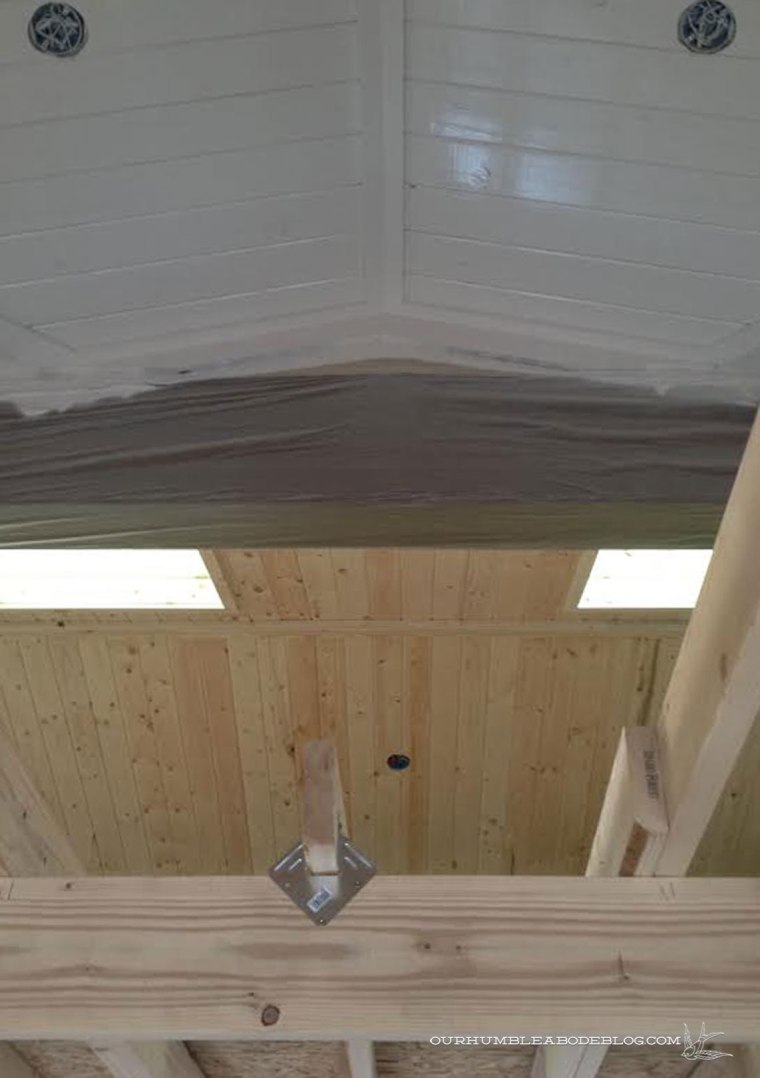
Ben sprayed while I followed behind, touching up and drips or thick spots. Unfortunately, it rained off and on, so the drying process took a lot longer. After finishing touch ups, Ben carefully peeled off the plastic wrapping the beams.
Whew, not a single drop, splash, or drip on them.
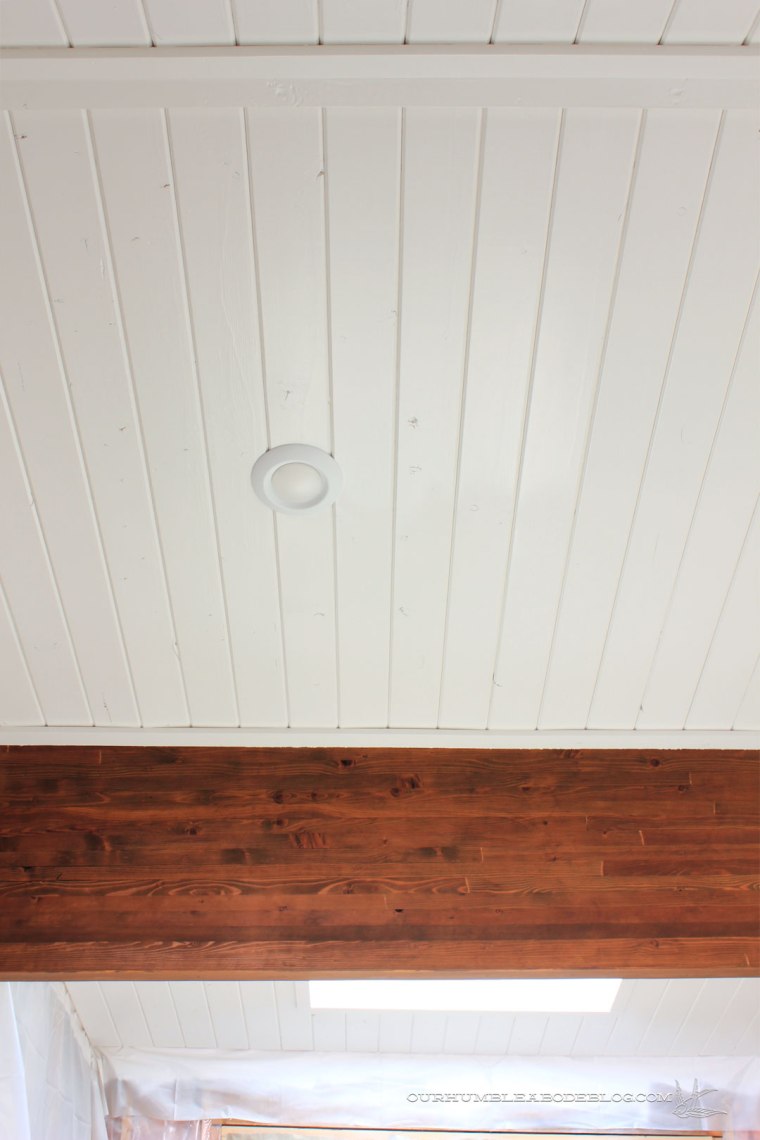
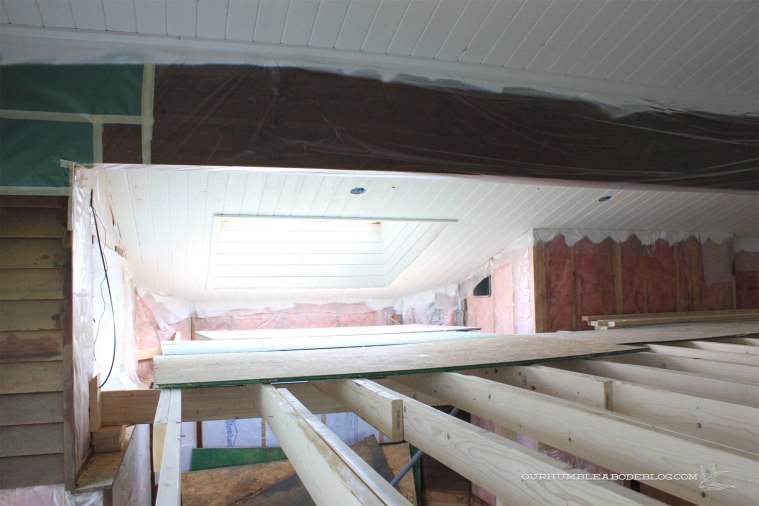
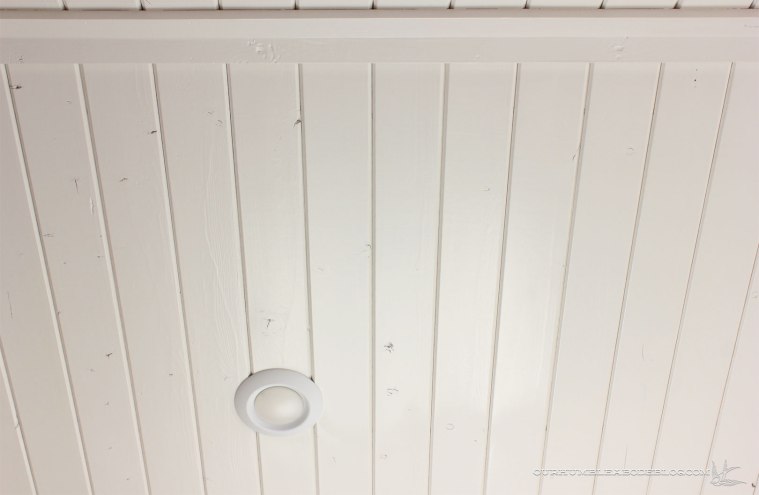
And the ceiling looks amazing. It’s exactly as I pictured in my head and really lightens up the entire room.
Going from an unfinished Photoshopped image:
To reality:

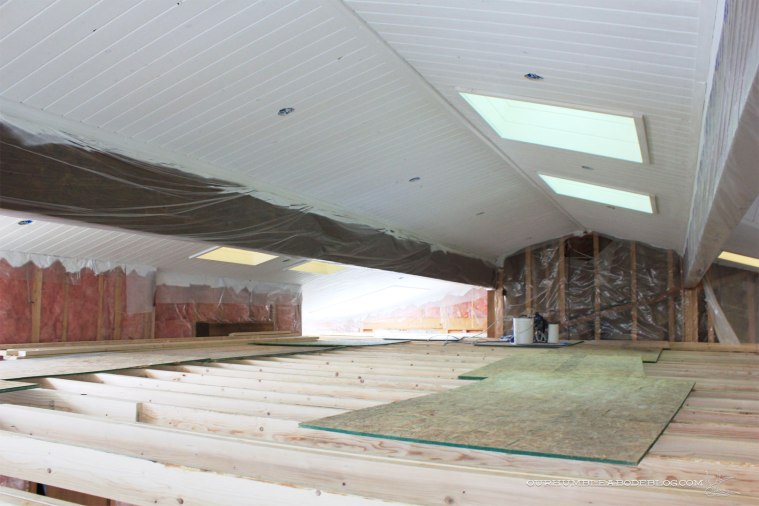
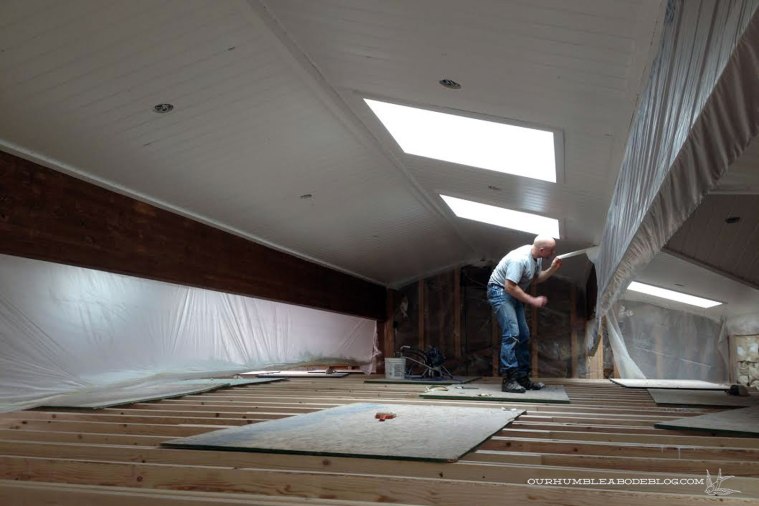
Ben still has some lights to install, but then we should be able to remove the scaffolding. Eek, it will be so great/strange to see the entire ceiling from below.

If you split the space into four parts, the ceiling, floor, walls, and pool, we’re a quarter of the way finished. Next up, removing the tile, which should be great fun.

Wow!!! It looks so amazing!!!! Can’t wait to see the rest of the room finished! 🙂
Oh my goodness, that is beautiful! Do you just go in and stare at it? I totally would!
So much better! I’m in the process of painting the tongue and groove knotty pine walls in our cabin, so I know what a huge difference it makes. Great progress!
It looks beautiful! I just adore your blog.