Handmade Holidays: Glass Ball Ornaments

Christmas is only 27 days away, so we thought it would be fun to share our handmade ornaments.  I decided on a ‘Winter Wonderland’ theme this year.  So snow, snowflakes, trees, pine cones, feathers, reindeer, birds, owls, and polar bears were the main focus.  Some are super simple, others are a little more complex, but all are cheap.  I thought we should start with the easiest ones.

To start, find clear glass (or plastic) ball ornaments.  HoLo (Hobby Lobby) sells a twelve pack for $7.99, but Christmas stuff was 50% off making the balls four bucks.  While at HoLo, I bought a package of brown and teal feathers, also half off, costing $1.00.

I bought the feathers for the teal colored ones, so I pulled those out.

Then, it’s as simple as removing the cap, tossing a few feathers inside, replacing the cover and hanging on the tree.  Ben said these are his favorite.  I kind of agree, but I still have a few more ideas so we’ll see.

I bought the iridescent balls, but I think I’d buy plain glass ones for the feathers if I could do it again.  The coating makes it difficult to see the feathers clearly.

After making six feather ornaments, I made six snow filled balls.  Instead of spending money on fake snow, I poured a little Epsom salt inside.

For the snow ornaments, I think the iridescent finish is fabulous.

Once you’ve filled the ornaments, hang those suckers on the tree, too and admire the sparkle.  Yes, I am a raccoon.  I like shiny things, so Christmas is the best time to appreciate all things sparkly.

If you’re looking to keep your Christmas decorations cheap, these are perfect for you.  I spent $4 on the glass balls and another dollar on the feathers for a total of five bucks for twelve ornaments.  Each ball cost $.41 cents.  Score.

The boys and I put up the Christmas tree this weekend while Ben installed our upper cabinets.  We still have ornaments to make, so here’s a fun bokeh picture of the tree.

What did you do this weekend?  Set up your Christmas tree?  Did you make ornaments?  Do some Black Friday shopping?

Silhouette Ornaments

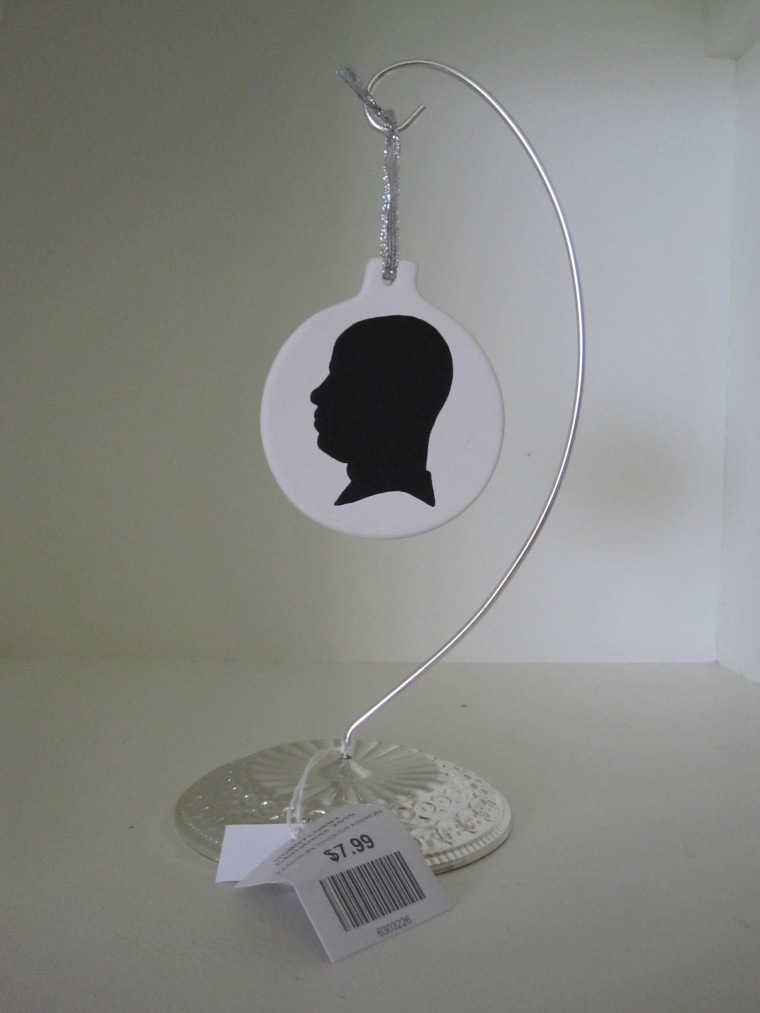
For me, how I decorate for Christmas isn’t especially different from how I decorate the rest of the year.  I still look for bargains, multi purpose items, and ways to add personal touches, usually involving more glitter than usual.  So, when I decided to decorate our entertainment center, I knew I wanted to make some special ornaments as placeholders for our silhouette art.

So, I took a trip to Hobby Lobby where I found white ceramic ornaments.  They were originally $1.00 each but 50% off.  Following these same instructions to create the silhouettes, I sized our profiles to 2 inches. 

Then, I centered the silhouettes on the ornaments.

 Using a pencil, I lightly traced the silhouette. 

To fill in the silhouettes, I used normal acrylic paints and a small paint brush to get the detail. 

Ideally, I would have used a ceramic specific, heat set paint, but I couldn’t find any at Hobby Lobby.  I did, however, find four cute ornament hooks ay Hobby Lobby for $4.00 each. 

I had to alter how the ornaments hung, because the ribbon was threaded through the hole, making them hang sideways.  To fix that, I added a small loop of wire, then a ribbon for hanging.

Fortunately, that solved the problem and they now hang beautifully on our entertainment center.

How many handmade ornaments do you have?  If you’re like my mom, most are ones your kids have made in school.  What is your favorite ornament and why?  Did someone special give it to you?  What meaning or significance does it have?

Have a Ball

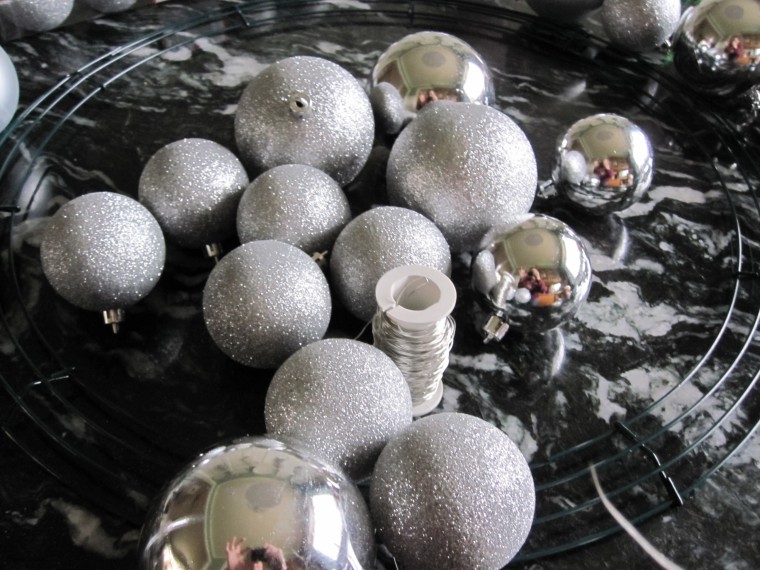
Are you ready for another Christmas craft project?  You are?  Good, I’ve got just the craft for you, a Christmas ball ornament wreath.  To start, you’ll need to acquire a roll of floral wire, a wire wreath form, tons of cheap plastic ball ornaments and a sheet or two of felt to match your color palette.  It also helps to have a glue gun and plenty of glue sticks handy.

I got a large form from Hobby Lobby for $3.47 and nine packages of ornaments from Target’s dollar section.  I chose all silver to keep it timeless and go with any color palette in the years to follow.  Seriously, the best deal I’ve found.  Get an assortment of sizes, too.  I used 2 1/2 packages of the small (16 per pack), 5 of the medium (8 per pack) and 1 large with 4 per pack. 

After you gather your supplies, start by cutting a piece of wire about two feet in length.  For this part of the process, use only the two large sizes.  String the wire through the top of the ornament.  Wrap the wire around the wire form and twist the loose end to secure.  Then, wrap the long end through another section of the wreath form, go back up and add another ball.  Basically, you’ll make a zig zag pattern with the wire to connect the ornaments on a few long wires. 

The zig zag will help keep the ornaments in place.  They will still move around a little.  This is where the glue gun comes in.  Place a few little dots of hot glue where the ornaments meet and allow to dry.  This step is most easily done in small sections.  I don’t recommend waiting until you’ve attached all ornaments to glue. 

Continue attaching the ornaments until you’ve covered the wreath form.  You will have spots where the wreath form is still visible, just as I did with the pine cone wreath I recently made.  If you have visible areas on the very inside or outside of the wreath, wire small ornaments in place, gluing to keep from moving. 

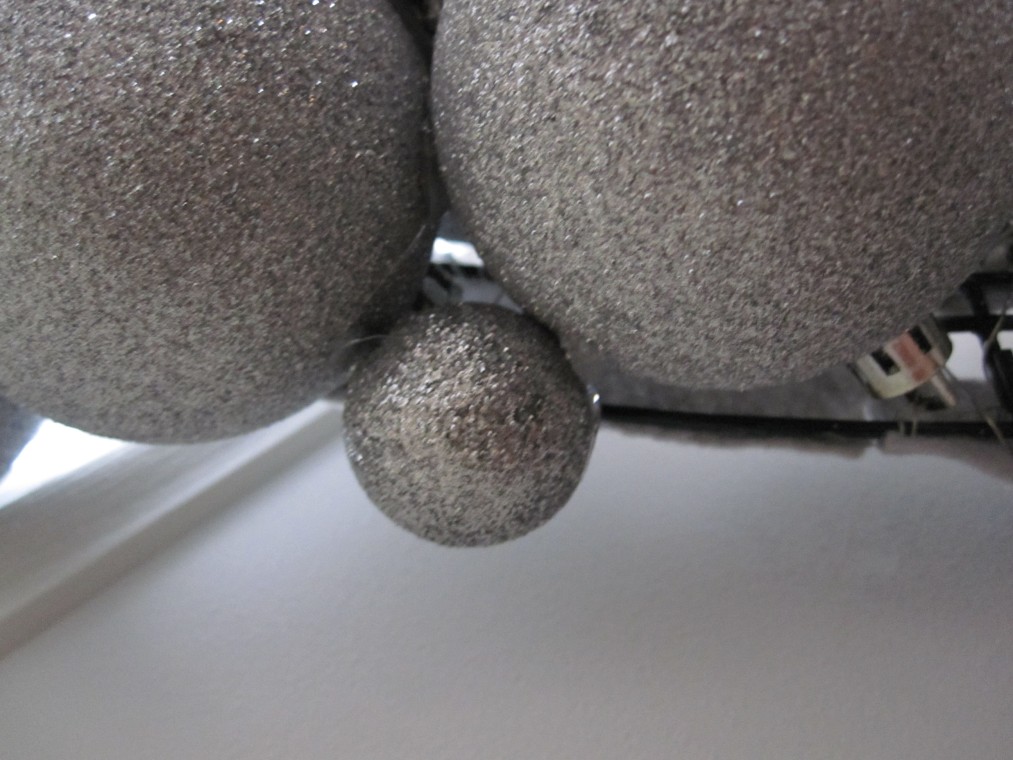
Then, hot glue the smallest ornaments onto the larger ornaments to fill any areas you can see through those ornaments. 

Again, continue until you’ve covered all areas.  If you want to add a splash of color, you can add a bright bow, hang an ornament in the center of the wreath or choose a brightly colored ribbon to hang the wreath from.  The possibilities are endless. 

To prevent from scratching the surface the wreath will rest against, hot glue small pieces of felt to the back or the wreath form. 

Hang on your door to add a ton of Christmas cheer and greet your guests. 

Still looking for Christmas decorating ideas?  Fret not, we’ll share another DIY idea tomorrow, but you can check out our Christmas tree in the mean time.

It’s Beginning to Look a Lot Like Christmas

That’s right, folks.  I know it’s not December yet, but Christmas is right around the corner.  Have you started decorating?  I think most people decorate the weekend after Thanksgiving, and usually I do, too.  But, this year, we’re running around like crazy people the week before, so I decided to decorate a few weeks ago.  Yep, you read that right, weeks.  What was the first Christmas thing to go up?  The tree, of course! 

This year’s color palette is silver, white, blue and green.  Not very original, I know, but I bought ornaments at Target (love Target!) the day after Christmas last year.  So, I’m working with what I’ve got.  Every year, it’s Ben’s task to add the lights to the tree.  We both prefer the plain white strands for a classic look.  So, he lights the tree and I add the ornaments.  This year, I had a little help from Vincent.  Of course, most decorations are at the bottom two feet, but hey, it’s free help. 

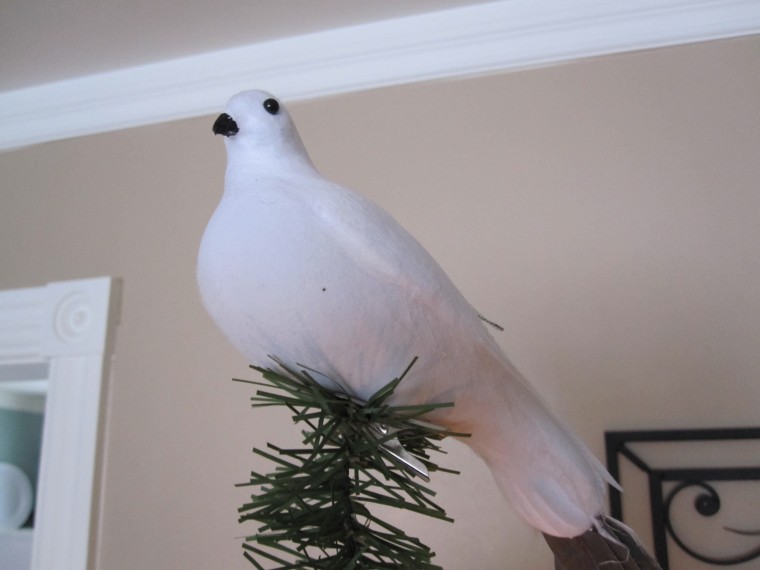
A white dove is perched atop our tree this year.

I have my eye on a beautiful Capiz star topper from, where else, Target.  It’s currently priced at $20.  Not bad, but it will be much better when it’s 50% off, dontcha think?  Yeah, me too.  What else is on my Christmas tree wish list?  A cute tree skirt of some sort. 

You see, we don’t have anything covering that ugly tree stand right now.  I want something white or silver, but I haven’t seen anything I really like yet.  I think I’ll buy some fabric and make a tree skirt at some point. 

So, that’s what our Christmas tree looks like this year.  What about your tree?  Have you set it up yet?  Do you have a color scheme or theme you’re sticking to or do you prefer to decorate with all of those mismatched, collected-over-time ornaments?