Three Things

Three things to share today.  First order of business, the winner of a Sanus Full Motion TV Mount is Erica.  Congrats!

Sanus-TV-Mount

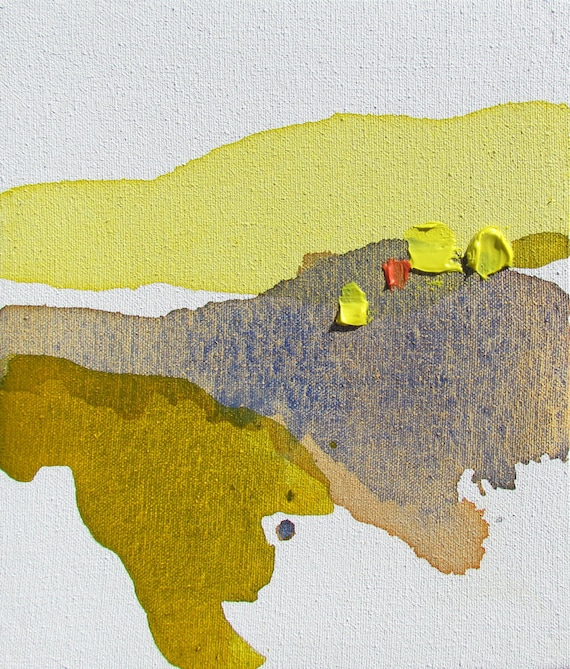
Second on the agenda, sharing a super cheap and über easy way to frame out a canvas.  Wanting to finish off the painted canvas I made for Ben, I stopped in Home Depot to pick up 2 eight foot pieces of 1 by 2 pine.

Canvas-Frame-1-by-2-Wood

To fit these in my car, I cut each into two pieces, five feet and three feet so I had a little wiggle room when cutting at home.  Before making my mitered cuts, I sanded the rough wood using 150 grit paper.

Canvas-Frame-Wood-Before-Sanding-Detail

Rather than relying on precise measurements, I brought my canvas out to my work table.  Yes, I measure the girly (maybe lazy is more appropriate) way.  But, it made it so easy.  I just marked the edges of the canvas on the inside of my frame, then used a square to mark the top as well.  These lines became the inside of my angled cuts, just lined the edge of the saw blade at the corner and cut.

Canvas-Frame-Corner-Detail

Before attaching my frame to the canvas, I first applied a coat of Dark Walnut stain and two coats of Minwax Polycrylic (both already in my stash).  I debated the attachment method.

First I though I’d nail from behind the canvas, shooting into the canvas frame and then into the pine.  But Ben said poplar can have weird knots and it might angle and shoot through  my canvas.  Um, not the look I’m going for.

Instead I used an 18 gauge nailer to go through the pine and into the canvas frame.  Worked like a charm, although I did angle my first shot too severely (fearing a blowout on my canvas) and it went into my work table.  Lesson learned.  While the nail holes are on the outside of the frame, they’re barely visible.  You know, until I take a close up shot.

Canvas-Frame-Nail-Detail

Now the canvas looks finished, with a slim, modern wood frame.

Canvas-Framed-in-Family-Room

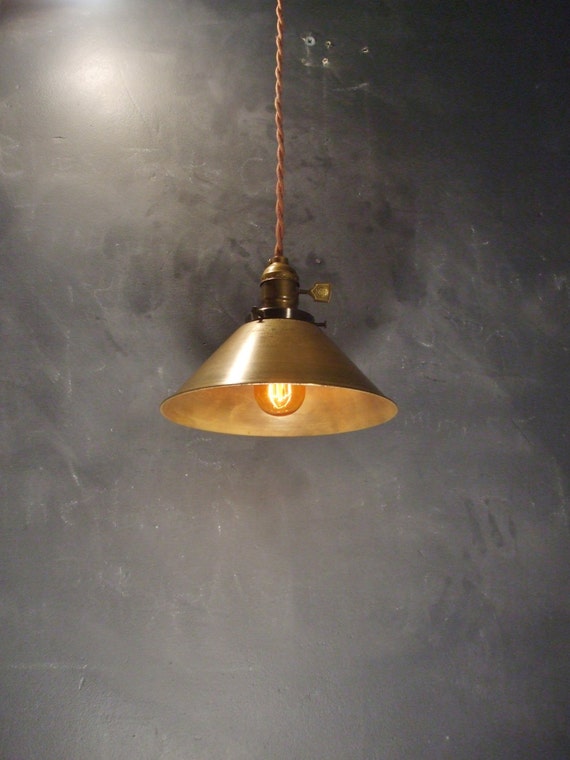
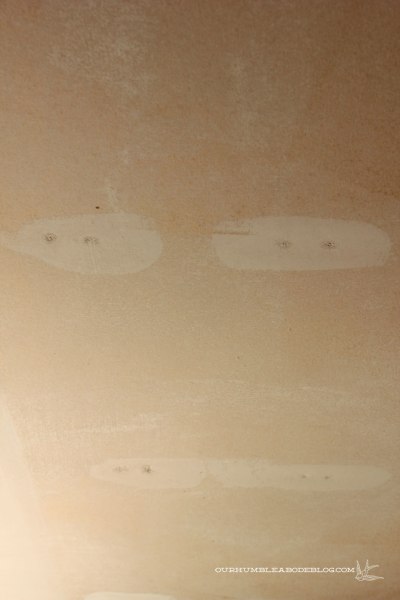
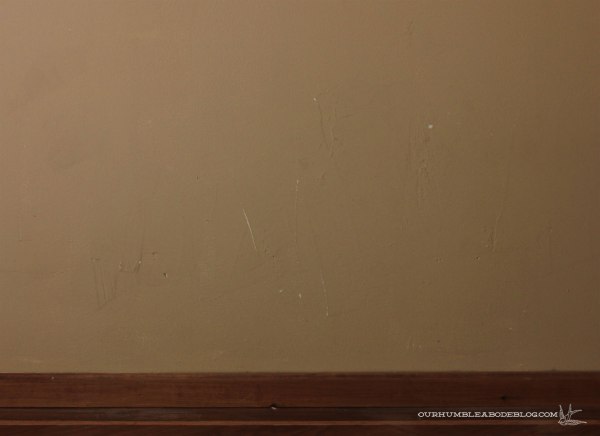
Oh, and I worked up the courage to deal with the ceiling.  Not done yet (this is dragging on!), but looking a little better.  Especially when the can lights aren’t hanging down like Halloween zombie eyeballs.

Canvas-Framed-on-Mantel

One of my favorite things about this frame is the price.  Two 8 foot sections of 1 by 2 pine set me back $2.50.  I mean, how can you beat three bucks for a huge frame?!

Canvas-Frame-Left-Side-Detail

My second favorite thing about this frame is the depth.  It sits flush with the canvas back, but has another 3/4 inch depth beyond.  I think it’s a nice touch.

Canvas-Frame-Right-Side-Detail

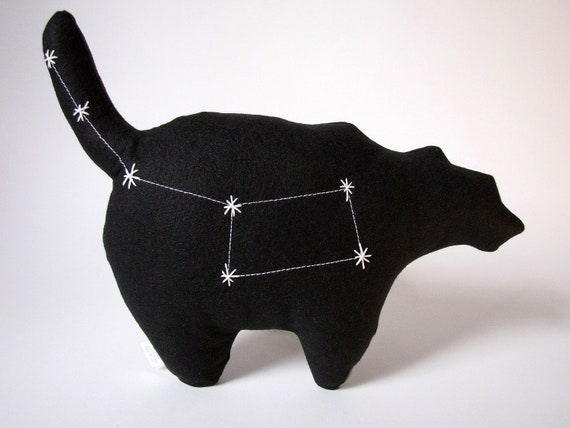
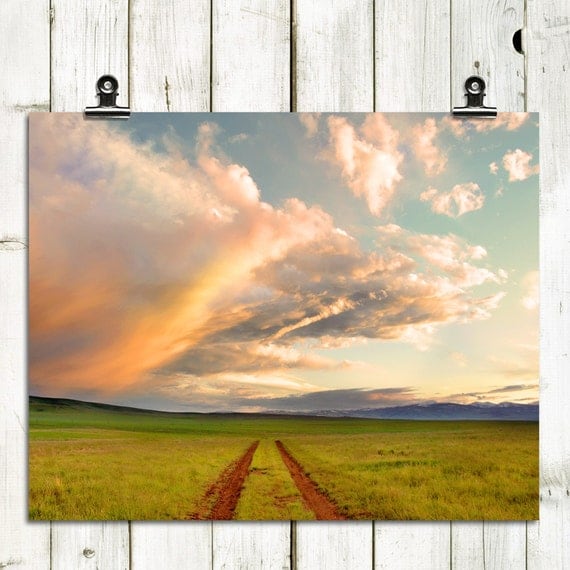
Of course I love how quick and easy it was, too.  Took between and hour and two of active time to make.  Because this frame was so easy, I want to make two more to finish off these embroidered constellations.

Item number three; last but certainly not least.  We’re celebrating yesterday’s summer solstice with a big sale.  Now through Friday, July 5, use the code STARTSUMMER to save 50% on everything in our shop!

Summer-Sale-Banner

Oh, how about a number four?  Have a wonderful weekend!

Etsy Favs: June

You know what I love about Etsy?  Well, I’m going to tell you.  I love supporting creative people and small companies.  And getting to interact with the actual artist, not some huge entity.  Oh, and all the fabulous, affordable, original art/home decor/jewelry/and more.  So, here’s what caught my attention recently.

Aztec pillow cover at Classic By Nature

Miniature Glowing House with Green Trees by 2 of 2

Vintage Inspired Minerals and Gems Science Poster from Vol. 25

Late Night Swim Watercolor Painting by Renée Anne

Sedum Photo Pillow Cover at Catino Creations

Navy Honeycomb and Mint Cube Stud Earrings from Vivid by Esther

Mountain Range Scherenschnitte Paper Cut by Catfriendo

Give and Take and Picnic in the Park at Kiki and Polly

Vintage Industrial Hanging Light from DW Vintage

Ursa Minor Constellation Pillow at Love, California

Minimal Abstract River Painting by Lauren Adams Art

Ridges Sky 9331 from Becky Comber

We can’t forget about our awesome Etsy shop sponsors, either.  Through the Doggy Door, a quirky shop stocked with upcycled goodies ranging from leather key chains and wallets to brightly painted home accessories.

My favorites are the cameras.  Conversation piece, right?!

And MT Photo Journal, a shop filled with beautiful Montana photography prints.

Scenic landscapeswildlifeflorals, and rustic images abound.

Stop in these awesome shops, support small businesses, and show them some love!

Shoulda Been Father’s Day Gift

I hope everyone had a wonderful Father’s Day!  Ben is a tough guy to get gifts for.  He’s not interested in techy things, doesn’t need dressy clothes, and is extremely practical.  Because he mentioned wanting one large item on the family room mantel, I decided to make him a huge painting.

MCM Chairs Finished in Family Room

Actually, I came up with the idea after seeing two foot by four foot canvases at Michael’s for 30 bucks.  Better yet, I had a 50% off coupon.  Inspired by Karen Smidth’s paintings, I set out to make a semi abstract landscape painting based on this photo I took several years ago in western Montana.

Western-Montana-Picture-for-Painting

We’ve been there several times as a quick weekend getaway and have always really enjoyed ourselves, so it seemed perfect.  Using acrylic paints I had in my craft stash, I started painting.  Then Ben came home earlier than I expected and saw what I was working on.  Luckily, he really liked it, but I’m not totally in love with it.

Landscape-Painting-on-Mantel

Some of the details I like. Like the snow-capped mountains and grass.

Landscape-Painting-Detail

And the size is great.  What seemed huge carrying around the store now looks perfectly normal on the mantel.

Landscape-Painting-in-Family-Room

The overall look is kind of a minimal abstract mixed with Grandma Moses folksy.

Landscape-Painting-from-Left-Side

But the colors make me smile and the intended recipent likes it, so that’s what really matters, right?!  That’s what I’ll keep telling myself, anyway.  Who knows though, it could grow on me.  Or I could get the urge to change some things.  I didn’t bother painting the sides because I want to build wood frame to finish it off.

Landscape-Painting-Unpainted-Sides

And there’s still the ceiling to finish.  Ugh, I can’t work up the desire to sand it smooth.

Landscape-Painting-and-Ceiling-to-Finish

In other news, our bathroom is featured in the current issue of Kitchen + Bath Makeovers!!

Kitchen-+-Bath-Makeovers-Feature

Ahh, so crazy to see our faces and home smiling back at us.

Is your guy a tough one to buy for?  I considered getting a bocce ball set because we’re building a court out front, but that didn’t seem as personal.  Do you have a go to dude gift?

Table Talk & Surprise Giveaway

You know when you see something, something you don’t need, at a thrift store, but buy it anyway?  You like it, but don’t know where you’ll put it or what you’ll do with it.  I’ve done that a few times, including this not so little sleek wooden table.

For ten bucks, I had to get it, right?

Goodwill-Table-Price-Sticker

It seemed kind of tall to be a coffee table, but I bought it because I hoped it would work.  But my hunch was right, it was taller than most coffee tables.

Tall-Goodwill-Table-as-Coffee-Table-in-Family-Room

About four inches tall.  And looked awkward.

Tall-Thrift-Table-as-Coffee-Table

Of course I have a few options.  One, I can cut the legs down a few inches to lower it for use as a coffee table.

Tall-Goodwill-Table-as-Coffee-Table-by-Chairs

Not ideal, but it could work.  But I can’t undo that if I don’t like it.  So, I can also use it as a low end table.

Tall-Goodwill-Table-as-End-Table-in-Living-Room

What would you do with this too tall to be a coffee table but too short to be something else guy?  Do I cut the legs down?  Because I’m sharing recent ten-dollar purchases, check out this dipped basket I found at TJ Maxx.

Dipped-Basket-in-Main-Bathroom

Perfect place to drop dirty towels.  I bought a slightly larger one for Handy Sammy’s room, too.  Can’t pass up a ten-dollar basket.  Can you?  how about a surprise giveaway to kick off the weekend?  Oh, sure, here it is!

Sanus-TV-Mount

The Goods: A Sanus Vuepoint F180 Full Motion TV Wall Mount, available at Wal-Mart.

To Enter:  Leave a comment!

For additional entries:

1.  Like Our Humble Abode on Facebook.

Contest Closes: Thursday, June 20th, 2013.

Number of Winners: One lucky guy or gal.

Ships: US of A only, please.

Other Info: We will select the winners using random.org and announce on Friday, June 21st.  Good night and good luck.

Getting Preppy

Finally having the ugly popcorn off the boys ceiling feels great, but that was the easy part.  The texture came off rather smoothly and easily, but that doesn’t mean the ceiling is primer or paint worthy.  Because we’ve had a few ‘what to do after scraping’ questions, I’m back to share my steps.  Our sheet rock is held in place with nails (the quick way to hang it) and every nail hole needed filling.

Nail-Holes-in-Boys-Ceiling-to-Fill

A few areas had scrapes from my spatula and some minor popcorn residue was still on the ceiling.  Before I could break out the primer, I first filled every nail hole (twice), filled in any scratches, then sanded the whole ceiling smooth.  I started with a drywall pole sander (like this one) but quickly got frusterated with it.

Lacking serious upper arm strength, I couldn’t keep the sander head flat on the ceiling with enough pressure to do much.  Instead, it kept flipping over, causing more damage.  So I ditched it, filled in the scratches from it, and used a sanding sponge to get ‘er done.  Oh, and I taped off the door to contain the dusty mess.  Also, wear glasses and a mask because the dust is everywhere.

Ceiling-in-Boys-Room-Ready-to-Prime

Use a fine grit paper and sand until smooth to the touch.  Carefully, sanding through the tape can be a serious pain in the butt.  Drywall mud should sand easily off, as will the popcorn residue.

Sanding drywall, it’s a dirty job (said as Mike Rowe).

It was annoying to use a small sanding block, moving a chair all around the room, but it’s done.  Even primed and painted.  Looking gloriously smooth.

Painted-Ceiling-in-Boys-Room

Unfortunately for me, the ceiling wasn’t the only wall needing attention, sanding, and spackling.  I’m 99% sure the two outside walls had wall paper.  Wall paper was all over this house: the kitchen, previously in the family room and guest room (found pieces behind outlet covers), and some painted over in our master bedroom (which will make it super easy to remove, I’m sure).  Either this paper really stuck on or someone was especially careless when removing, leaving big triangular gouges behind.  That’s bound to happen.  Then the chunks were filled, but apparently not sanded before painting over.  Behind Everett’s crib was the worst spot.

Wall-to-Fix-in-Boys-Room

So I’m currently tending to the walls before we can prime and paint.  First I used a metal putty knife to scrape off the uneven areas, filled, sanded, even primed the problem areas.  But the moisture of the primer made the surrounding paint bubble.  I scraped again, making the area larger, sanding smooth, and filling again with mud.  Annoyingly, the wet mud made more paint bubble.  You guessed it, more scraping, sanding, and filling.  Now I’ve got this to work with:

Patching-Wall-in-Boys-room

Hopefully (key word here!) I’ve gotten the flaky paint off and I can carry on with my plans.  Which should include new door trim, crown, and base boards before a few coats of Anjou Pear paint.

Door-in-Boys-Room-Waiting-for-Trim

It’s exciting to take another virtually untouched since we’ve moved in room and make it ‘us’.  Kind of getting sick of feeling like I’m living in someone else’s house, you know what I mean?  So tell me, what’s the strangest thing a previous home owner has done to your house?  Something that has you wondering, “why in the world did that happen?!”