
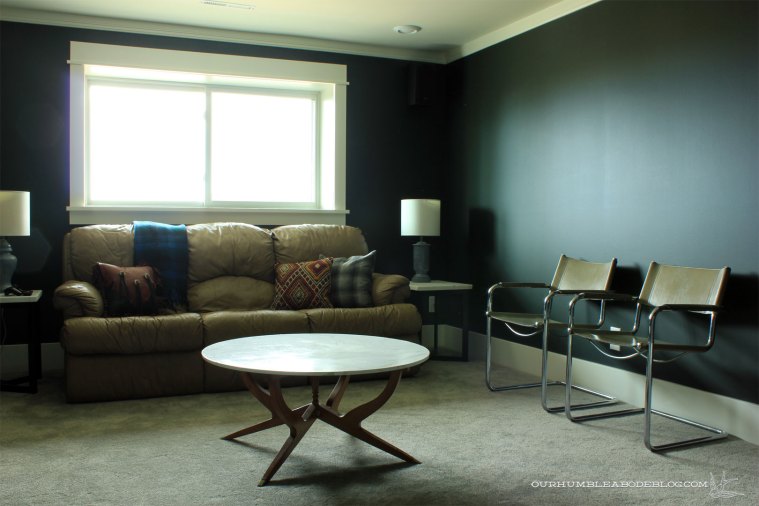
One of my goals this year is to get more pictures off our computer, phones, and memory cards and onto walls, frames, or into books. I’ve already ordered three photo books through Shutterfly, but we also needed large art for the basement theater room.
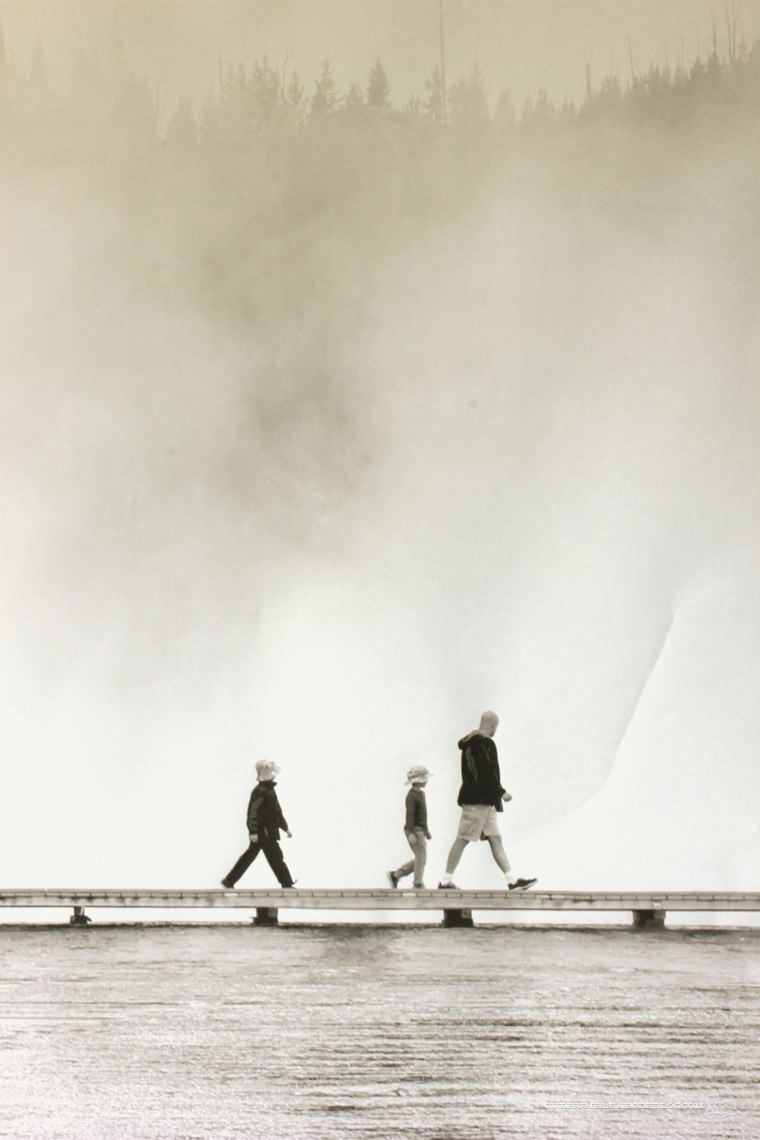
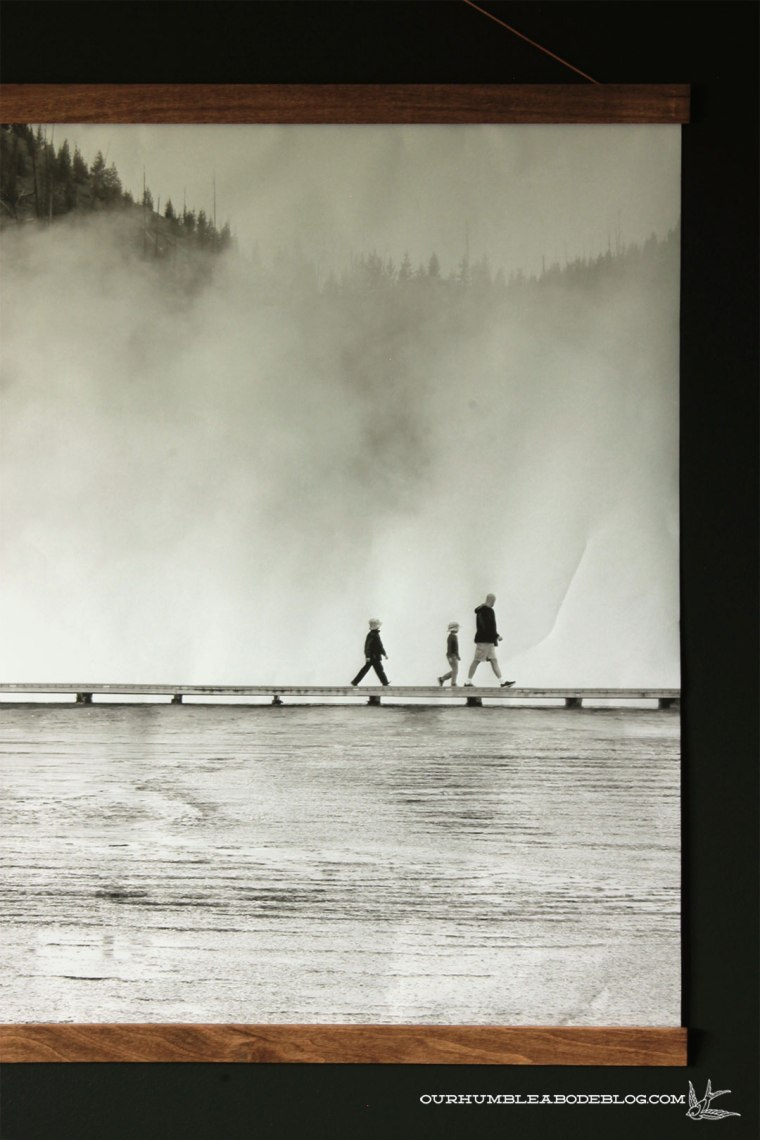
While in Yellowstone, I took around 1,000 photos and loved the simplicity of this shot of Ben and the boys on the boardwalk at the Grand Prismatic Spring.

It was a cool day, so we saw mostly steam. While not the best for viewing the amazing thermal features, it did create a dramatic, but simple background. However, with the crowds of people, I couldn’t get a shot with just my three favorite men. Luckily, Photoshop and I are pretty friendly and a few simple edits took care of my problem.
Above is a gif of my editing process. If you’re planning to turn a photo into wall art, here are a few tips for the best results.
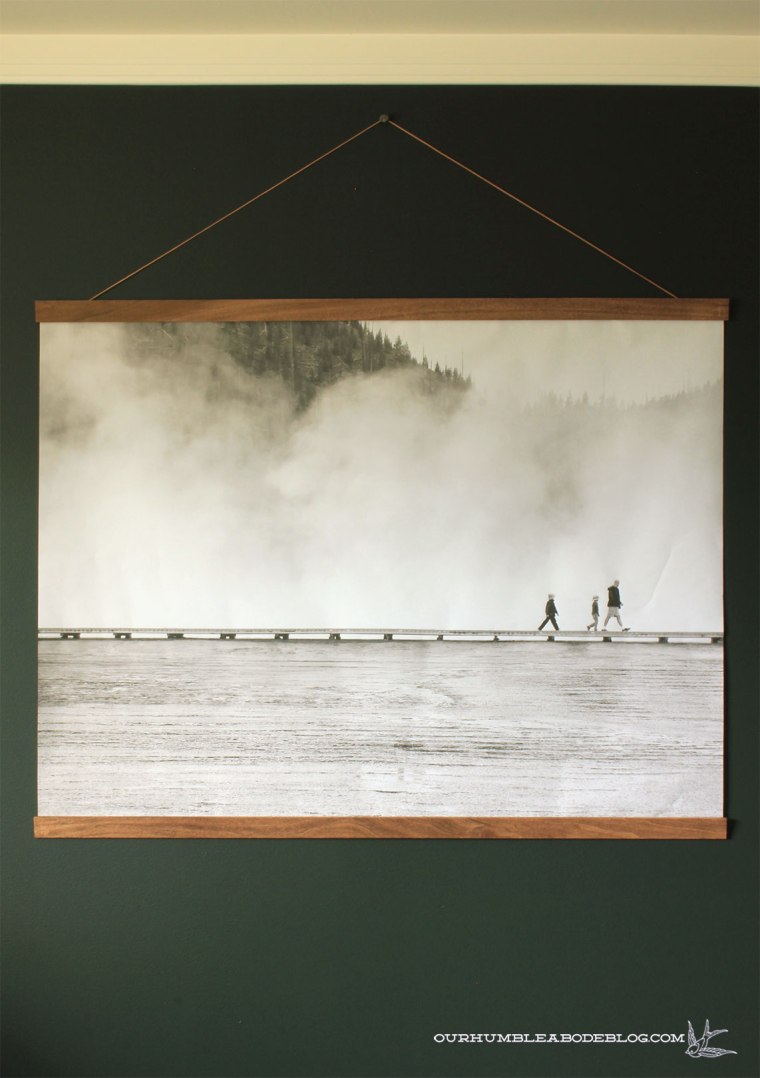
First, edit out any distractions. Solid backgrounds work best, whether literally solid or a mass of trees, water, or anything else that doesn’t have a noticeable repeat. To edit out the distractions, in this case, other people, select an area as close to the object as possible, then copy and paste. Move the layer over, covering the object and select the eraser tool. Lower the hardness to 0 and raise the brush size to give a soft, fuzzy edge. Erase all around, then repeat with any other problem areas. In my case, after editing, I preferred a composition with the three guys over to the right, rather than centered on the frame. I copy and pasted them into position, erasing around the new layer to soften the overlay. Then covered their original placement.
Secondly, if your plan includes turning the photo from color to black and white, follow these simple steps. Start by turning to black and white, and click the auto adjust button. From there, you can adjust the color values to your liking. It is also helpful to auto adjust the Levels and Curves to enhance the depth. If too harsh, lower the opacity until it looks best.
Finally, when printing, save the file as a .pdf and print at your favorite location. To adequately fill the wall space, I had my file printed as a three by four-foot black and white engineer print at FedEx Office for nine dollars. Usually the biggest expense isn’t printing, but framing such a large piece.

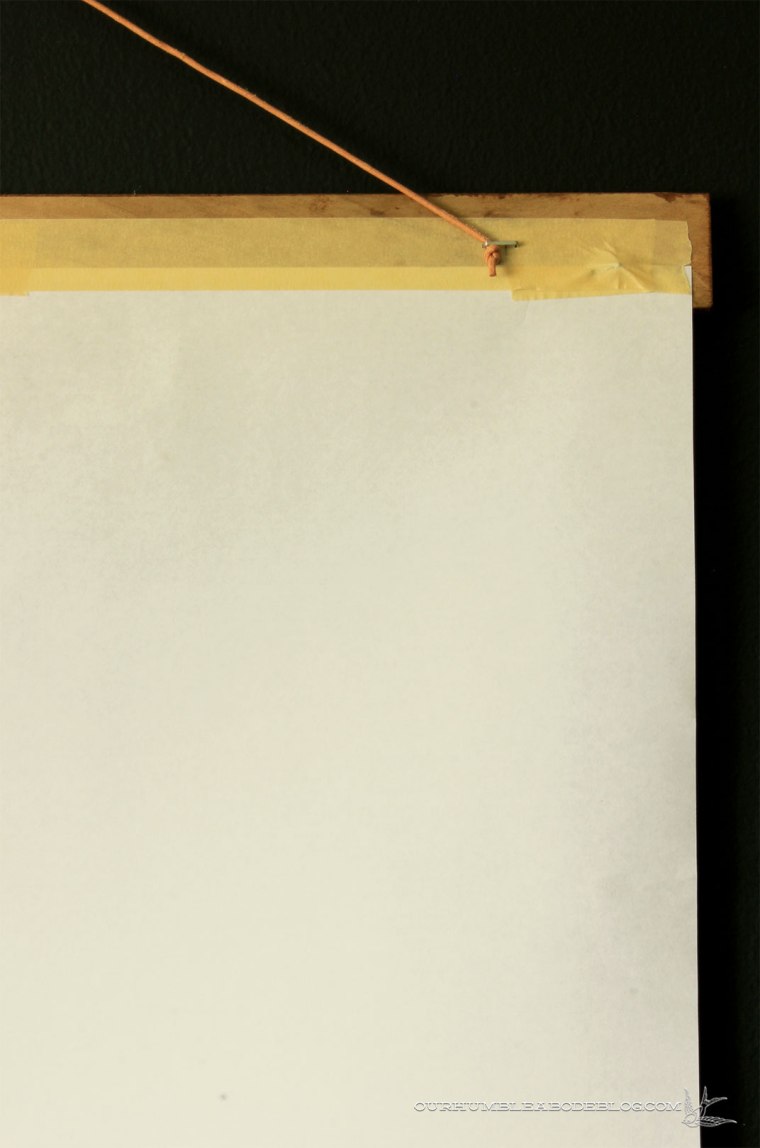
To save loads of money, head to your nearest lumber department. Home Depot carries 1/4 inch thick by 2 inch wide by 48 inch long poplar strips for only $2.61 each. I bought two, and gave each strip a coat of Minwax Special Walnut stain. Allow to dry, then break out the staple gun loaded with 1/4 inch staples. Lay the paper face down and tuck the wood under the top slightly. Use masking tape to keep the paper from shifting, and staple occasionally to secure the paper to the board.

I added full strip of tape over the staples for added security. To hang, I used a 40% off coupon to pick up a roll of leather cord from Hobby Lobby. Tie a knot in each end and staple just above to prevent the cord from falling out.
Attach the other poplar board to the bottom and hang on a nail. Nearly instant, large wall art that didn’t cost an arm or a leg.
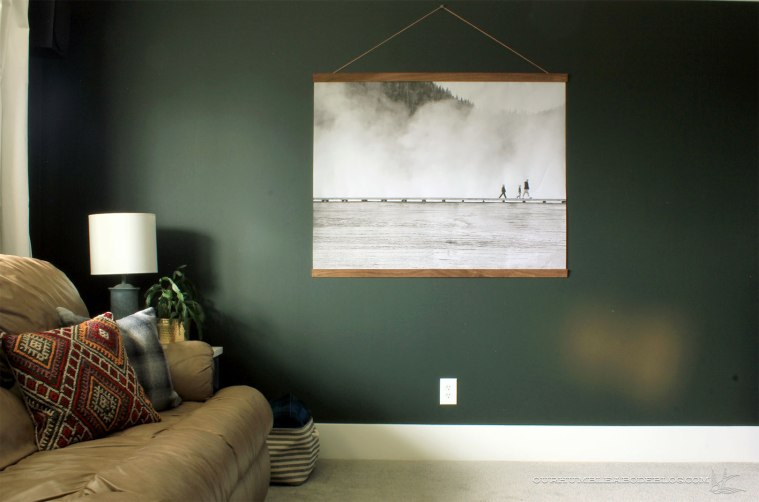
In fact, assuming you already have a tiny bit of paint or stain, staples, and tape, grand total is under twenty bucks!
That’s cheap enough to justify creating a rotating gallery, swapping whenever you have a new favorite photo.
Now, dig through those gazillion photos on your computer and pick at least one to hang on your wall.
P.S. Shutterfly is offering 50% off plus free shipping on orders over $39 through September 5th, so order now!

Amanda! You are so smart!! I’m definitely going to do something similar to this in the near future!! Beautiful art!!
Thank you so much, Maryanne!
What an absolutely great idea!!! Thanks for sharing this! Have been following your blog for a long time, and enjoy seeing how your house has progressed. Especially enjoy your outside projects.
Thanks, Jeanne! I really appreciate your sweet compliments!
Brilliant!
Thank you, Amanda!
Brilliant!
A beautiful solution – It looks fantastic!
Hi Kathy!
Thank you! I’m thrilled to have something on these walls already. 🙂
Love it — I’m same as you, a gazillion photos sitting on hard drives instead of on my walls! Been meaning to at least bring everyone’s phones to Walgreens and print a bunch out. But this is a fantastic idea!
Also, this is such a wonderful photo. What camera do you use?
Hi MEL!
Thanks so much! I use an introductory Canon SLR, the Rebel T2. Nothing too crazy, but it offers a lot of adjustment for a beginner photographer. 🙂
Thanks!
Amanda
Great photo! Love the art you created with it.
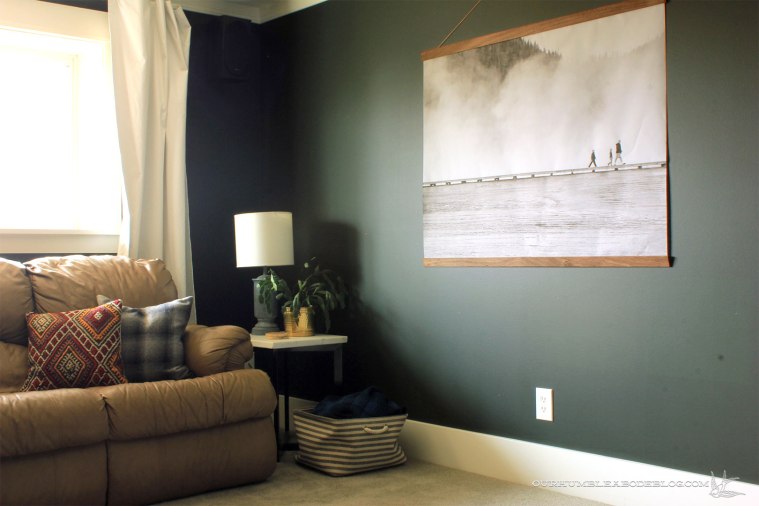
Thanks! It adds a lot of character to the room without being overwhelming or busy.
Any suggestions on how to save your image files? Do you save as a raw image or jpeg? What size do you save your images for the best resolution?
Hello Kendra!
First off, I use a high resolution on my camera, so it takes up more space, but the photos enlarge so much better. As for editing, I like 300 DPI for the best resolution as a .pdf for printing. 🙂
Thanks!
Amanda
This is fabulous! Such a great tutorial! #pinning
Pin away! 🙂 It was too affordable and easy not to share.
Hey what size is this engineer print? I went to staples and they offered 24×36 but yours look bigger than that. Maybe I need to go somewhere else!
This is 36 by 48 from FedEx Office. We have three locations but only one offers this size so I’d definitely call before going. 😀