
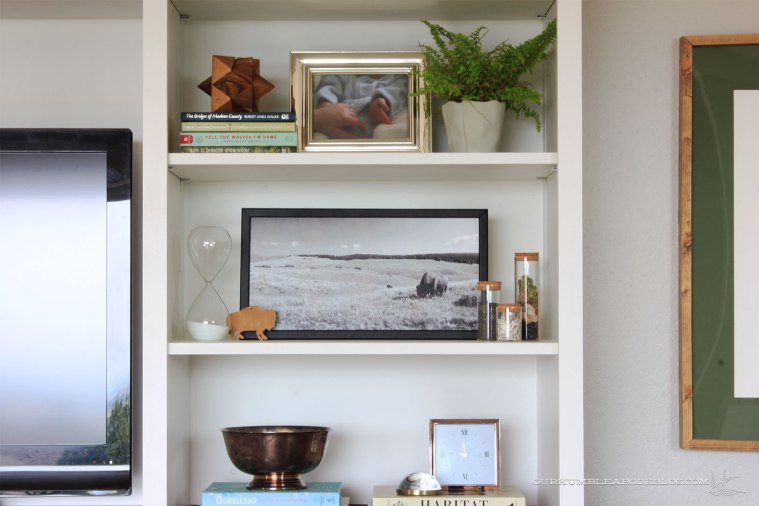
When I shared our new entertainment center, I quickly touched on the styling of it. I love the look of art layered in bookshelves, so I snatched this almost panoramic sized black and white photo off our bedroom wall. It fit perfectly, but I wanted the shelves to feel symmetrical and only had one.

I love odd dimensions, but it’s not a standard size frame, so DIY to the rescuuuue! Don’t feel limited to the cheap frames big box stores carry. Or custom frames that can get expensive really quickly.
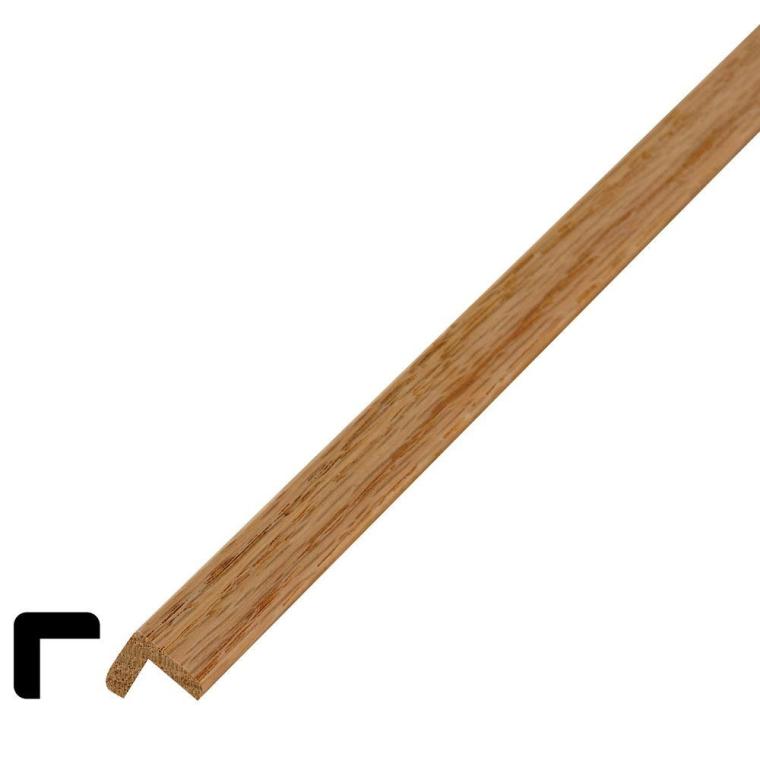
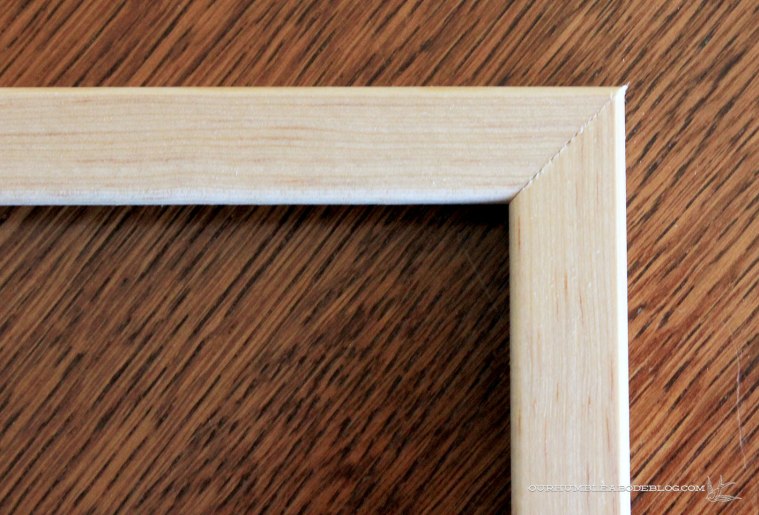
This is the quickest way to make a custom sized frame. Head out to Home Depot or Lowe’s and get a stick or two of Outside Corner Moulding. I chose the smallest at 3/4 inch by 3/4 inch to better match the other frame, though the larger sizes would work well for bigger frames.
When cutting, I like to keep the trim with one side tight against the saw, and the other face up.
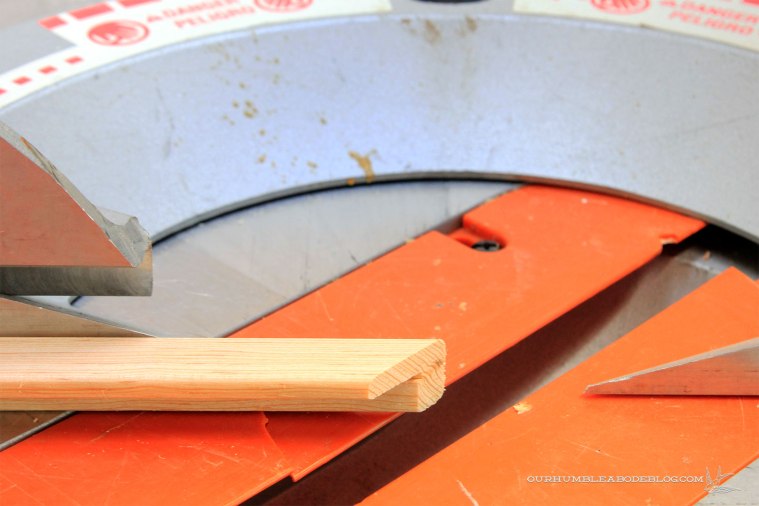
Keeping it like this makes cutting safer, but also easier to remember which way you have to cut it.
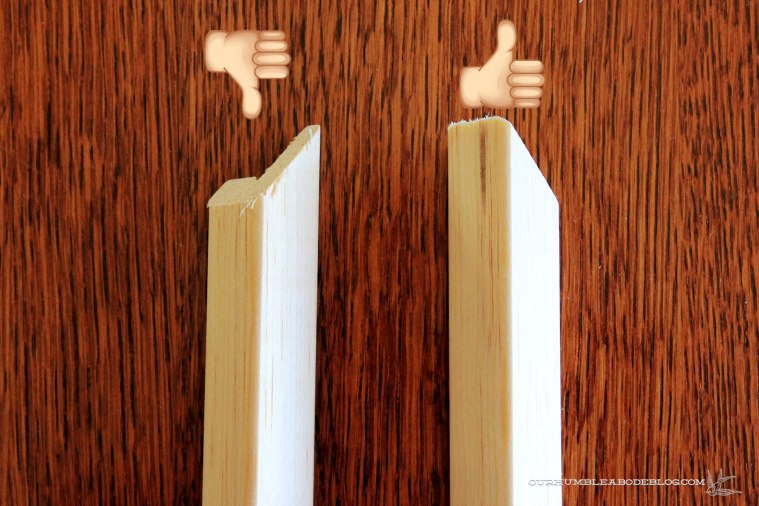
Once cut to size at a 45 degree angle, apply wood glue to the insides of the cuts, press firmly together, and clamp in place until dry.
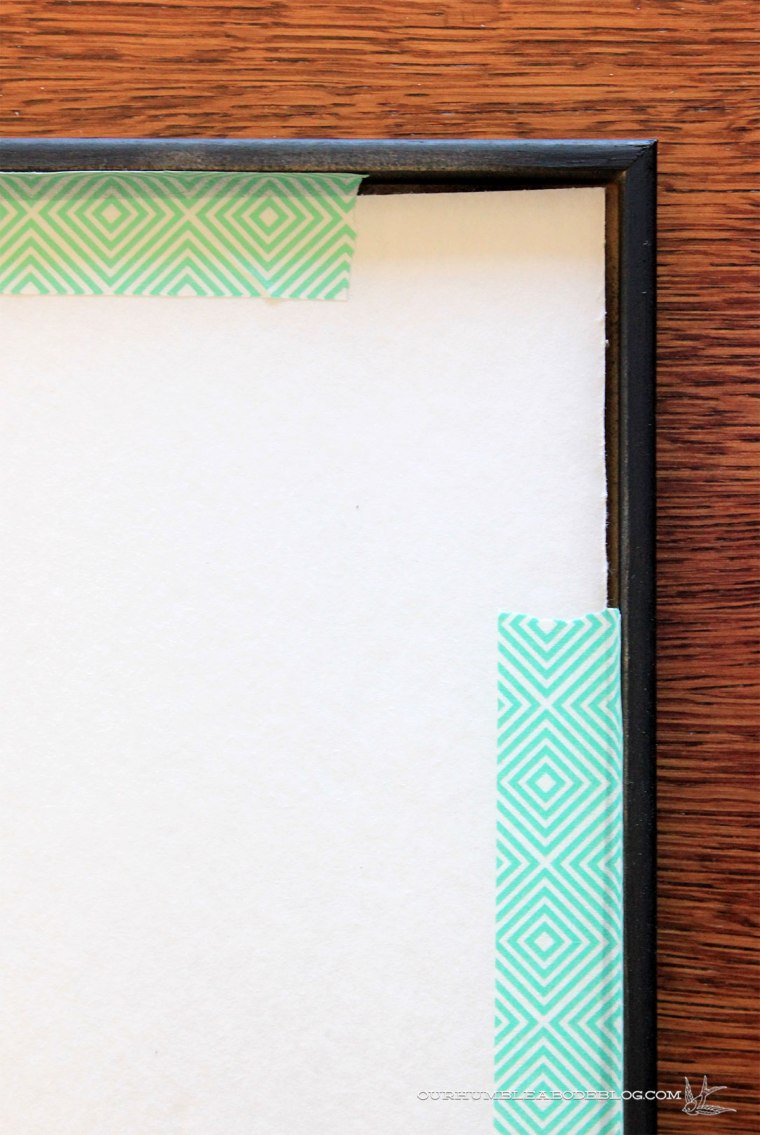
While the glue dries, cut a piece of foam core to the inside dimension of the picture frame. Apply double-sided tape around the perimeter of the print, then carefully line up the backing and press together. Now you have a backing and the art is held in place.

I chose not to add glass to my frame, as my other was also without. To secure the back in place, you have a few options. Either gently staple just above, tap small nails in place, or, if the contents are light enough, take the laziest way out: masking tape.
Yep, so, so fancy around here-ha!
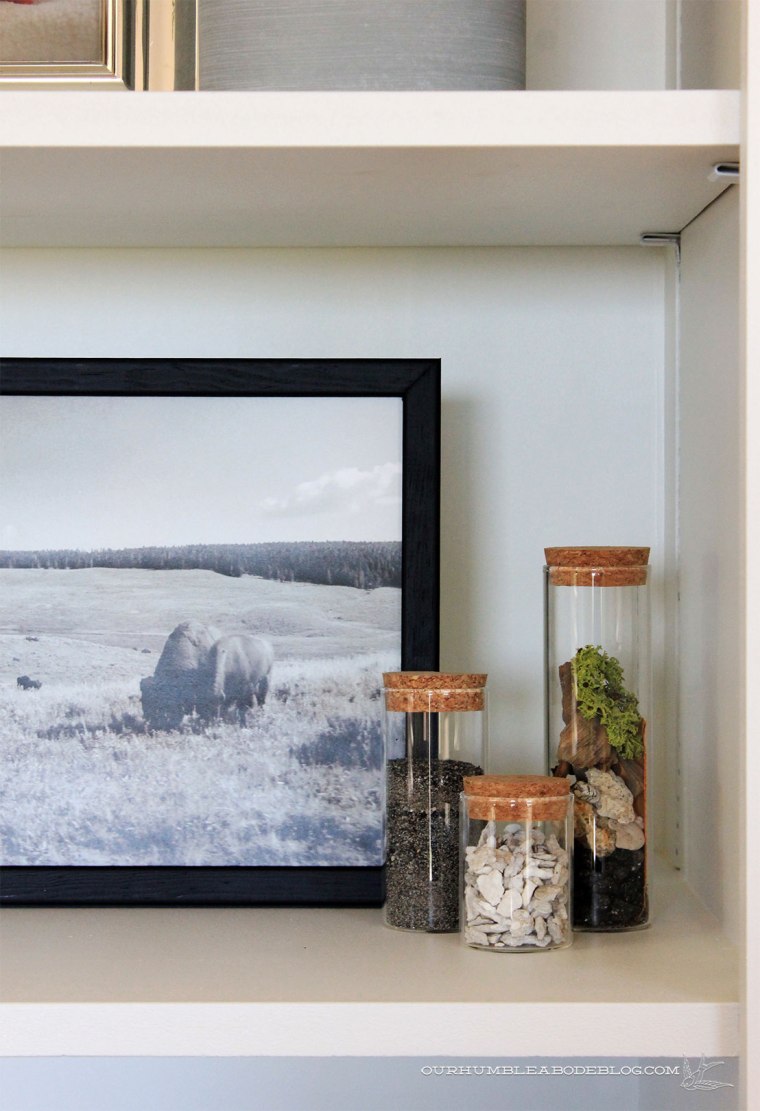
After about 30 minutes of work time and roughly 9 bucks, I have a finished frame and art. In fact, this was so simple I have plans to make more to replace the art stolen from our bedroom.

I paid about 50.00 a piece for 2 custom size frames! And they look just like what you made! I’ll have to remember this for the future! Thanks so much
Hi Peggy!
Framing can get expensive quickly! I’d definitely recommend trying this your next go around. 🙂
Thanks!
Amanda
Art that was stolen?? What happened?
Sorry for the confusion, I stole it from our bedroom. 🙂