Caulking Tips and Tricks

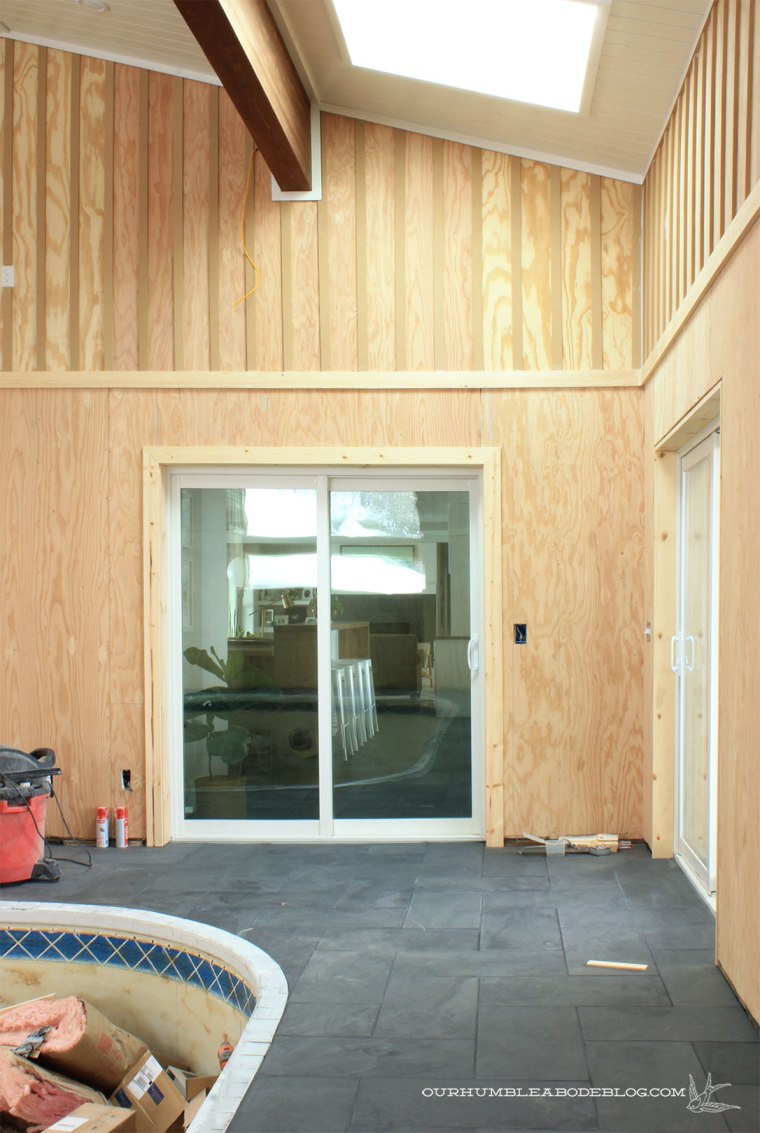
Nearly six years ago, when we purchased this house, the pool house was rocking a lot of dated finishes, including dark stained and streaked wooden lap siding.

New-House-Pool-Room April 13 2012

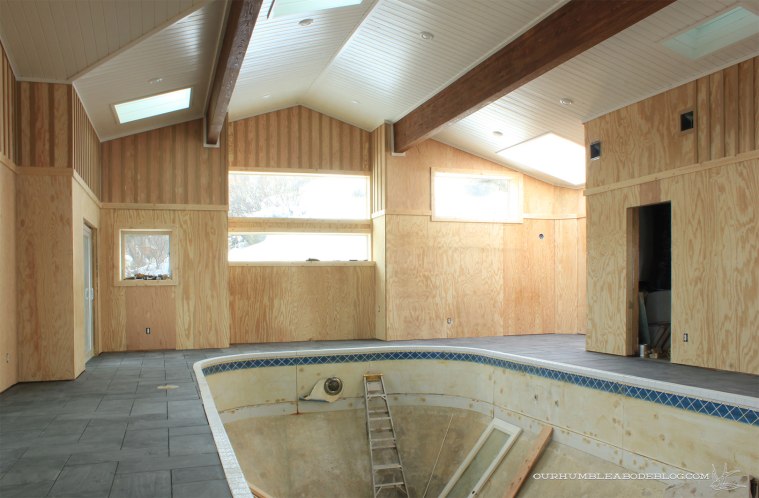
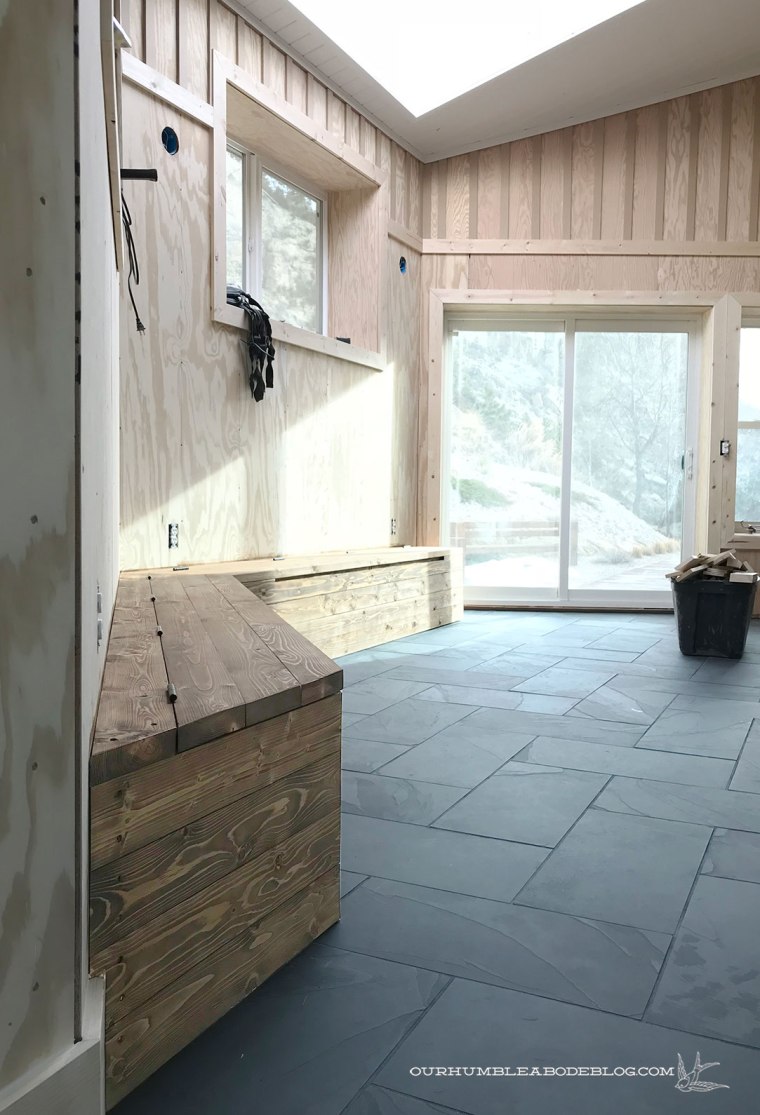
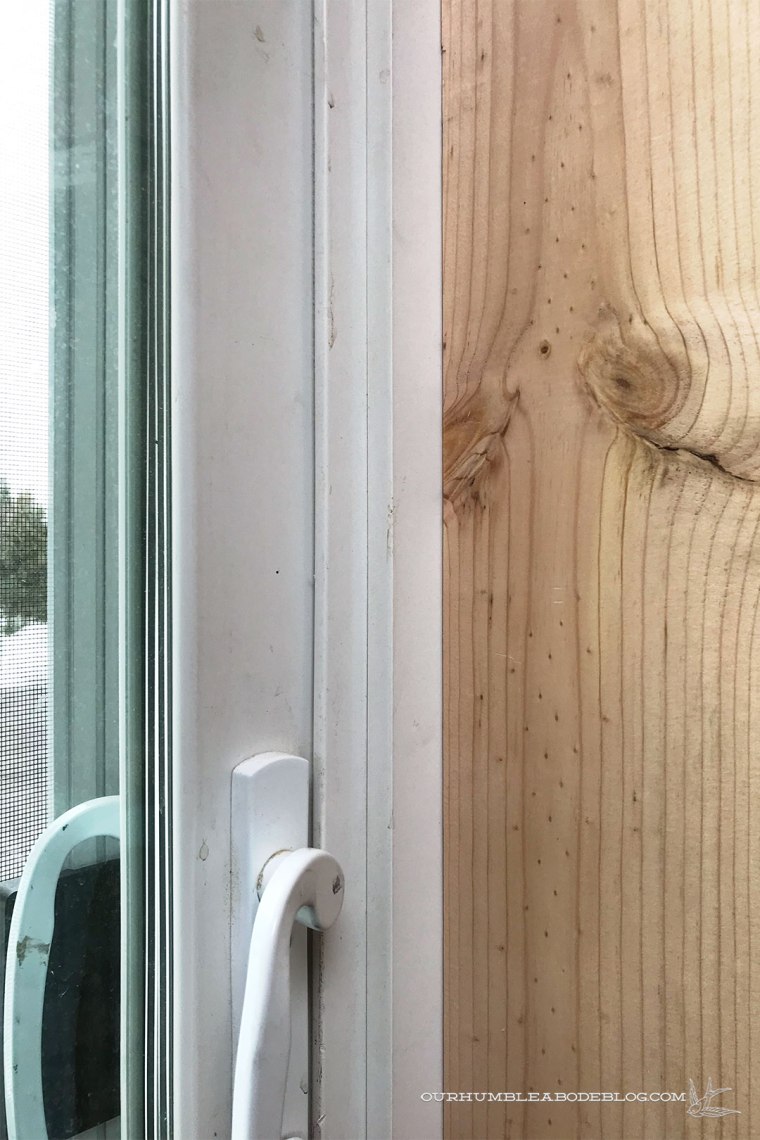
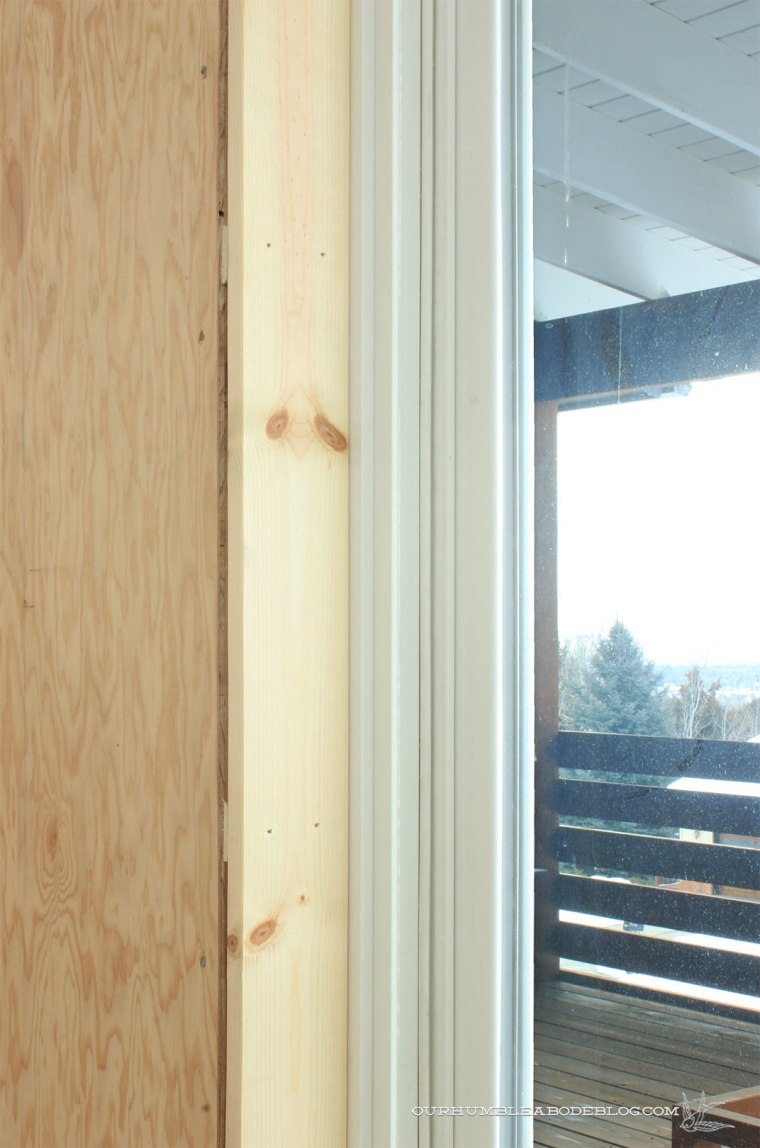
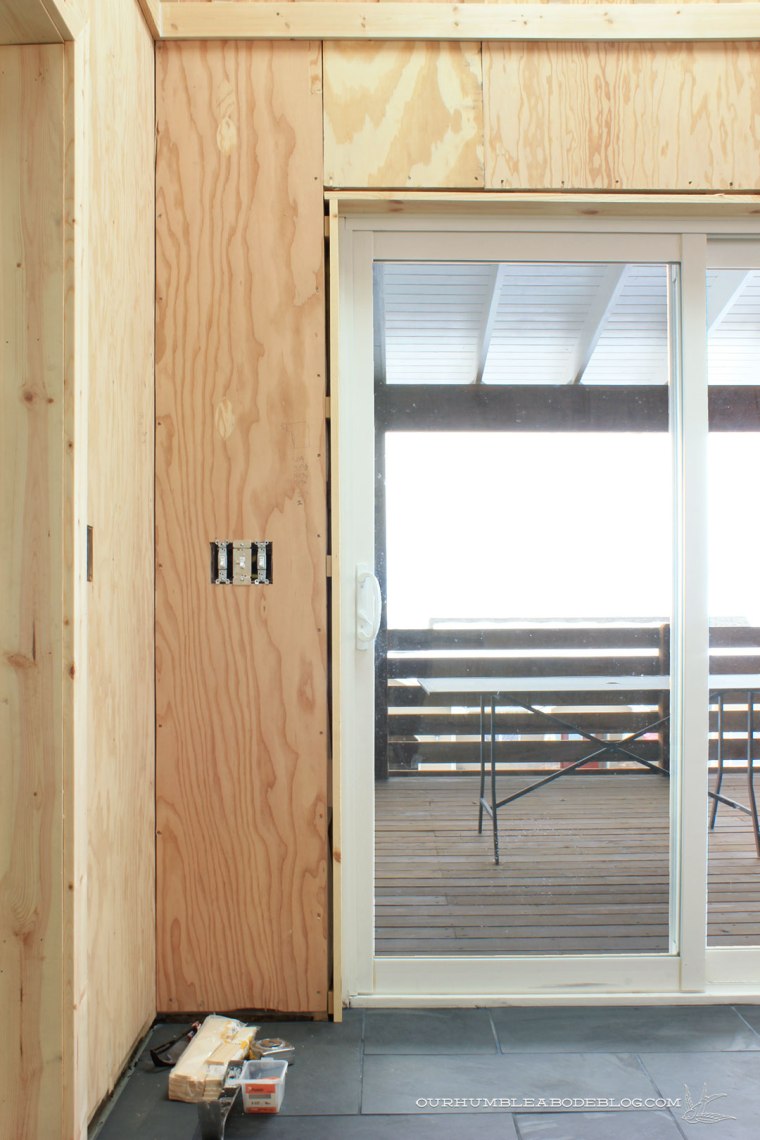
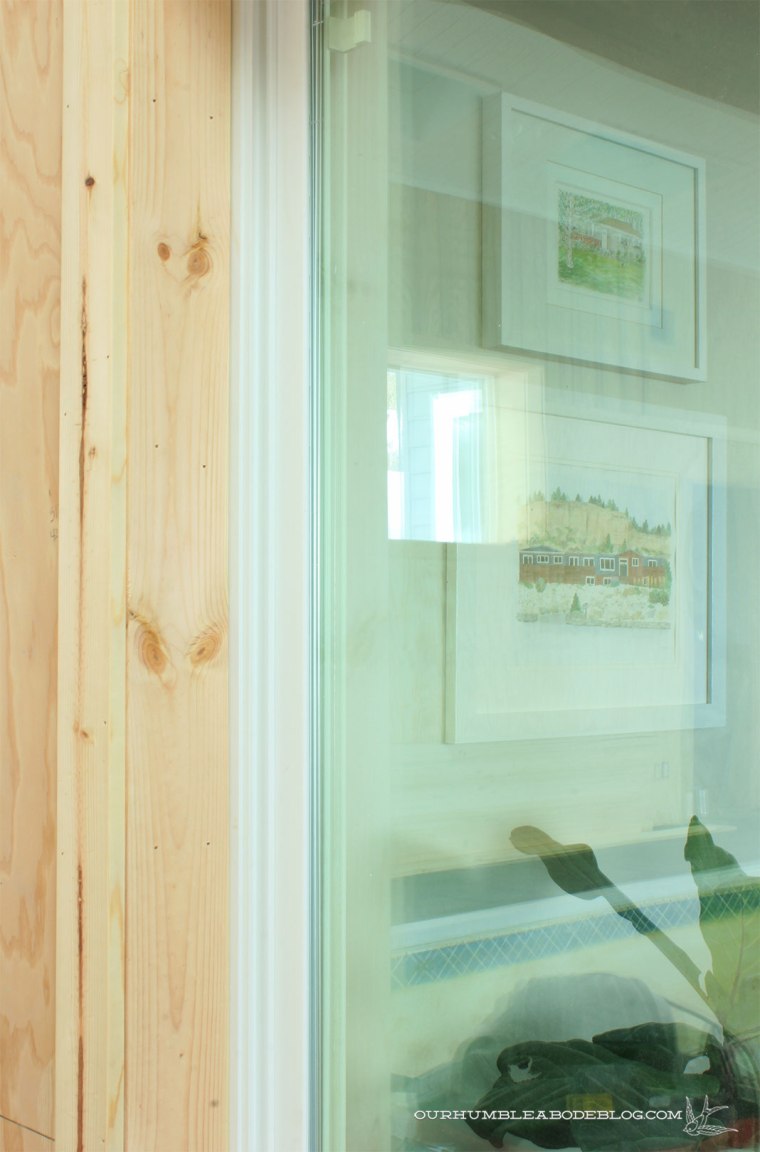
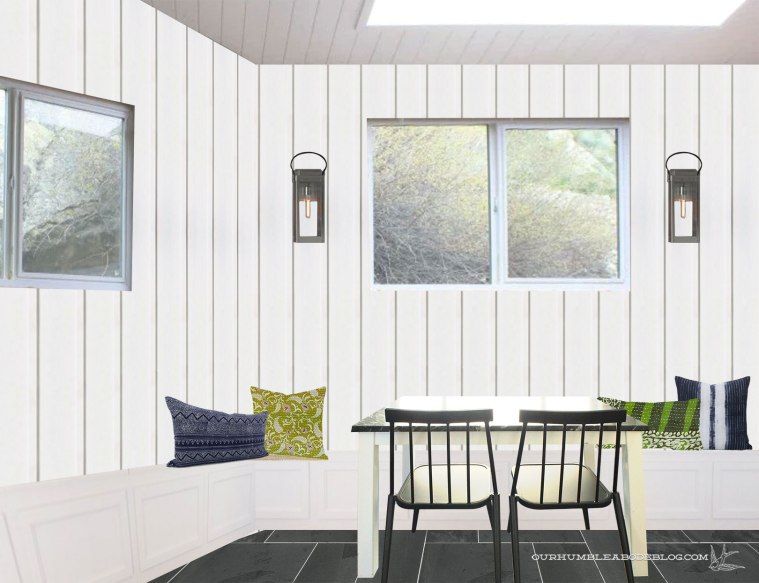
To achieve the light, airy feel we’re after, our plan includes painting the walls white.  While we could have used lap siding and painted it white, I feel it would have looked too much like an exterior in an interior space.  After many discussions to make my board and batten dreams come true, Ben agreed to the wall treatment.  Before installing the tile floors, we started installing the upper portions.

Built-in-Bench-at-End-of-Pool

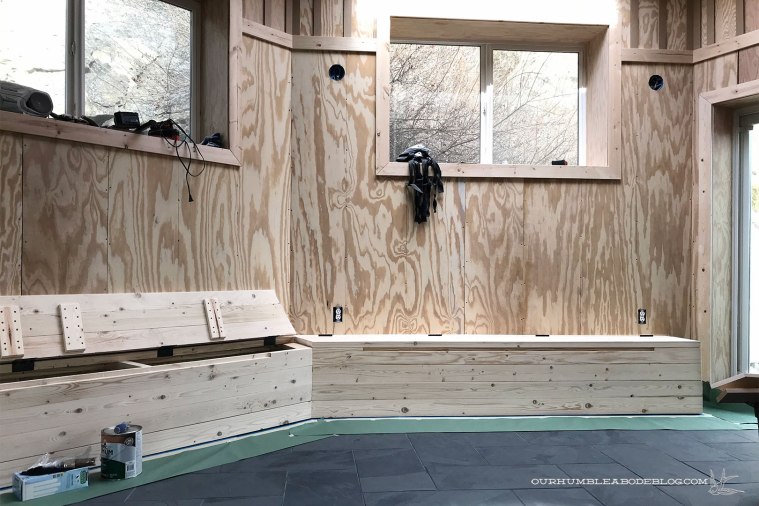
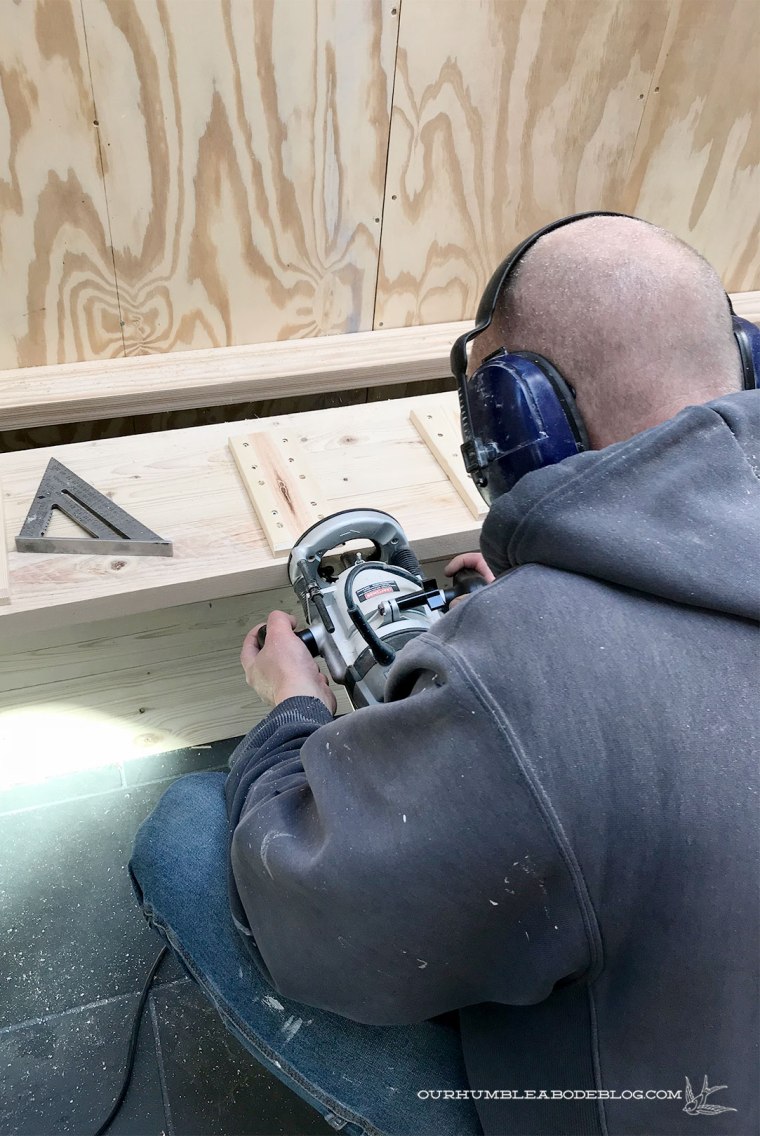
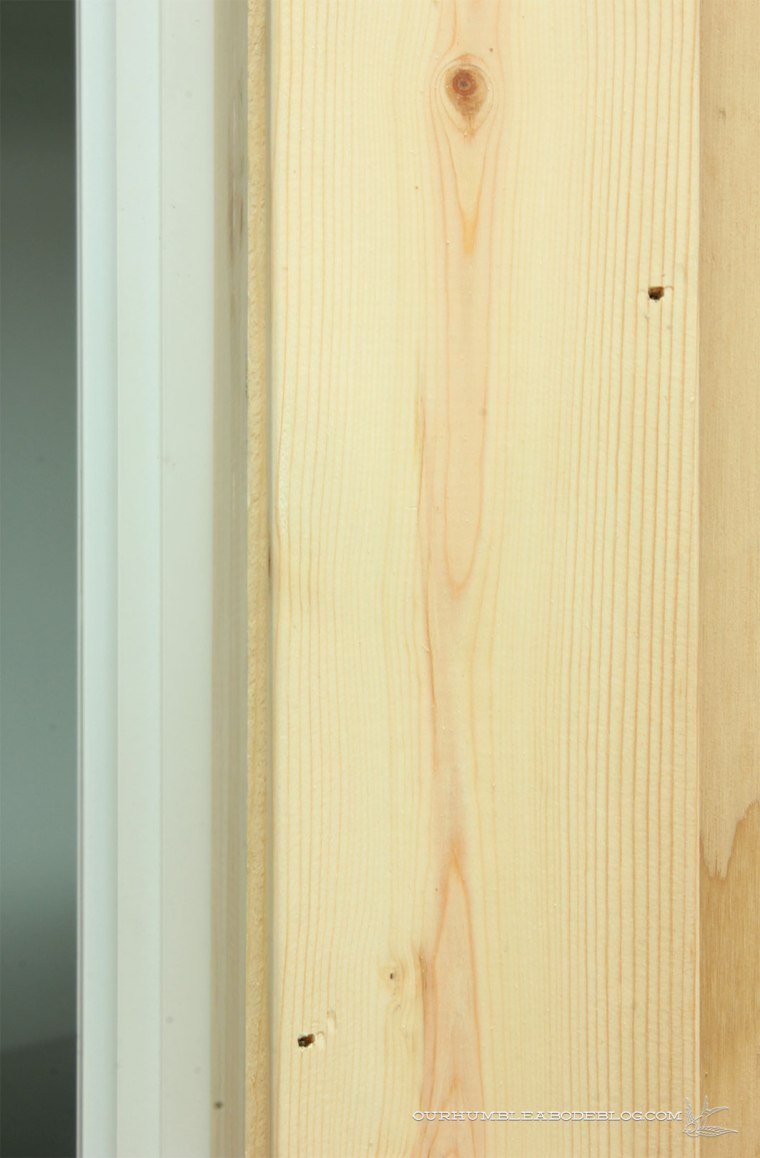
Now, with the floors and baseboard installed, we’re working our way around the room installing the remaining batten strips.  Attaching the strips is the quick, easy part.  Caulking is the very necessary, but far more tedious part of the equation.

Caulking-Tips-Batten-Strips-Overall

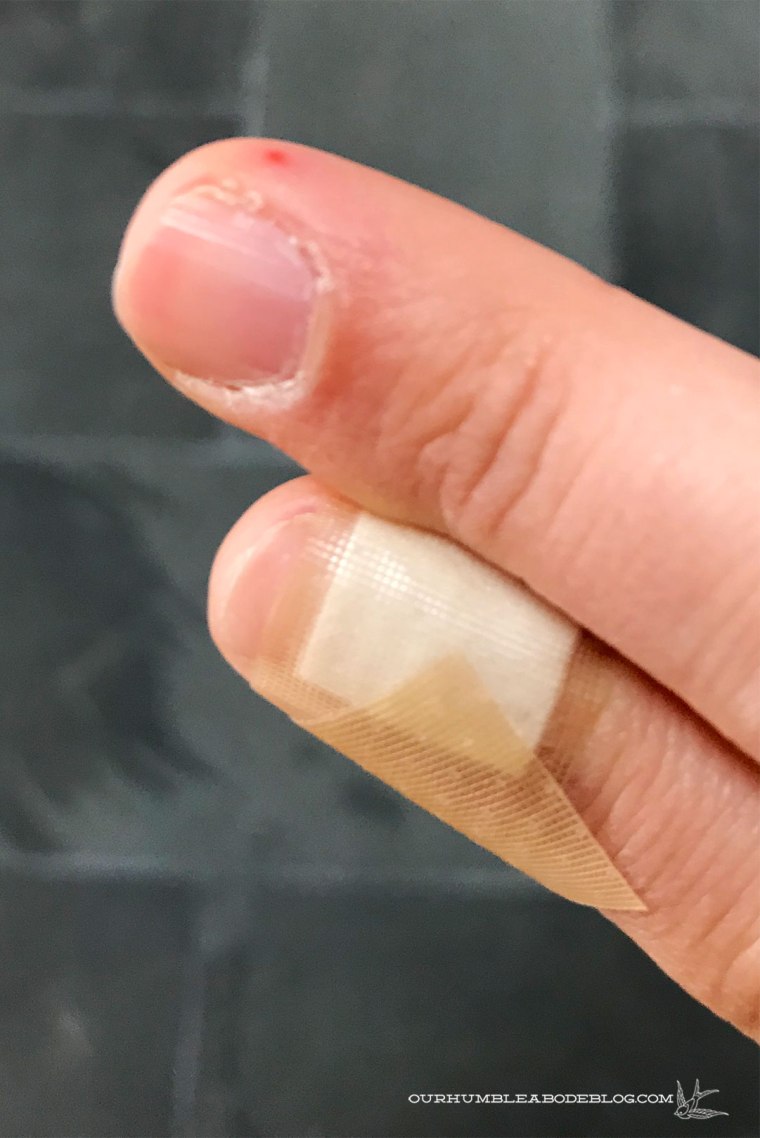
Applying and smoothing the caulk takes a toll on the fingers, literally making the tips bleed after a while.

Caulking-Tips-Scratched-Fingers

In an attempt to avoid bloody fingers, I picked up a Caulk Buddy for three bucks from Ace Hardware.

Caulking-Tips-Caulk-Buddy

I had high hopes for it, but when put to use, the rigid yellow plastic doesn’t allow the flexible white end to flex into the joint enough.

Caulking-Tips-Caulk-Buddy

Back to bloody fingers for me.  But I accidentally realized the bandage on my finger provided just enough of a barrier between my finger and the wall.

Caulking-Tips-Bandaid

Unlike some of the tools available, I can easily control the pressure applied and the amount removed.

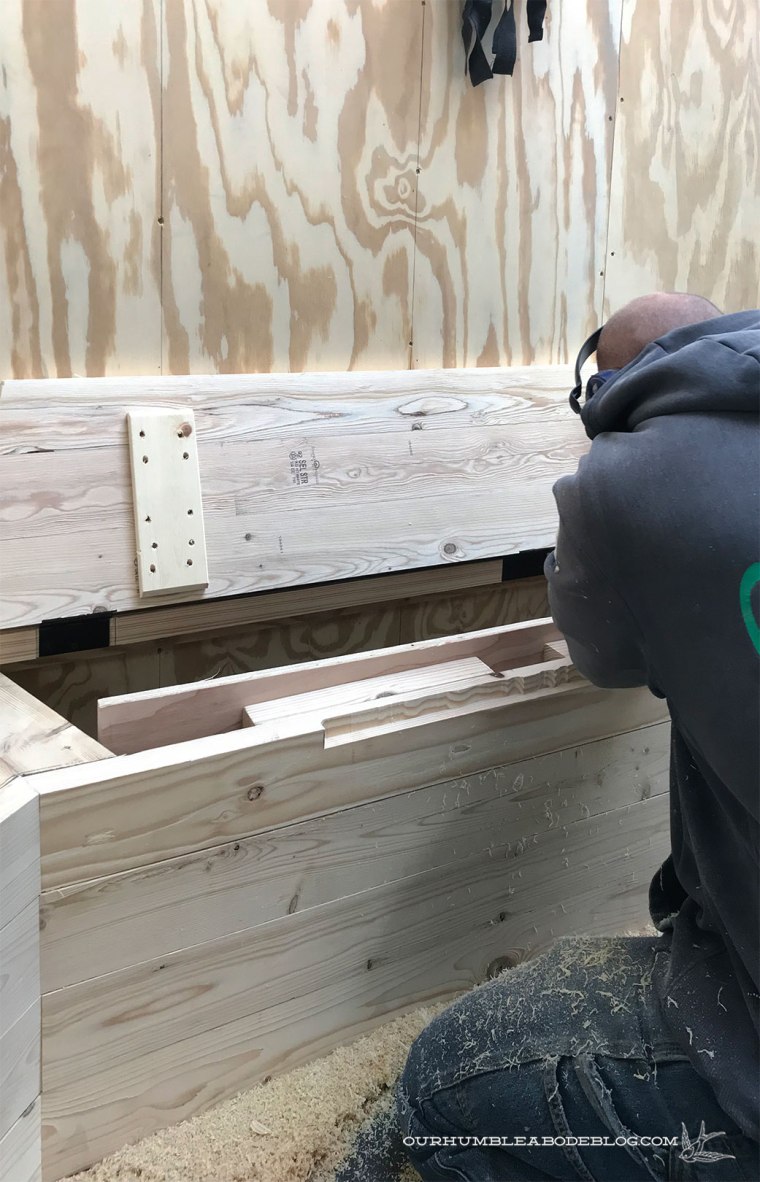
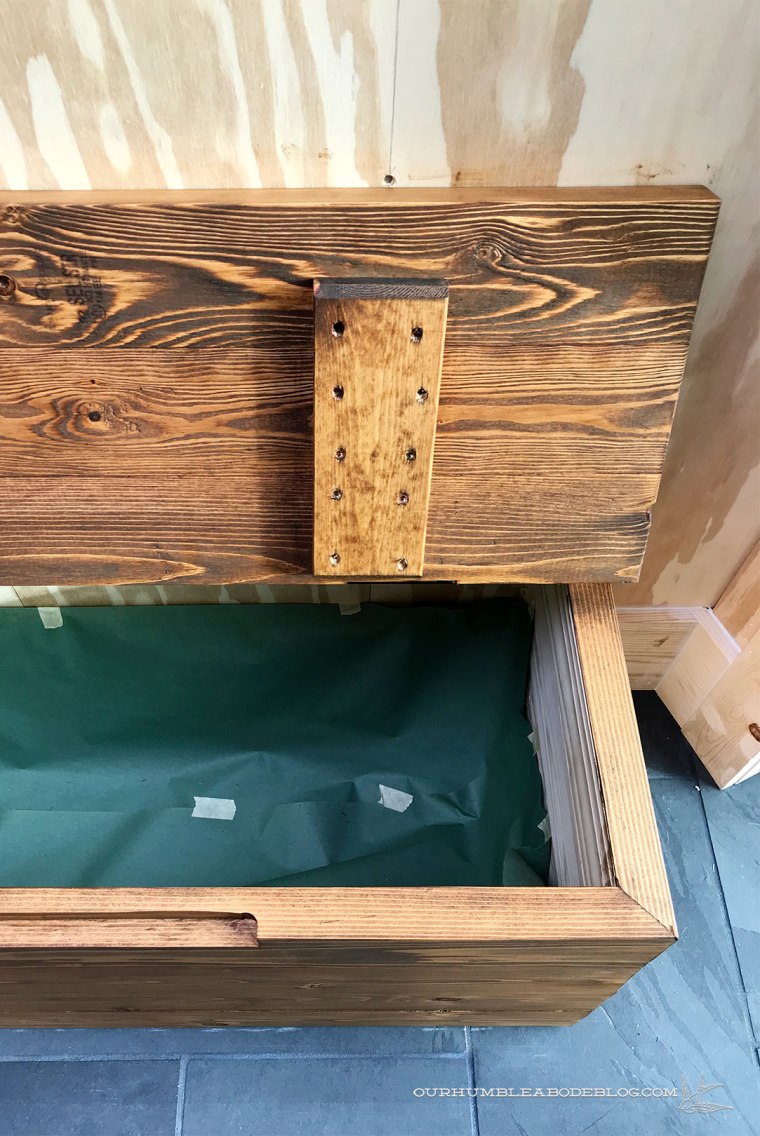
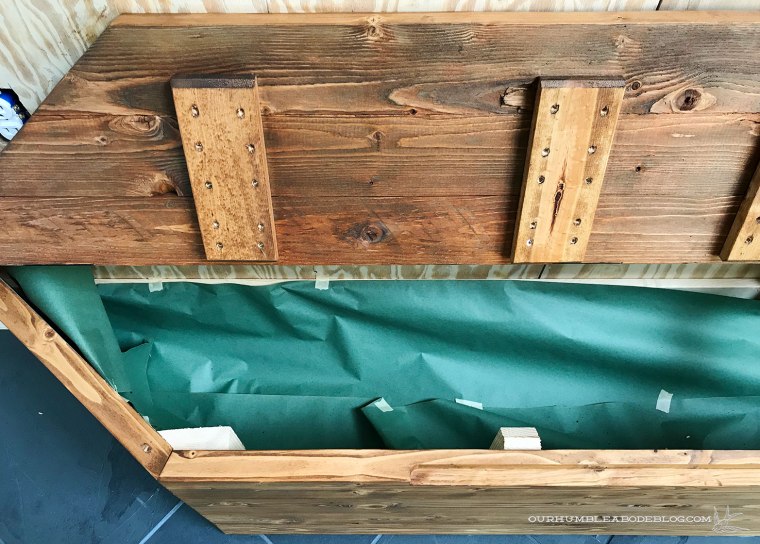
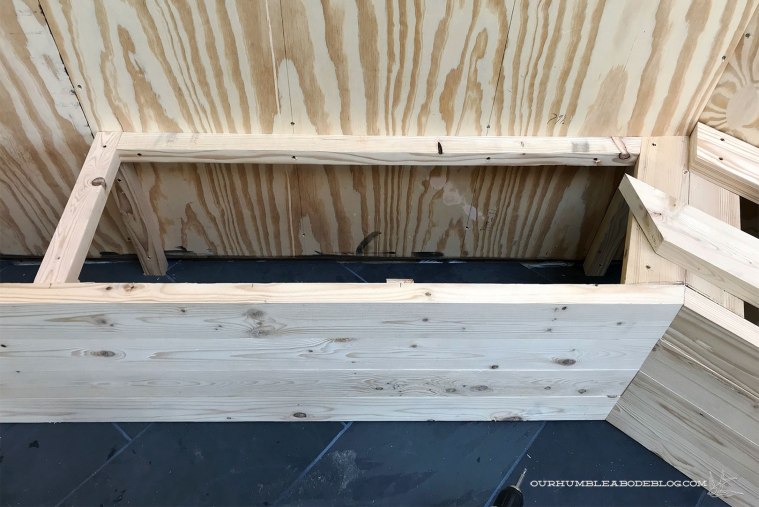
Along the three benches, the batten strips terminate directly into the bench.  To fill the small gap between the strip and bench top, without making a mess of the stained wood, I tape off around each batten.

Caulking-Tips-Taped-Bench

Apply and smooth the caulk as usual:

Caulking-Tips-Taped-Bench-Caulked

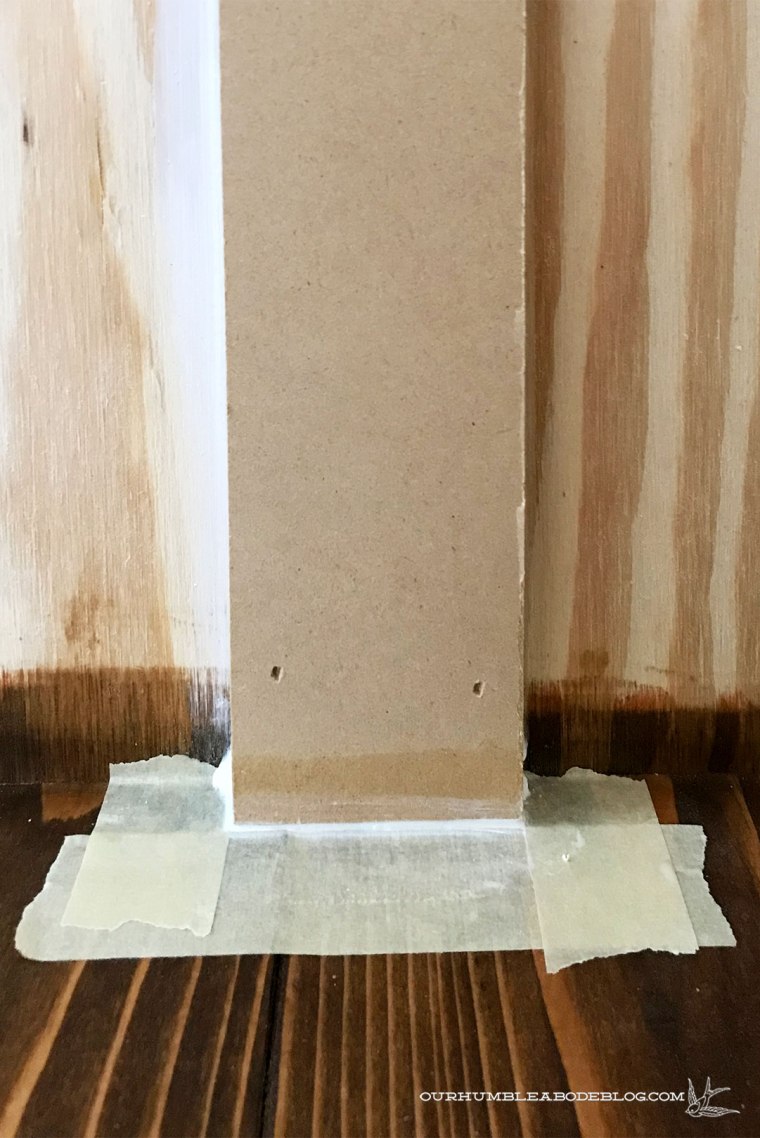
Then remove the tape immediately after, before the caulk dries and peels away.

Caulking-Tips-Taped-Bench-Caulk-Finished

Now, if you’ll excuse me, I’m heading back out to continue on my miles long quest to caulk the batten seams.  Enjoy your weekend!

Selecting and Applying Stain

Last week, I shared our process of building the tree storage benches in the pool house, with one last lid to build.

Built-in-Bench-Angled-Bench

Bright and early Saturday morning, Ben built the last top.  He followed up by using a router to cut the recessed ‘handles’ in the top front board.  To do so, he screwed a pair of boards along the top, giving a straight edge for the router to run along.  It takes multiple passes to get a smooth finish, leaving piles of shavings and dust behind.

Built-in-Bench-Cutting-Handles

The handles are a subtle detail, allowing us to open the lids without protruding hardware.

Built-in-Bench-Staining-Process

I followed up by spending several hours sanding everything smooth with 220 grit sandpaper.  Wanting a deep, rich, walnut like finish for the pine, I knew I’d need to stain the benches.  Although technically an indoor space, the potential splashes and humidity from the pool mean these benches need a durable finish.  Either with an indoor stain and oil/poly top coat, or an exterior stain/waterproofing combo.

Exterior stains come in a variety of colors and transparencies: clear, transparent/toner, semitransparent, semi solid, and solid coverage.

Stain-Finishes

For this application, I wanted to see plenty of the wood grain, but deepen the color.  When we stained our decks, I did oodles of searching for the Goldilocks in the stain world.  Deep brown without a red or orange undertone, transparent, under $60 per gallon, and water-resistant.  After hours of online and in store searching, I found the perfect solution: Olympic Maximum Stain and Sealant in Canyon Brown.

715195750516

We used the same stain on the large structural beams running the length of the pool house, so I knew exactly how it would look.

Pool-House-Tile-Install-Finished

Before staining, I vacuumed the benches, wiped off any dust left, then masked off the inside and the floor.

Built-in-Bench-Stained-End-Bench

With gloved donned, I started with the underside of the lids, applying the stain with a brush to get in the deep details.

Built-in-Bench-Stained-Kitchen-Area

For the smoother outside faces, I applied the stain with a brush for the grooves, and an old t-shirt scrap for the board faces.

Built-in-Bench-Stained-Corner-Meeting

Built-in-Bench-Stained-End-of-Bench-by-Door

We’ll paint the entire interior of the benches to keep it all looking nice and clean.

Built-in-Bench-Stained-Angled-End-Bench

The darker hinges aren’t nearly as noticeable against the dark wood, exactly as I hoped.

Built-in-Bench-Stained-Angled-End-Bench-by-Wall

Now that the baseboard and benches are in place, we can attach the lower portion of batten strips.  I’ll follow that up with miles of caulking and then we can paint it all white.  Eeeek, I’m so excited to for the day we’re done painting.

Constructing a Built-In Storage Bench

In our plans for the pool house, we decided to add a trio benches to store the inevitable flood of pool noodles and toys.  One in the recessed nook at the deep end of the pool:

Pool-House-Tile-Install-Finished

And a pair along the angled wall near the back door:

Pool-House-Slate-Tile-Weekend-2-Tile

With the tile complete, we started constructing the benches.  A hundred little details were discussed and decided upon: finished depth, recessed area depth, how many/width of boards, hinge style, end panel finish, support structure, lid overhang/hardware, etc.  For a bit of depth and interest, we held the end of the angled bench four inches away from the wall, but parallel.

To get started, we measured everything and marked it either on the walls or floor to determine our angled cuts.  Ben cut a row of boards to make up the entire front, then laid them on the floor to ensure an exact fit.

Built-in-Bench-Angled-Bench-Parallel-to-Wall

To break up the vertical board and batten wall treatment, we ran the boards horizontally for a simple, modern look.

Built-in-Bench-Angled-Bench-Tiers

Vertical 2 by 4 boards form the corners of the bench, securing the horizontal pieces together.  Additional verticals are placed every quarter of the bench, screwed from the inside, to keep the front in line.

Built-in-Bench-Angled-Bench-Vertical-Piece

Comfortable chair height is around 18 inches, so we cut four 2 by 6 boards down to 4 inches wide to make up the fronts of each bench.  With the fronts complete, Ben ran another vertical strip along the back wall.  A piece connects the front and back, forming a center support for the bench lid.


Built-in-Bench-Angled-Bench-Frame-Work

More pieces attach at bench height to the back wall, screwing into the wall studs.

Built-in-Bench-Angled-Bench-Tops

Along the back of the bench is a stationary strip, which holds the movable lid in place.


Built-in-Bench-Angled-Benches

To build the tops, Ben screwed together three boards using trim scraps.


Built-in-Bench-Angled-Bench-Building-Top

We really wanted to use hidden hinges, but couldn’t find any that a) had a high enough weight rating and b) had a wide enough angle.  So, we went with the most durable option: door hinges.  In order to get the smallest gap possible, Ben notched out the hinge placement.  First, he cut a small groove using a jigsaw.


Built-in-Bench-Angled-Bench-Hinge-Placement

Then, using the router set to the hinge thickness, he carved out the rest of the space.


Built-in-Bench-Angled-Bench-Hinge-Router

It’s a slim gap, barely wider than the spacing of the other boards.

Built-in-Bench-Hinge-Detail

Once sanded and stained to match the beams, the oil rubbed bronze hinges shouldn’t be as noticeable.


Built-in-Bench-at-End-of-Pool

We weren’t able to finish the construction of the third bench top or create the recessed handle detail.

Built-in-Bench-Angled-Bench

It’s exciting to see it come together, but it’ll be even better after I finish with my part of the process.

How To: Trim Out a Door

Our Saturday started with tracking down hinges for the storage benches, followed up by checking out hot tubs.  Then the real fun kicked in, with grout by the bucketful.

Pool-House-Slate-Tile-Wall-Detail

Initially, Ben and I both applied the grout.  We quickly realized it was easier for him to apply grout and for me to follow-up with a sponge, cleaning off the bits left behind.  Sunday morning, we both thoroughly washed all 800 square feet, leaving most of our bodies aching.  With the floors grouted and clean, we’re able to start installing the remaining trim.  Trimming out the five sliding doors was first on our list, as the baseboard and batten strips terminate into these.

How-To-Trim-Out-a-Door-Beginning

Working on the top piece first, Ben uses a scrap of the finish wood to measure the thickness of the door reveal.  He then secures shims behind, making the reveal of all doors match.

How-To-Trim-Out-a-Door-Checking-Reveal

The same happens on the sides of the doors, extending the frame to fill the depth of the wall.

How-To-Trim-Out-a-Door-Shim-Detail

How-To-Trim-Out-a-Door-Side-Detail

Carefully cut and measure to ensure a tight fit against the floor.

How-To-Trim-Out-a-Door-Frame

Before attaching the trim around the door, Ben sprays compressed insulation in the gap to eliminate air infiltration.

How-To-Trim-Out-a-Door

Now, the exciting part-adding the finish trim to the doors.  We chose 3 1/2 inch wide square fir trim for a simple, modern look.

How-To-Trim-Out-a-Door-Detail

For a little interest, and the ease of not having to perfectly match the trim to the extension, we leave about a quarter-inch of the extension showing.

How-To-Trim-Out-a-Door-Trim-Reveal

It’s a simple process, not taking much time, but does make the space look more finished.

Pool-House-Slate-Tile-Toward-House

How-To-Trim-Out-a-Door-To-House

Is it Saturday yet, so we can get some more trim work done in here?  I’m incredibly excited to get paint on these walls!

Tile and Bench Planning

We laid the last tile in the pool house this weekend and it’s a relief to have this huge task out of the way.  Grouting will come next, fingers crossed this weekend.

Pool-House-Tile-Install-Finished

Once grout is complete, that concludes the floor saga for the pool house.  We’ll move on to trimming out doors, installing base boards, and attaching the rest of the vertical batten strips.  Creating the built-in benches will also happen somewhere in that mix, so I’ve given too much thought on the design of those.

Initially, I thought we’d have white benches, for simplicity, with wooden tops for durability.  A pair will follow the angled walls of the kitchen area, meeting at the corner.  Another bench will fill the recessed nook at the far end of the pool, as seen above.

Pool-House-Bench-Area

Recently, while picturing everything in my head, I realized wooden bench tops weren’t going to cut it.  In a room with a white ceiling and (what will be) white walls, tile floors, and few other accessories, I don’t want this space to lack warmth.  Sure, adjacent areas will have wood in small doses, like the floating kitchen shelves:

Pool-House-Kitchen-Vent-Hood-Plan

And the half bathroom vanity:

Pool-House-Bathroom-Vanity

But it’s still a stark contrast to the house, with hardwood floors and wooden furniture/accessories in every room.  In addition to the structural beams, the benches will be the main source of wood tones.

After considering options, I’ve decided I like the look of four horizontal planks along the front, similar to this:

to-outdoor-benches-with-storage-wooden-storage-benches-outdoor-outdoor

The tops will open to access items inside, and I like the look of continuing the same boards along the top.  I’d love to have a very slight overhang of the top, with a cut in handle detail, like this CB2 bench, for a sleek look.

CB2 Wooden Bench

Loaded with pillows, it should be a perfect perch to hang out before/after swimming.  Or a place to watch the kids from.