Two Bathroom Face Lifts

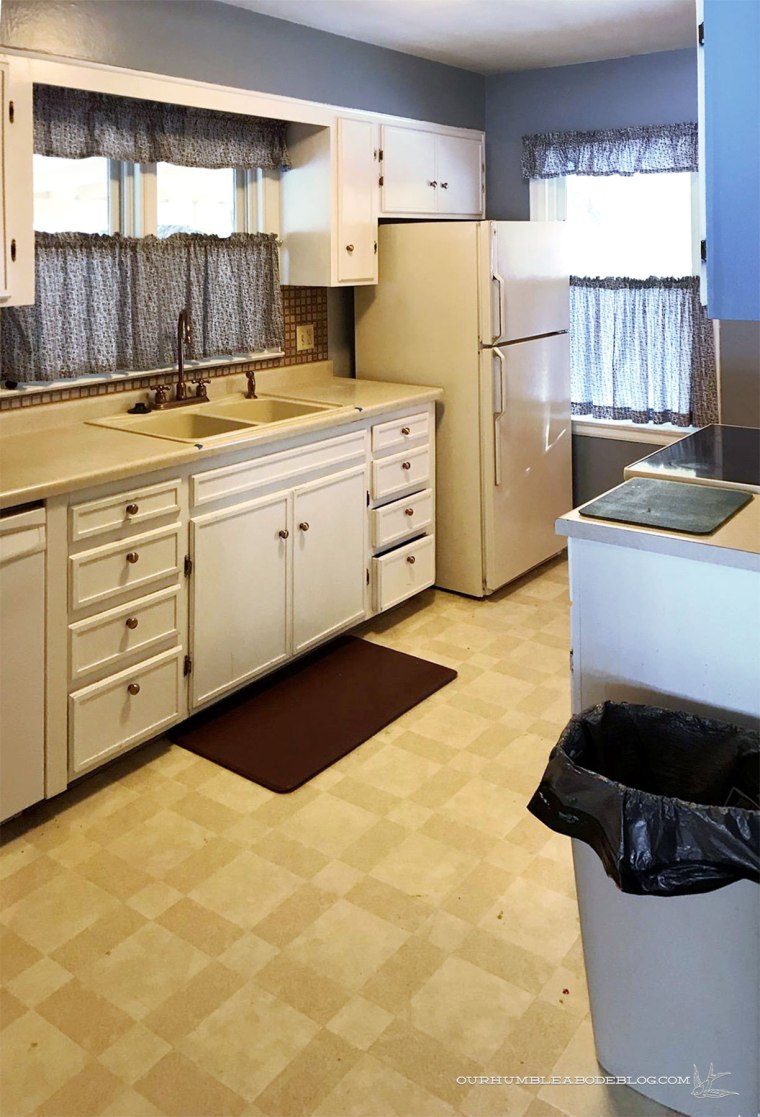
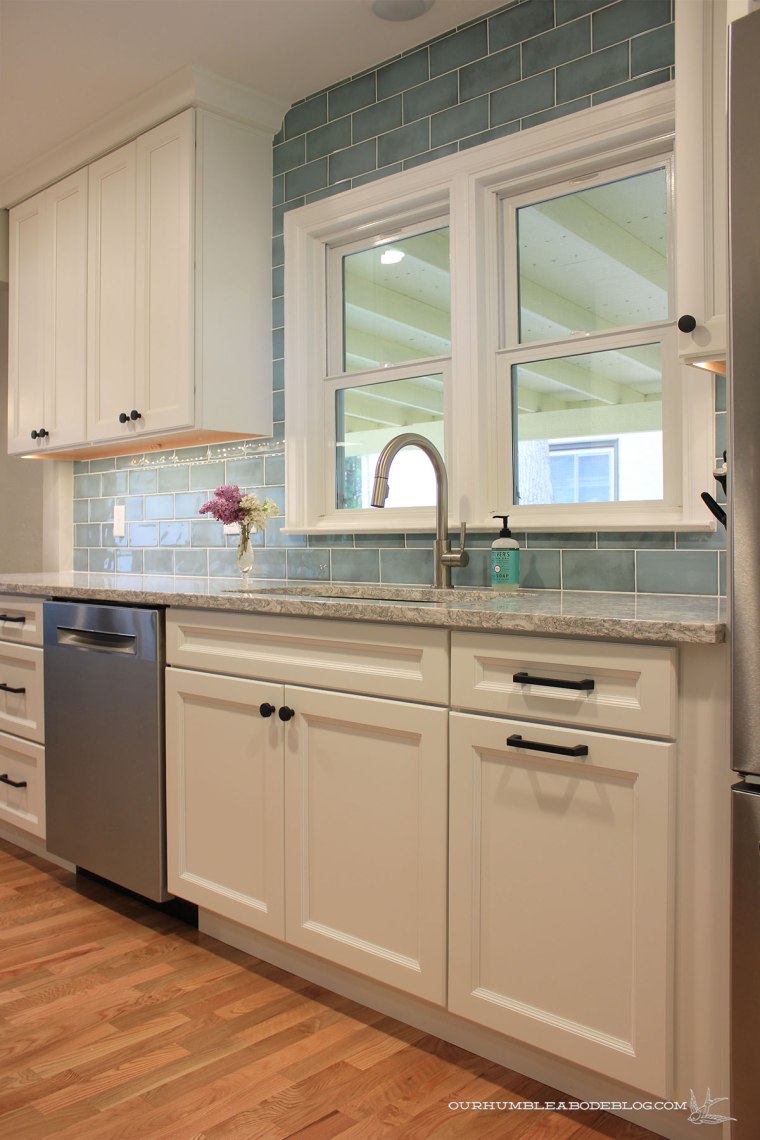
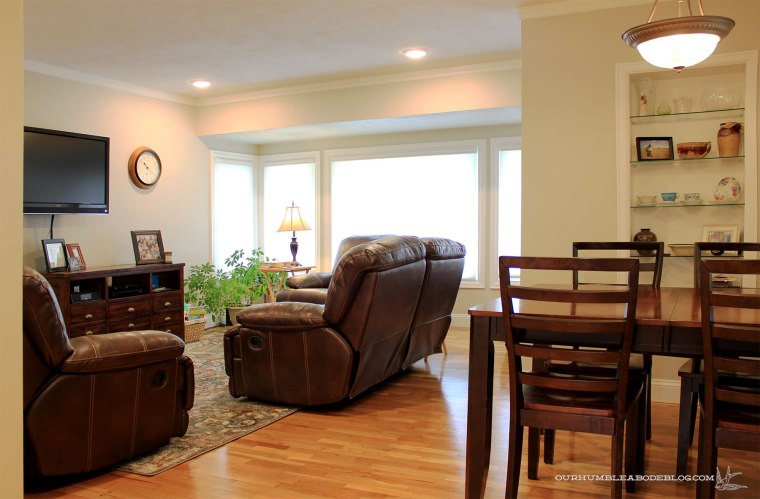
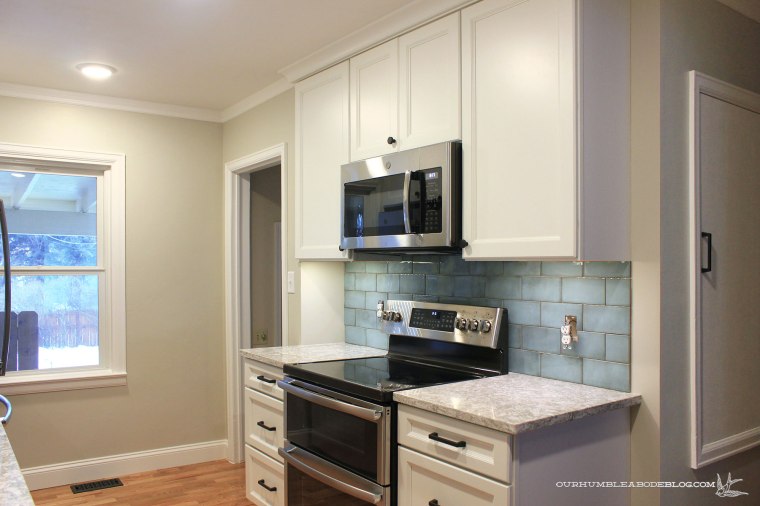
Much of our remodel work lately has involved bathroom remodels or additions, so why not roll with that theme?  Last fall we embarked on a whole house remodel that wrapped up in January.  I’ve already shared the freshly updated kitchen, as well as the simplified living and dining rooms, but just received the bathroom photos.  On the main floor, a hall bathroom was totally okay before we started, but not amazing.

Bathroom-Before-Client

Now, the navy cabinet adds a burst of color and the concrete looking floor tiles modernize the room.  By keeping the original tub and surround, the updates were affordable and quick.

Navy-Bathroom-After

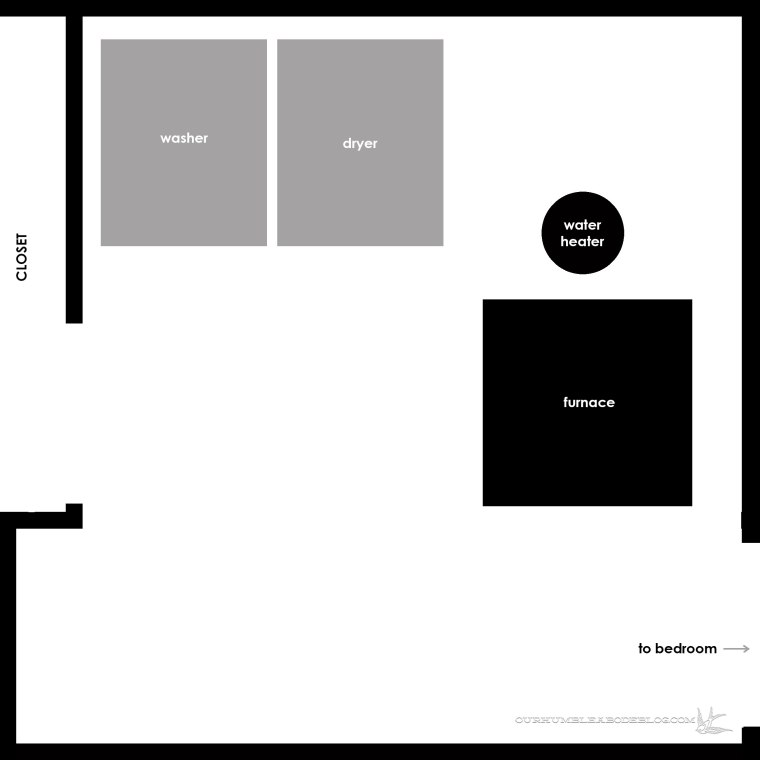
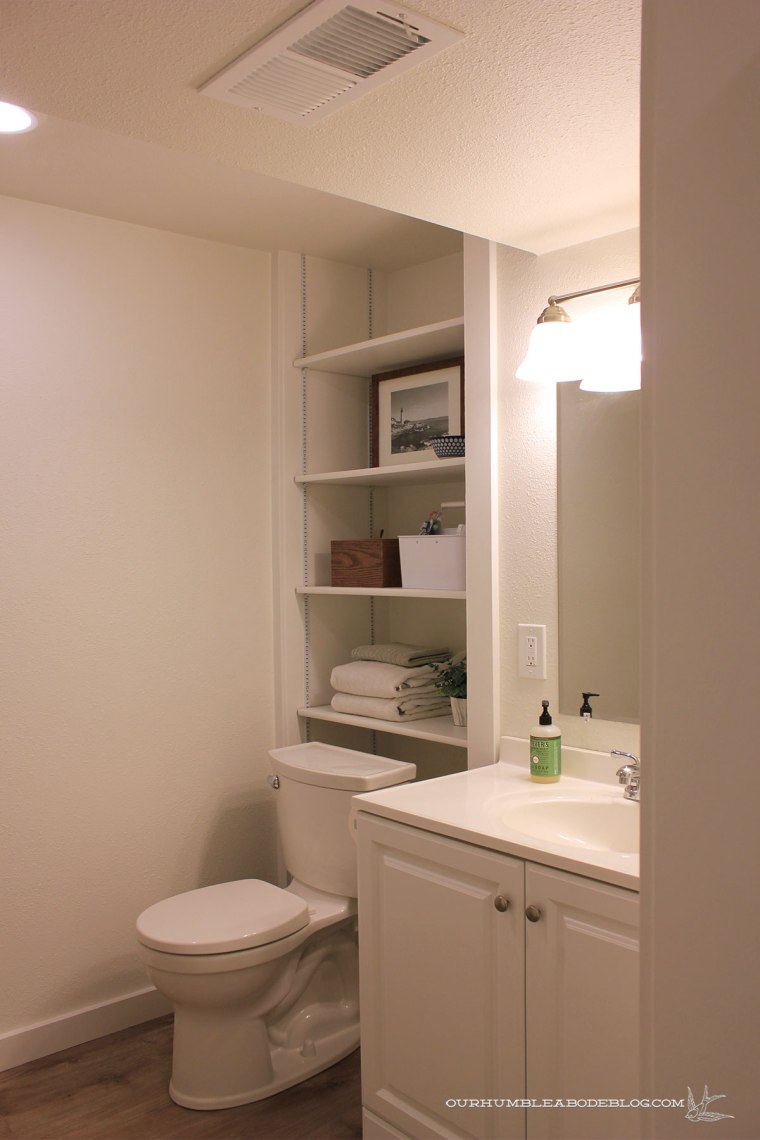
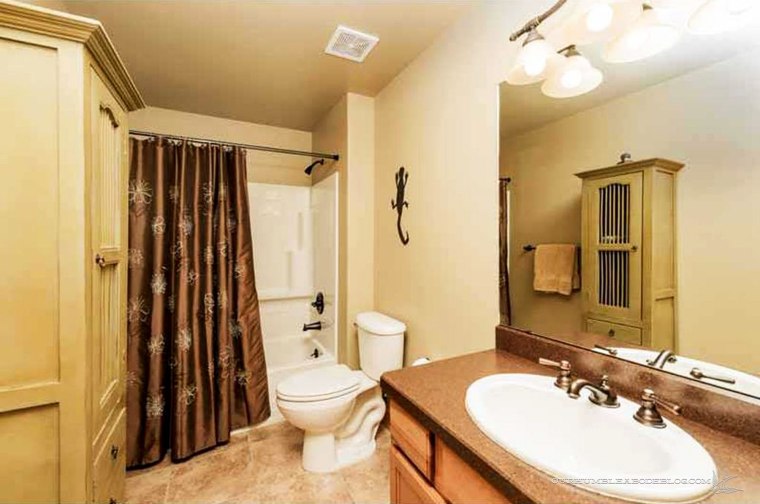
A bathroom in the basement was a bit more wonky.  A too small vanity and half tile/half carpet in the room were strange.

Basement-Bathroom

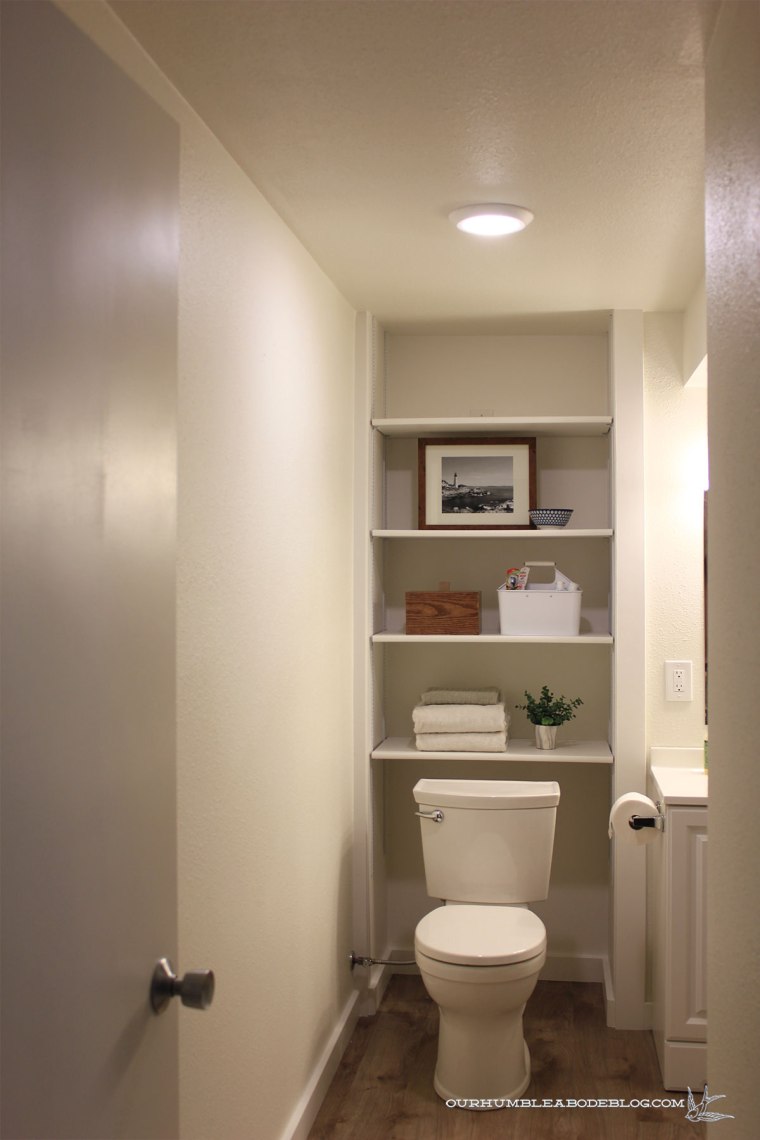
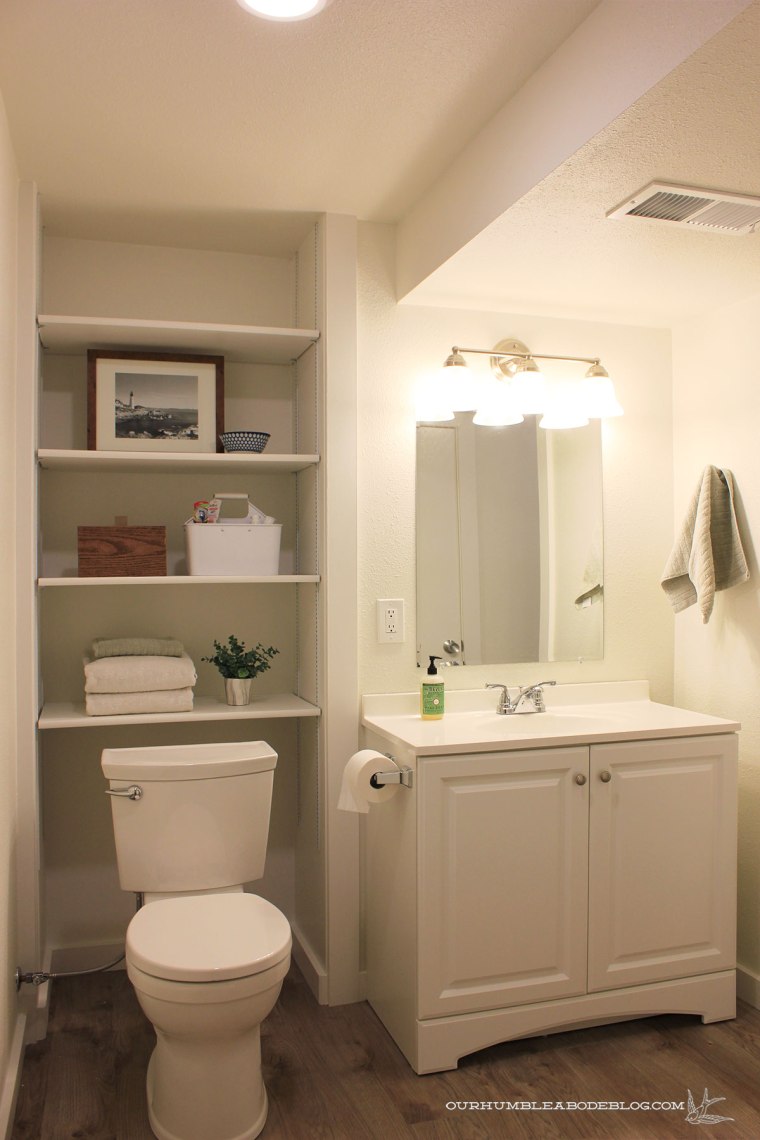
Our clients wanted a refreshed space without breaking the budget.  We used the same tile as the first bathroom, white shaker cabinets, and budget large format white subway tile to give a clean, blank slate.

Basement-Round-Mirror-Bathroom

For a touch of warmth and to soften the hard lines, a round brass mirror does the trick.  Due to the narrower vanity before, we selected a light bar with a full back to cheat the new light over the wider vanity.

Basement-Round-Mirror-Bathroom-Vertical

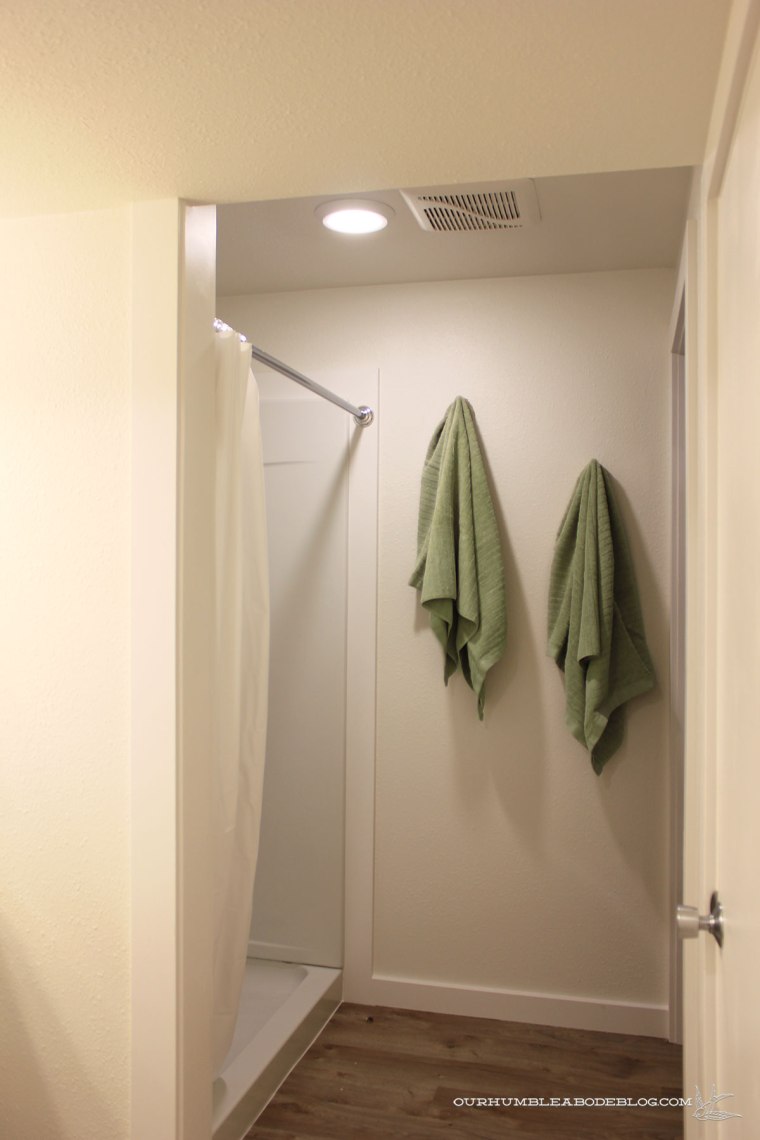
Function and beauty without costing a fortune makes everyone happy, our clients especially.

An Added Bathroom

During my unintended blog break, we were hard at work adding a bathroom to a bleak unfinished basement.  Unfortunately, I don’t have any before photos, so I created a floor plan to give a better idea of what we started with.

Bathroom-Before-Floorplan.jpg

Above is the before layout, with exposed concrete walls.  There was an unframed opening from an office/bedroom, with a second unframed opening to a closet.  A furnace and water heater along one wall with a side by side top loading washer and dryer on the outside wall.  We measured the space to come up with a functional layout that included a shower, vanity, toilet, washer/dryer, and the furnace/water heater.

I put pen to paper to draw out options and came up with the following plan:

Bathroom-After-Floorplan

Keeping the furnace in the same spot, we scooted the water heater back to make room for a stacked washer and dryer.  Across the room, we have the bathroom components.  Now that you’ve seen the layouts, let’s look at the real, finished bathroom.

Basement-Bath-Addition-Shelves-from-Door

Taking advantage of previously recessed bump out to include adjustable shelves boosted the storage, acting as a linen closet.

Basement-Bath-Addition-Vanity-and-Shelves-Vertical

A 36 inch vanity tucks neatly into the space, with a mirror and low light due to the duct work hanging above.

Basement-Bath-Addition-Vanity-and-Shelves

Without room for a standard tub/shower combo, we went with a 48 inch wide shower.

Basement-Bath-Addition-Shower-and-Towels

Across from the shower, the stacked washer and dryer a recessed into a door-less framed opening.

Basement-Bath-Addition-Laundry-Side

If you can imagine being in the center of the room, I turned to show the door situation.  On the left, the door hides the furnace while the other goes to the bedroom/office.

Basement-Bath-Addition-Doors

Without before photos, it’s harder to appreciate how far this bathroom has come, but picture a stud wall with sheet rock on the opposite side.  By closing off the pass through to the closet, we had room to add the vanity.

Basement-Bath-Addition-Vanity-and-Shelves-from-Laundry

I quickly grabbed things from our home to add something (anything!) to the shelves, but the adjustable track is super handy to reconfigure the sizes to store towels, toilet paper, baskets, and anything else.

Basement-Bath-Addition-Shelves-Detail

Overall, this budget bathroom came together in four weeks and added a second bath to the house.

Back to Back Bathrooms

Last week, we tore into (literally) a new whole house remodel.  The 70’s built house has good bones and a lot of potential, but hasn’t been updated since it was built.  While the rest of the house is going to see major changes, these two main floor back to back bathrooms need serious reconfiguring.  Originally, the main bathroom measured 100 inches wide by 102 inches deep, with a toilet and vanity to the right and a tub/shower and linen closet on the left.

Main-Bathroom-Vanity-Before

Main-Bathroom-Tub-Before

On the other side of the wall, the master bathroom didn’t feel luxurious at a cramped 48 inches wide by 100 inches deep.

Master-Bathroom-Before

Our goal is to rob Peter to pay Paul.  We’re going to steal two feet of space from the main bathroom to add to the master.  Ahh, demo, such a glorious and beautiful time.

Bathrooms-Demo

Before we can get into the putting it all back together phase, we first need a plan.  Two, actually, to know where the new plumbing needs to go for each bathroom.  In the main bath, we’re keeping a tub/shower, moving the toilet to the back wall, keeping the vanity to the right and adding a linen cabinet to the end.  We’ll also pocket the door to eliminate that door swing, preventing the bathroom from feeling too cramped.

Main Bathroom Floorplan

Over on the other side of the wall, the master bath will measure 6 feet wide.  This will allow us to move the toilet to the back wall, with a 60 inch wide shower and vanity to the left.  We had this configuration in our previous master bath and really liked the function of it.

Master-Bathroom-Floorplan

As we make progress, I’ll check back in to share more of the design specifics.  I will say, I’m excited to see it all come together.

A Completed Cottage Kitchen

First off, sorry it’s been such a long time between updates!  We’ve been busy with client remodel work, which we’re grateful for.  Between work, kids, and all of the end of school year craziness, blog posts have been put on the back burner.  But, we have a few projects we’ve wrapped up and can now share, along with others we’re just starting.  Without further ado, here’s the finished cottage.

Remember the cramped kitchen before we got to work?  The cabinets were original to the house, with the soffit taking up valuable useful space.  Finishes were dated and slowly falling apart.

Cottage-Kitchen-Before

Now, with the wall removed and fresh white cabinets taken to the ceiling, the room feels twice as big.

Cottage-Kitchen-Complete

Before, the range was crammed into a corner with a tiny cabinet and little working counter space.

Cottage-Kitchen-Range-Side

By centering the range between two cabinets, there’s twice as much work space.  The additional cabinet space easily accommodates cooking essentials while balancing this side of the kitchen.

Cottage-Kitchen-Stove-Side-Complete

In a small home, maximizing space is crucial.  Previously, the wall dividing the kitchen and dining room cramped both rooms.

Cottage Kitchen from Hall Before

With the wall out, flow between is so easy, making both spaces are more functional.  Moving the dishwasher directly next to the sink allows space for two drawer stacks.

Cottage-Kitchen-from-Hall-Complete

Cottage-Kitchen-from-Back-Door-Complete

Taking a step back, it’s easier to see how dramatically the wall removal opened up the little space.

Cottage-Dining-to-Kitchen-Before

Continuing the hardwood floors into the kitchen also helps the rooms feel larger without the visual breakup.

Cottage-Kitchen-from-Living-Room-Complete

Cottage-Kitchen-from-Entry-Complete

New trim and paint were quick and affordable upgrades to the remaining rooms, blending well with the new kitchen.

Cottage-Kitchen-from-Dining-Complete

With all of the neutrals, the colorful tile stands out just as we wanted.  It’s fun, but not overwhelming.

Cottage-Kitchen-Stove-Side-Horizontal-Complete

Cottage-Kitchen-Backsplash-Detail-Complete

We love the finished rooms, but what really matters is what our clients think.  After all, they’re the ones living in the home.

Cottage-Kitchen-Toward-Dining-Complete

They’re over the moon, thrilled at how much bigger and more open the home looks, feels, and functions.

Cottage-Living-Room-from-Kitchen-Complete

No more shimmying to get out of the dining room.  More light, both natural streaming between the rooms and from added recessed cans.  Loads more cabinet space and personality to boot.

Cottage Kitchen Progress

Back at the beginning of the year, we started working on a kitchen remodel in a small 1940’s cottage.  The kitchen was small, but didn’t maximize the space.

A wall between the dining room and kitchen divided the already cramped rooms, making both feel even smaller.

Cottage-Dining-to-Kitchen-Before

A soffit held the cabinets down one foot, which is valuable real estate in a little kitchen.  The original cabinets had seen better days.  Dated finishes on every surface, with a hodge podge of decades of updates.

Cottage-Kitchen-Before

Removing the load bearing wall was the first order of business.  In order to support the load above, a beam with a header at door height divides the two spaces.

Cottage-Kitchen-From-Living-Room-Progress

Though the layout didn’t change drastically, boasts more storage and a balanced layout. The open door frame at the back leads to a back entrance as well as the stairs to the basement.

Cottage-Kitchen-Range-Side

Now, the range sits centered between cabinets, rather than awkwardly tucked against the wall.  A microwave doubles as a vent hood, saving valuable counter space.

Cottage-Kitchen-Range-Wall-Progress-Toward-Hall

Before, this was the view from the hall:

Cottage Kitchen from Hall Before

Now, it’s open, bright, and cheery.

Cottage-Kitchen-from-Hall-Progress

To bring a little cottage charm into the otherwise neutral kitchen, we went with a colorful back splash tile.

Cottage-Kitchen-Sink-Window-Progress-from-Hall

From that back landing, this was the dreary view:

Cottage-Kitchen-from-Stairs

Now, the white cabinets look fresh and clean, simple black hardware add a touch of contrast.

Cottage-Kitchen-Sink-Window-Progress

The tile is still missing grout, but it was such a fun addition I had to share.

Cottage-Kitchen-Range-Side-Progress

A few cabinet doors were damaged in shipping, so we’re waiting on the replacements, then a few little touch ups to wrap up this kitchen, so stay tuned for more.  Until then, what’s your favorite way to brighten up a kitchen?