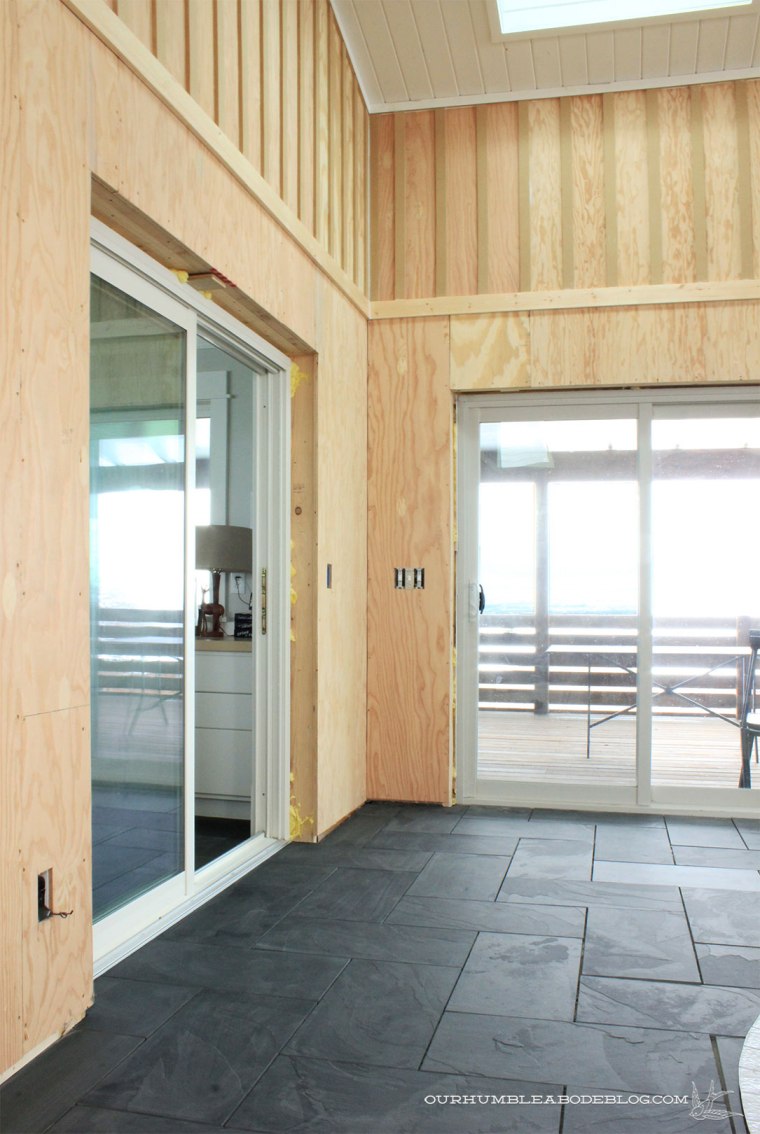
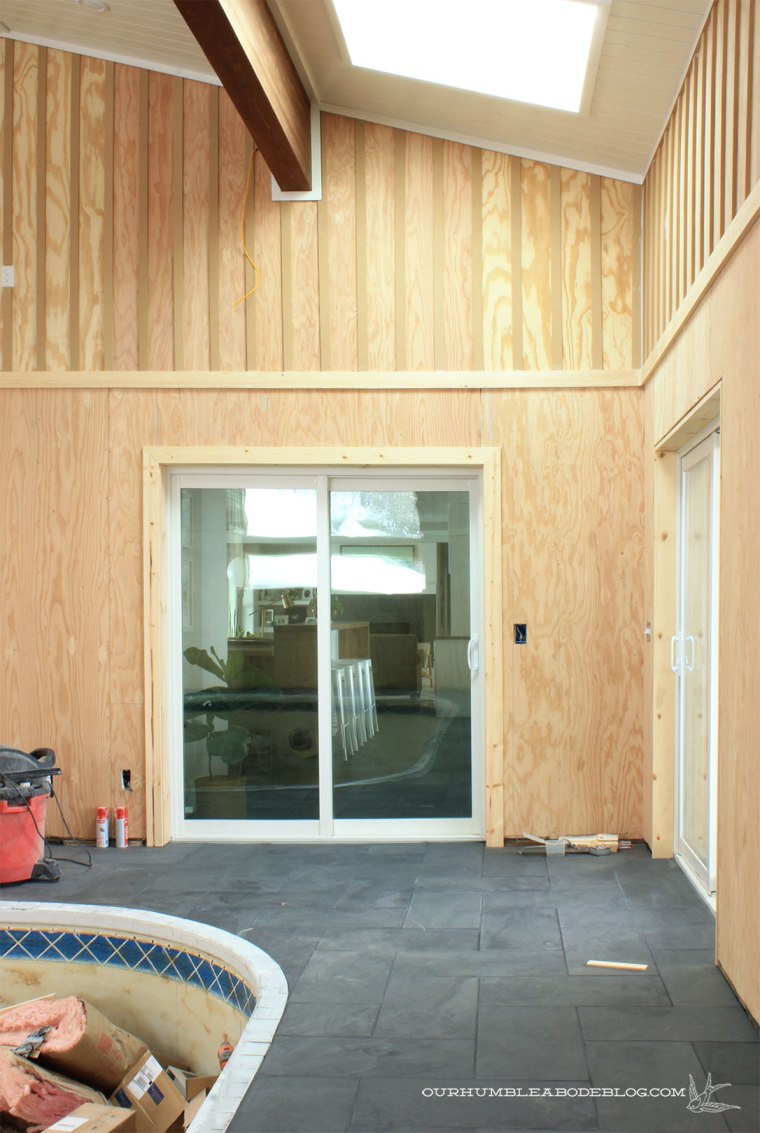
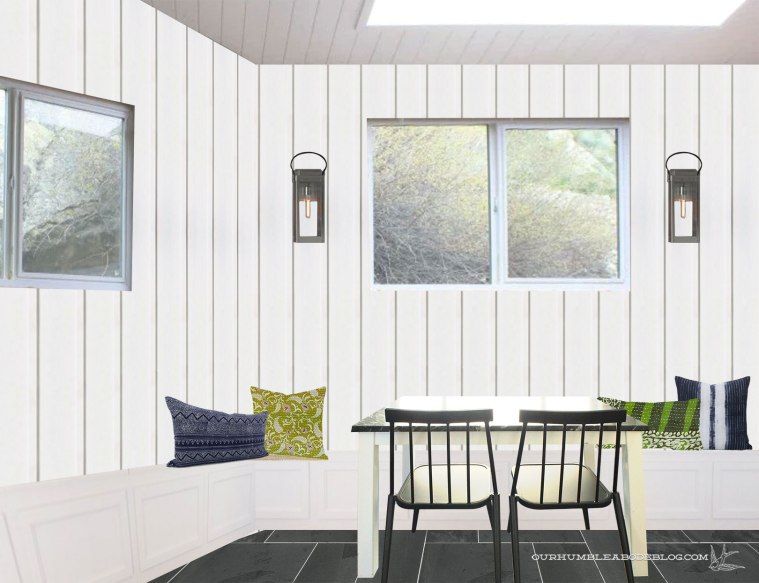
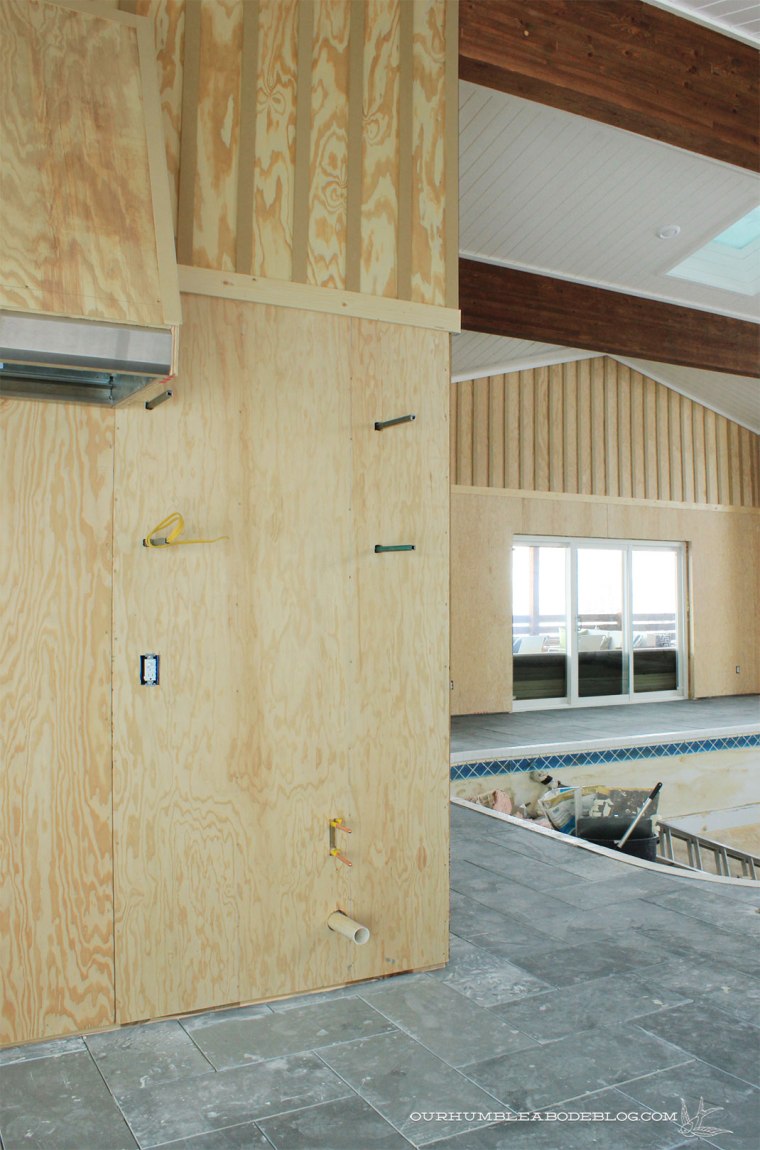
In our plans for the pool house, we decided to add a trio benches to store the inevitable flood of pool noodles and toys. One in the recessed nook at the deep end of the pool:
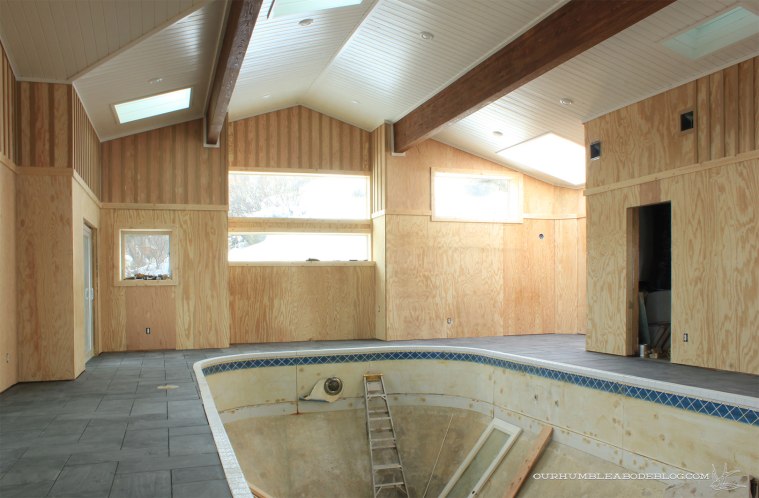
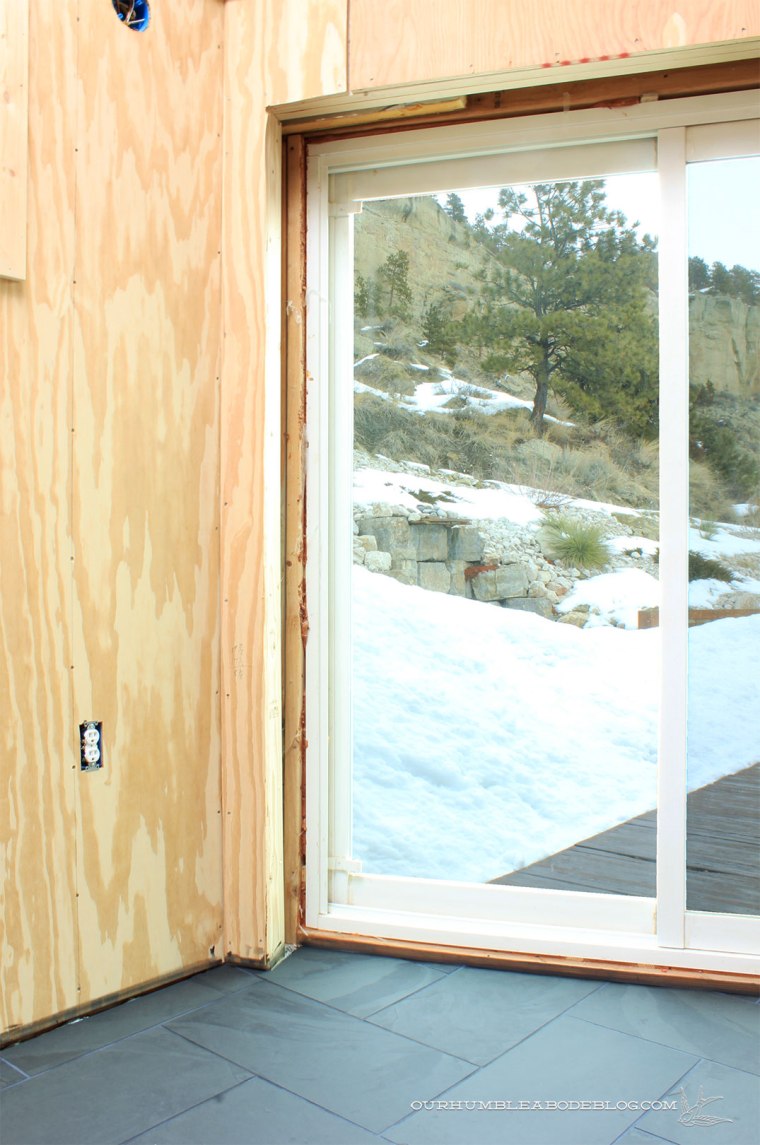
And a pair along the angled wall near the back door:

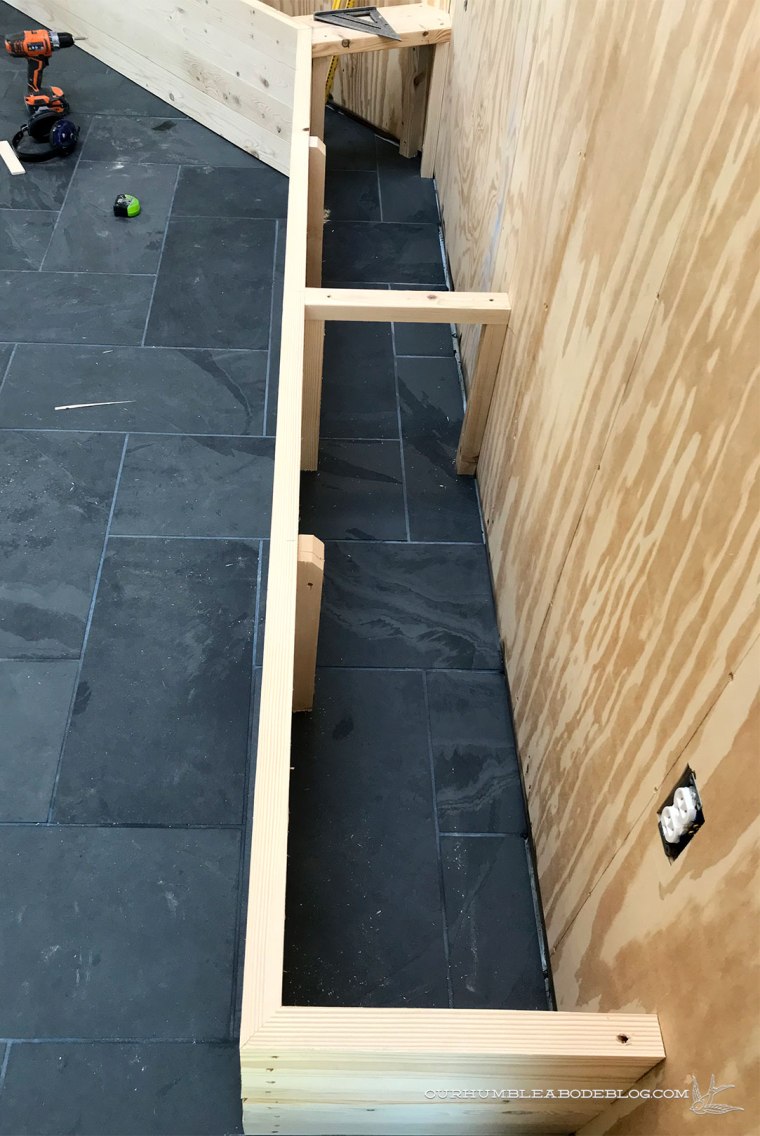
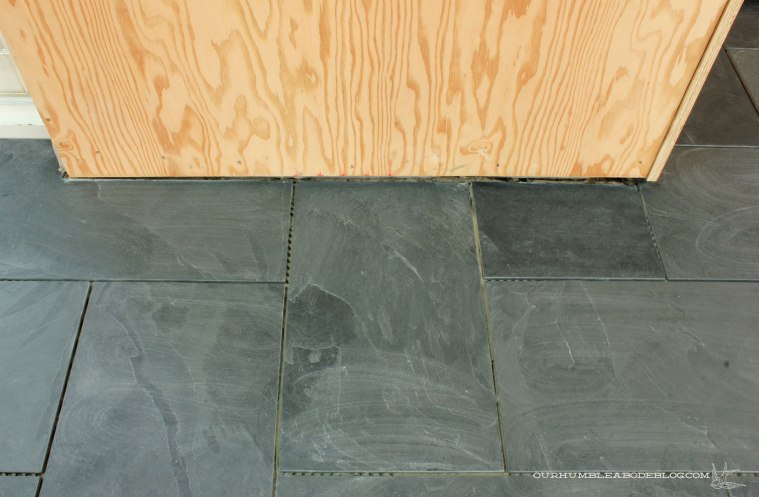
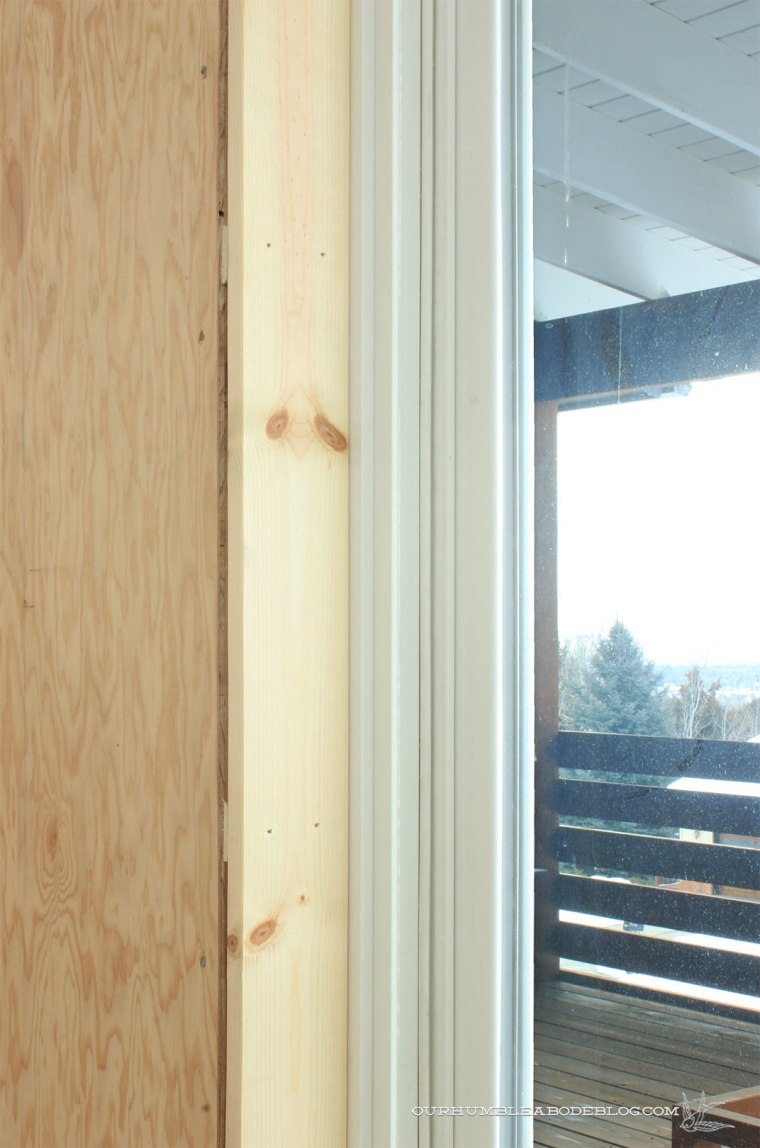
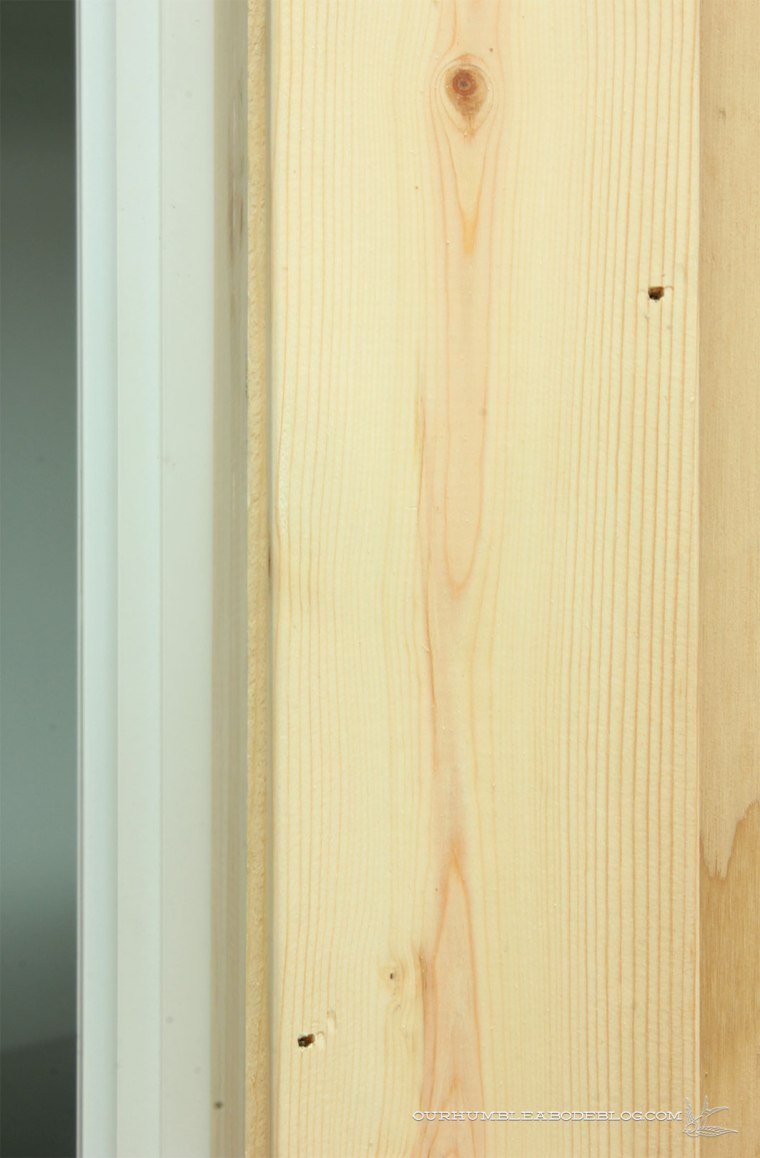
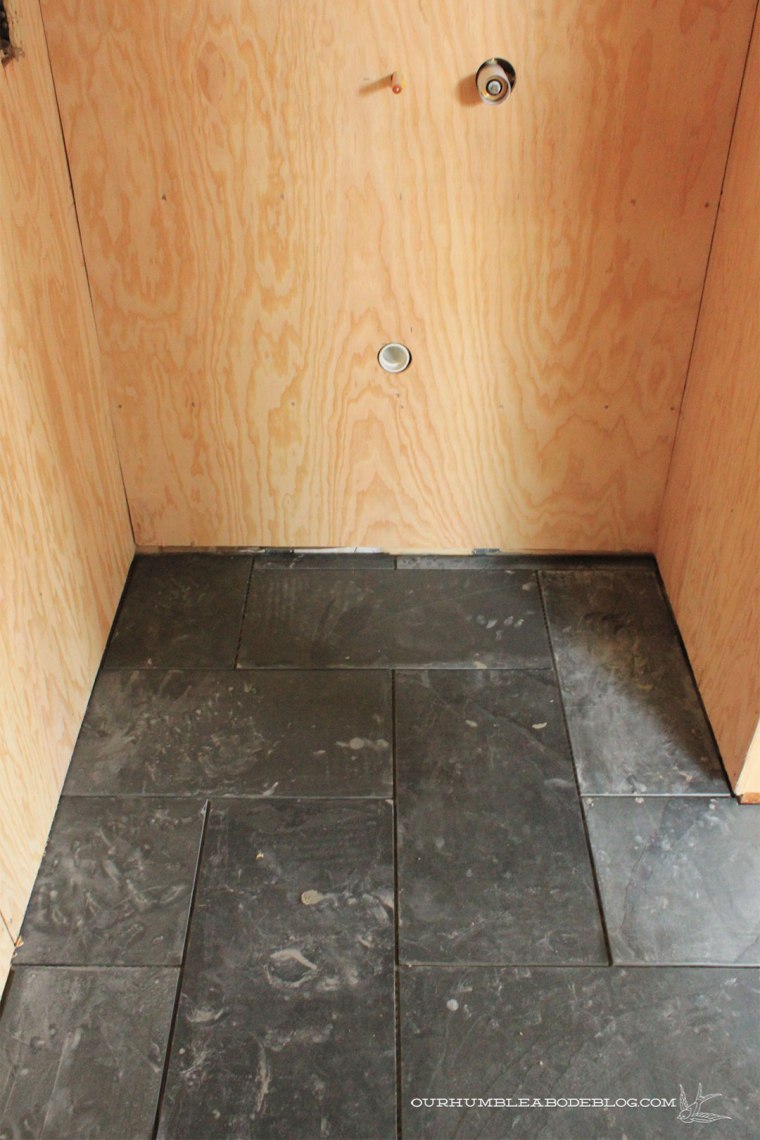
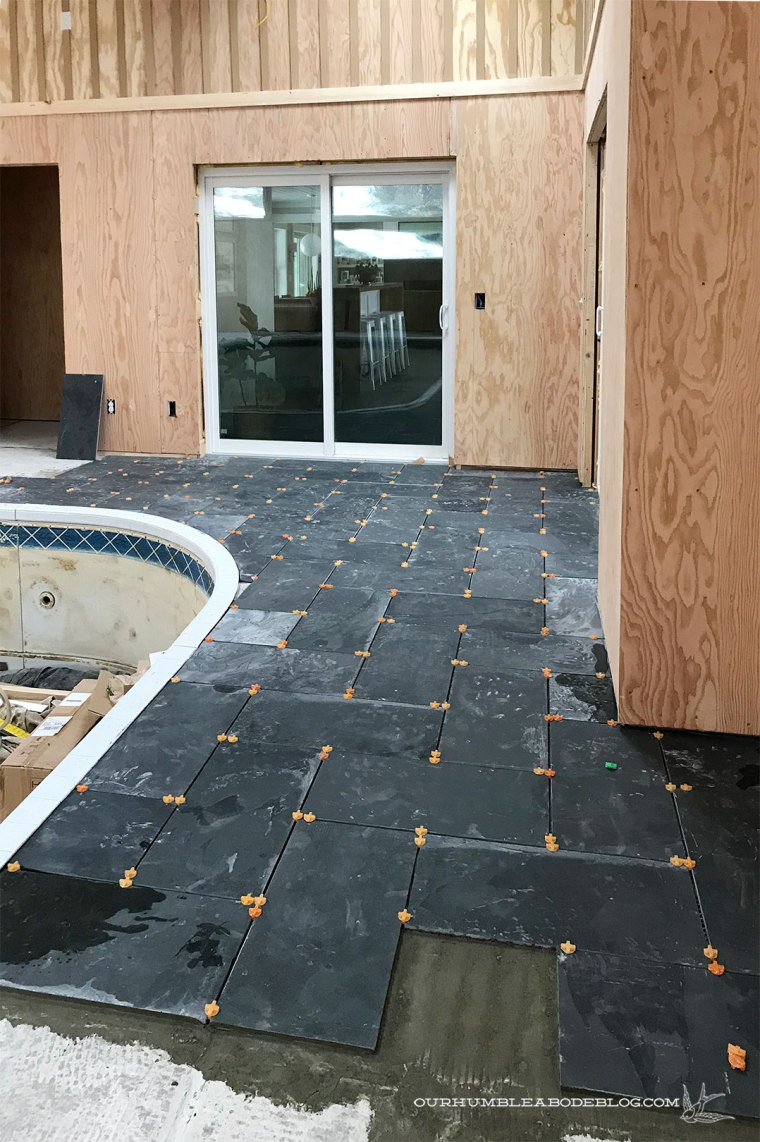
With the tile complete, we started constructing the benches. A hundred little details were discussed and decided upon: finished depth, recessed area depth, how many/width of boards, hinge style, end panel finish, support structure, lid overhang/hardware, etc. For a bit of depth and interest, we held the end of the angled bench four inches away from the wall, but parallel.
To get started, we measured everything and marked it either on the walls or floor to determine our angled cuts. Ben cut a row of boards to make up the entire front, then laid them on the floor to ensure an exact fit.

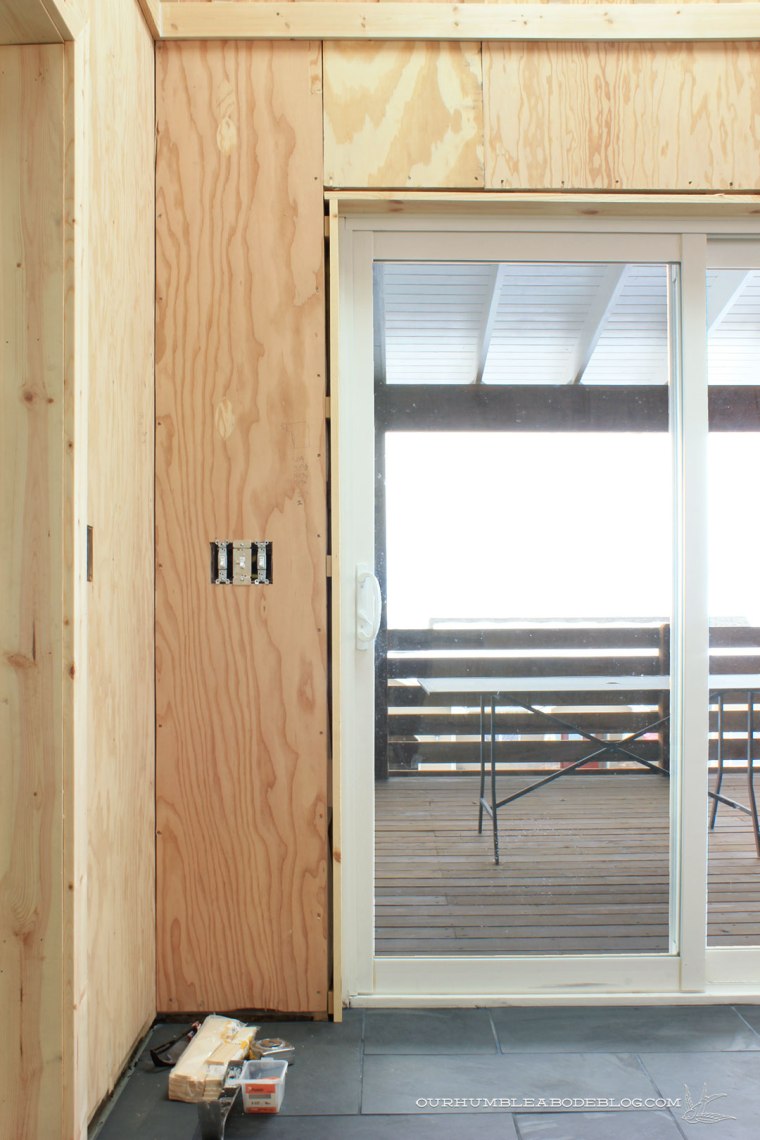
To break up the vertical board and batten wall treatment, we ran the boards horizontally for a simple, modern look.

Vertical 2 by 4 boards form the corners of the bench, securing the horizontal pieces together. Additional verticals are placed every quarter of the bench, screwed from the inside, to keep the front in line.

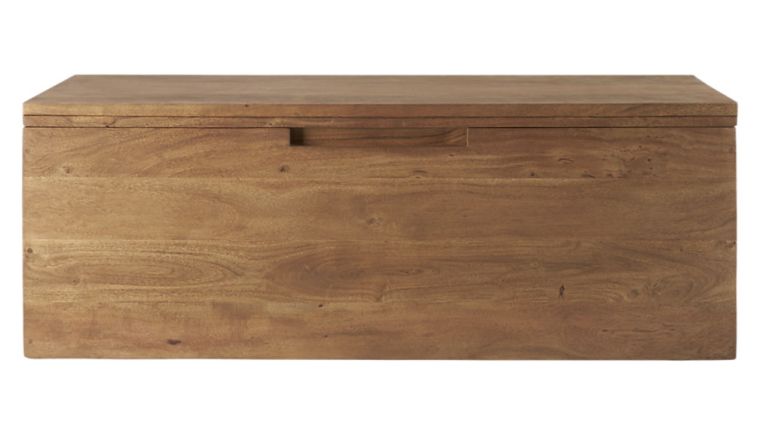
Comfortable chair height is around 18 inches, so we cut four 2 by 6 boards down to 4 inches wide to make up the fronts of each bench. With the fronts complete, Ben ran another vertical strip along the back wall. A piece connects the front and back, forming a center support for the bench lid.
More pieces attach at bench height to the back wall, screwing into the wall studs.
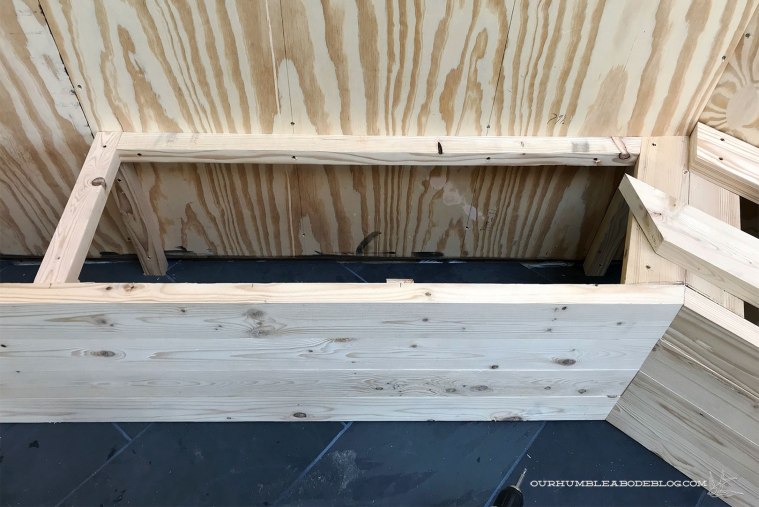
Along the back of the bench is a stationary strip, which holds the movable lid in place.

To build the tops, Ben screwed together three boards using trim scraps.

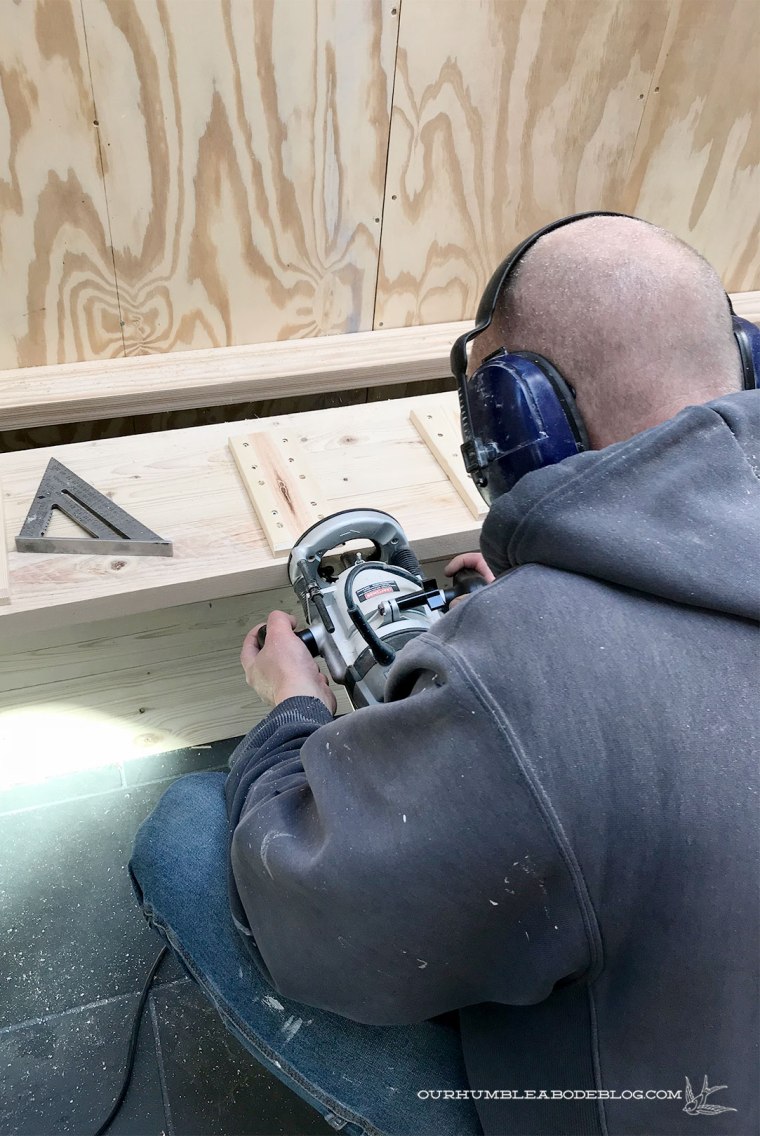
We really wanted to use hidden hinges, but couldn’t find any that a) had a high enough weight rating and b) had a wide enough angle. So, we went with the most durable option: door hinges. In order to get the smallest gap possible, Ben notched out the hinge placement. First, he cut a small groove using a jigsaw.

Then, using the router set to the hinge thickness, he carved out the rest of the space.
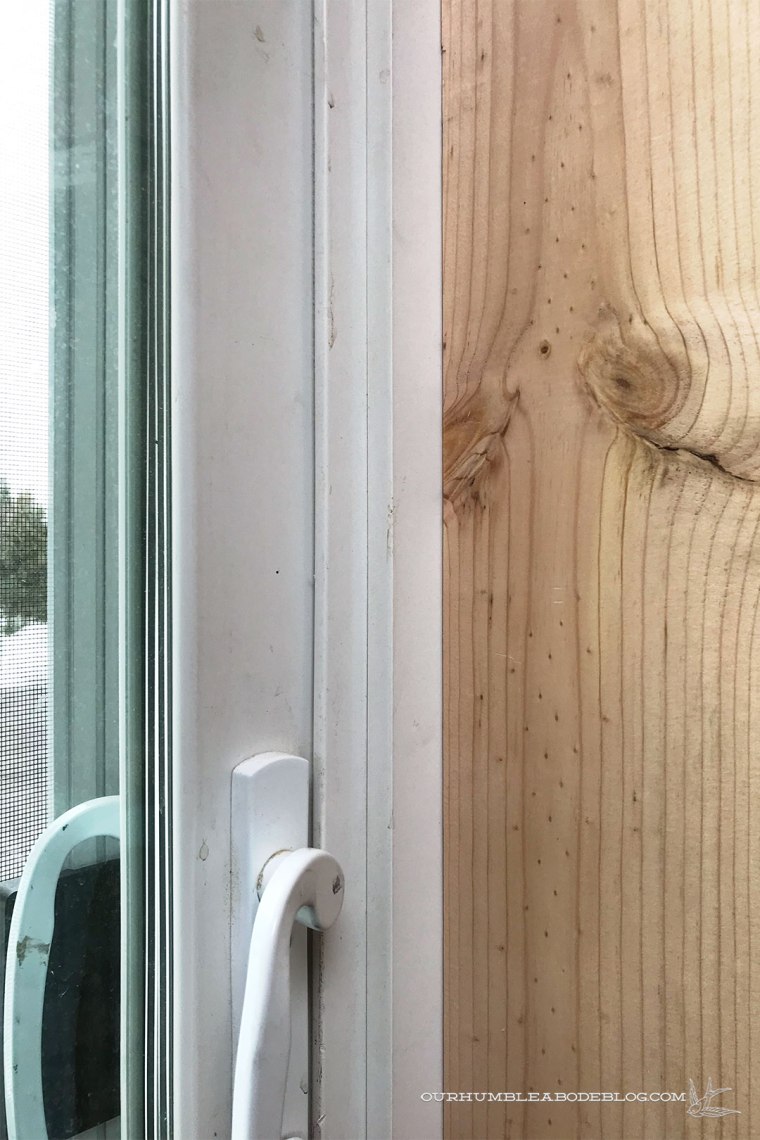
It’s a slim gap, barely wider than the spacing of the other boards.

Once sanded and stained to match the beams, the oil rubbed bronze hinges shouldn’t be as noticeable.

We weren’t able to finish the construction of the third bench top or create the recessed handle detail.

It’s exciting to see it come together, but it’ll be even better after I finish with my part of the process.


 Working around the pool proved trickiest, until Ben built himself a marking jig. Scraps of plywood set to the depth of the pool lip with a screw slightly through the top piece.