Obviously, based on the content of this blog, it’s clear Ben and I devote a large amount of time (and money) to fixing up our home. We’ve made it our financial priority to fix up and pay off our home as quickly as possible. To do so, we do sacrifice expensive family vacations, with the hope that as our kids get older, traveling will be easier, more enjoyable, and they’ll actually remember the trip. On our previous travels, I have purchased a coffee table photo book of the area we’ve visited.
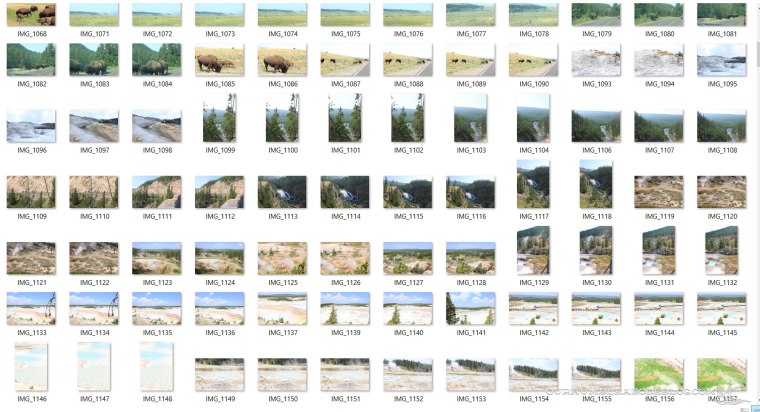
With that said, in August, we took a family trip to Yellowstone and Grand Teton National Parks. It was a week of camping, sight-seeing, and about 1,000 photos taken. Yes, I have an addiction, but it’s easier to take more and delete later. Upon returning home, I loaded the photos on my computer and picked out my favorites.
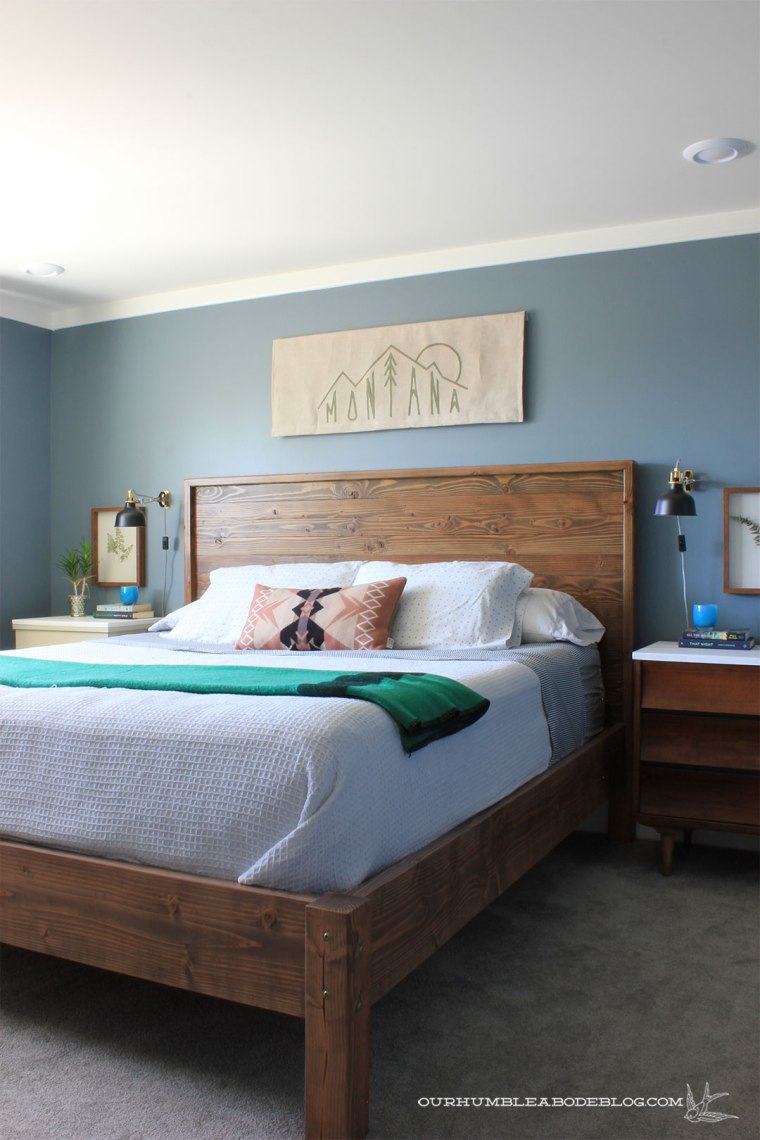
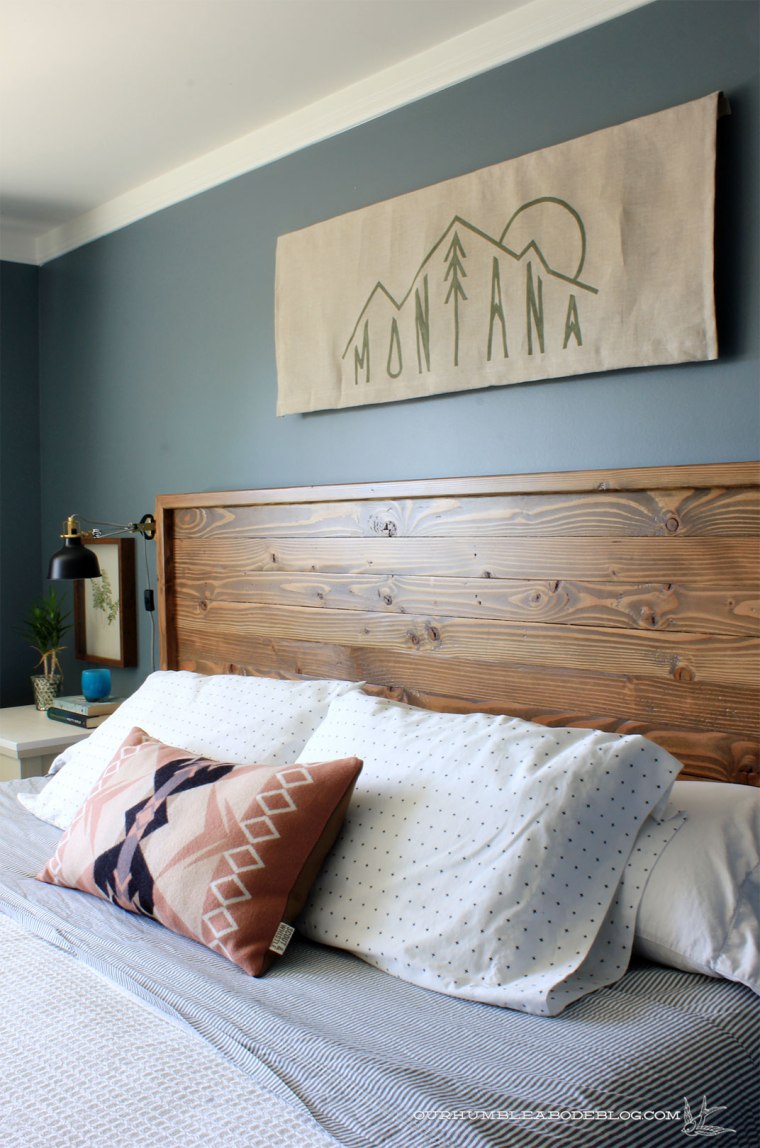
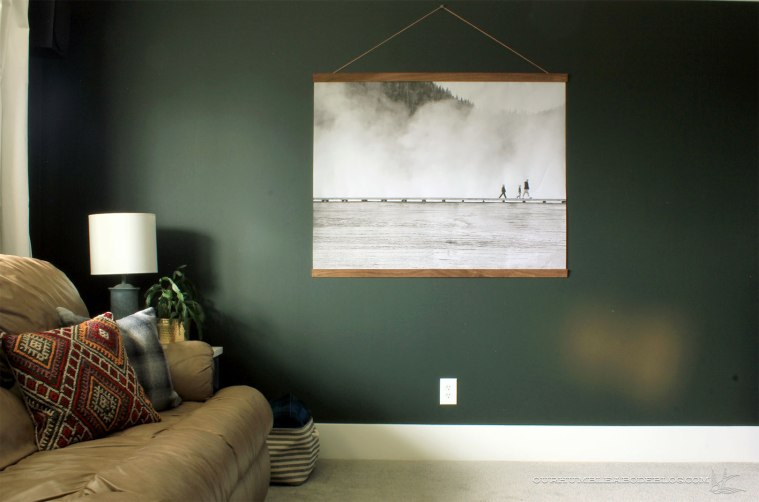
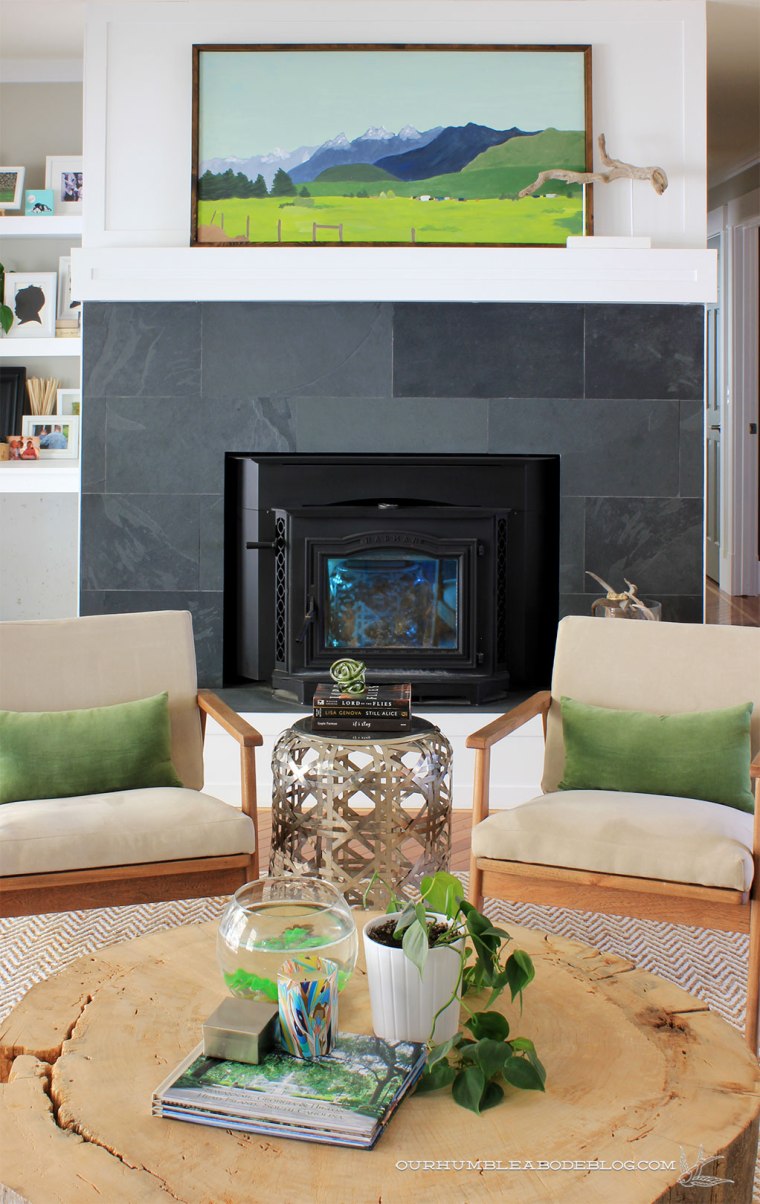
I enlarged one and turned it into art for our basement theater space.
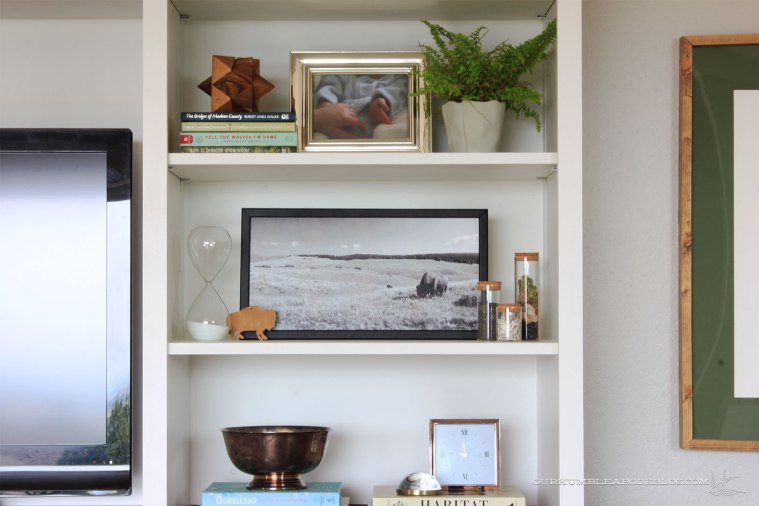
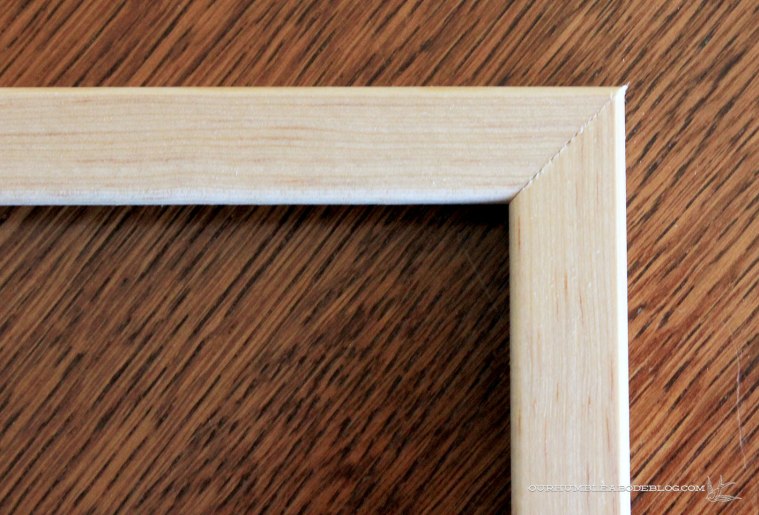
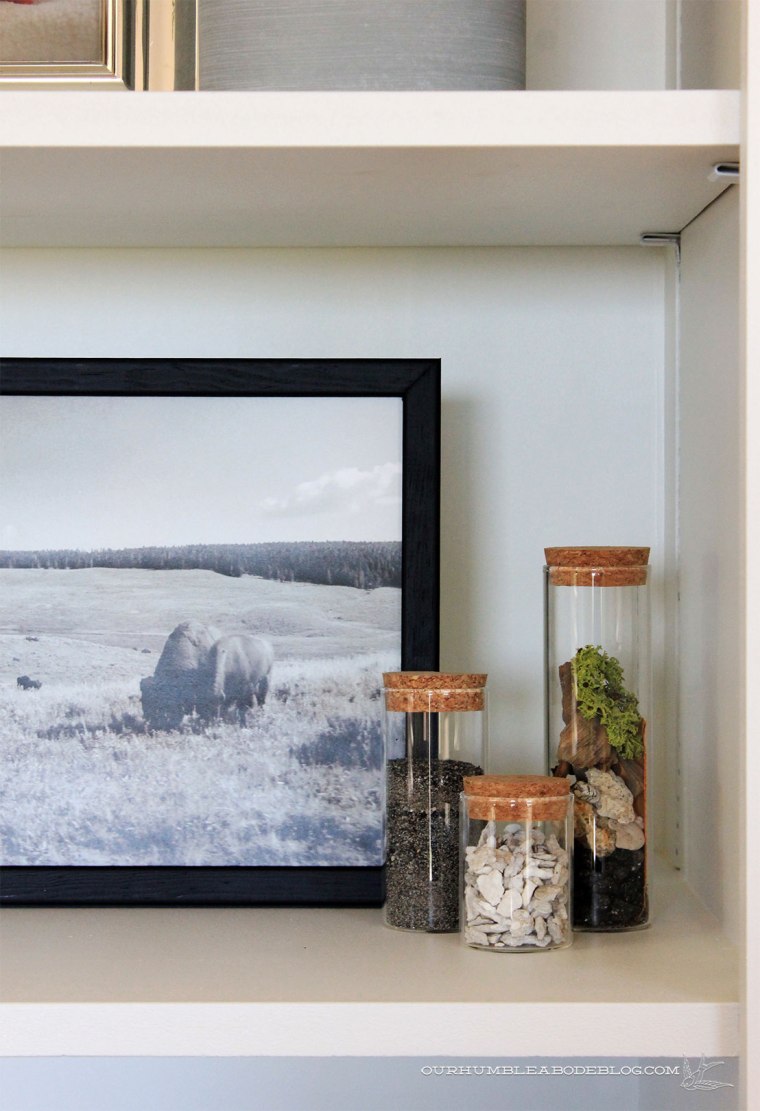
Another sits in a DIY frame on our entertainment center shelf.
Two down, only 998 left to get out of my computer and into regular view. I didn’t buy a photo book while on vacation, as I planned to create our own, using our photos and memories. After some research, with a coupon in hand, I ordered a photo book through Shutterfly. No, this is not a sponsored post; I purchased the books with my own money and simply love this product.
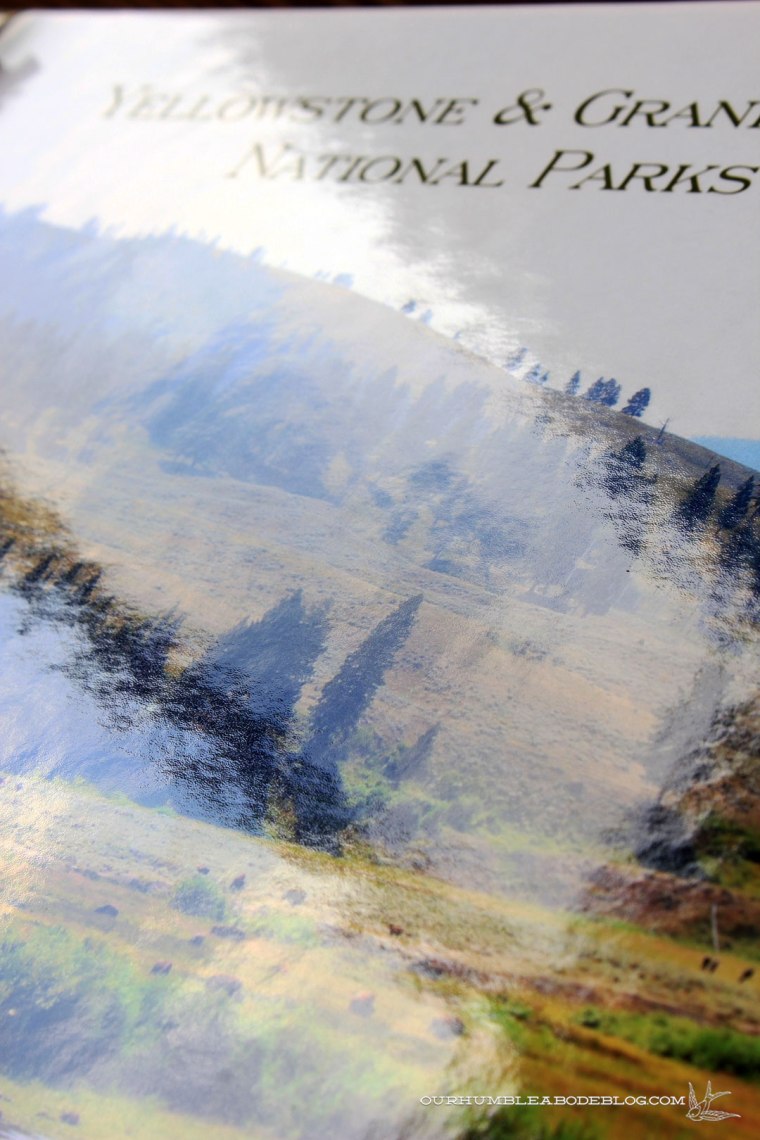
After loading my edited photos into my project, I set about creating a design with few words and as many photos as possible. To create as professional looking book as possible, I picked one picture to fill the front and back covers.
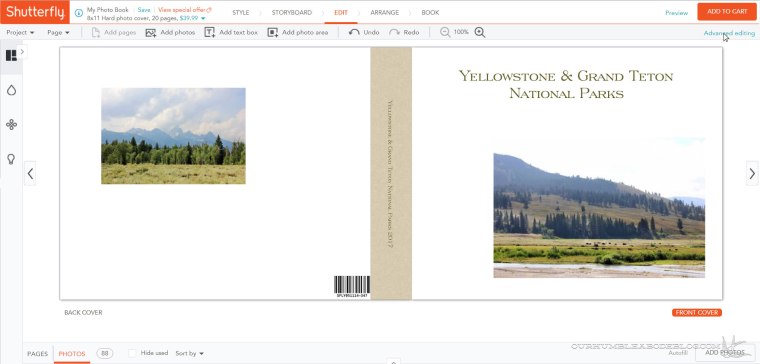
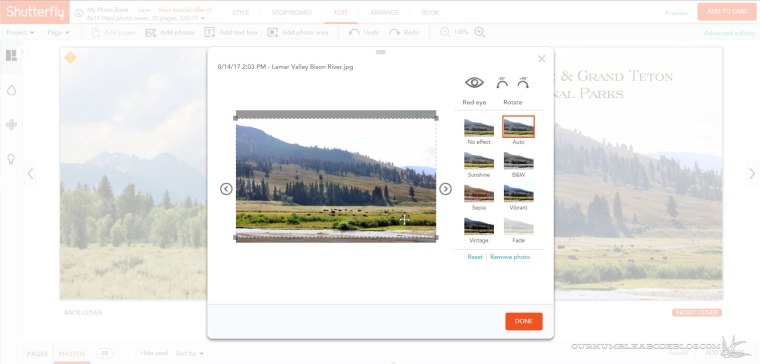
Using Photoshop on a near daily basis, I didn’t like how limiting the standard editing mode was, so I switched to Advanced Editing. From there, I stretched the photo to cover the entire front.
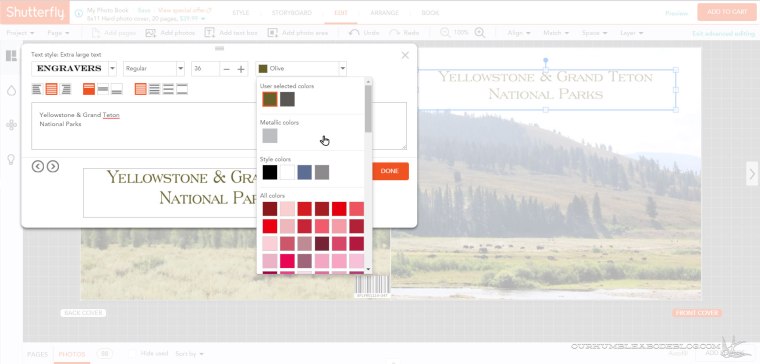
A simple title in a coordinating color overlays the pale sky of the photo.
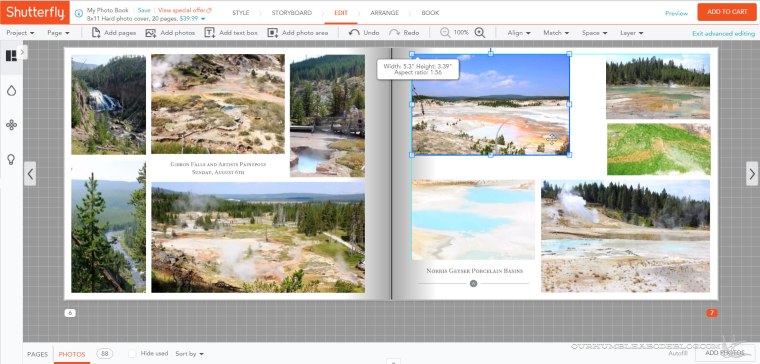
Shutterfly offers a wide variety of page layout options, but again, I found some to be limiting to photo orientation. I found it easiest and quickest to load the photos chronologically onto each page, grouping based on the site location.
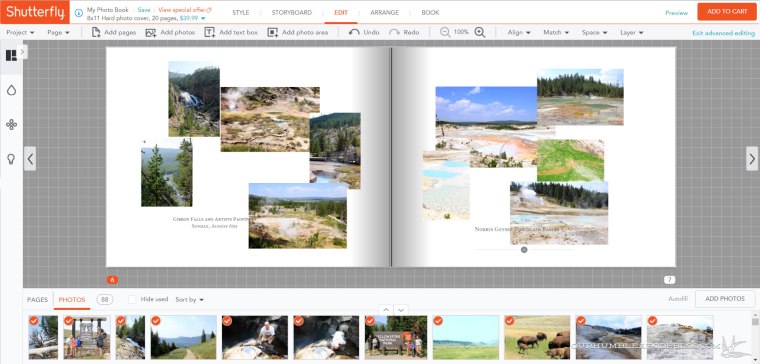
Before arranging the images, I first filled all 20 pages with pictures so I knew they’d all fit in my book.
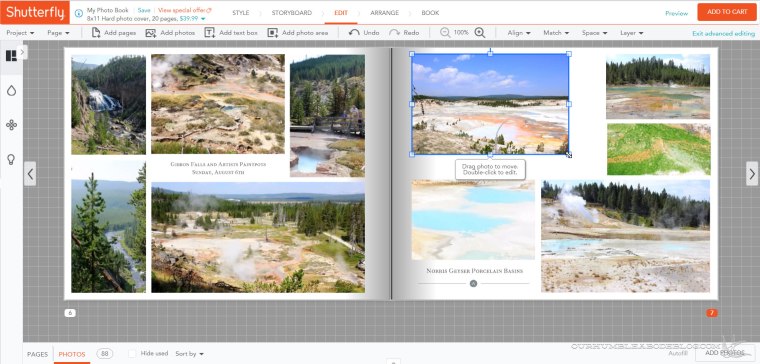
I found it so easy to arrange photos, as the software keeps the photos in the proper proportions. In some cases, I stretched a vertical photo to fit my layout or zoom in on an interesting area.
Once arranged, I selected a hard cover upgrade and submitted my order. Having never ordered a photo book before, I waited until this one arrived to assess the quality and my feeling about it. When it arrived, I tore open the box and flipped through the book. I loved it, but wished I upgraded to a matte cover.
Ben loved it, the boys loved it, so I went through photos from previous vacations and ordered three more, this time springing for the matte covers.
It’s a subtle change, but does feel much higher in quality.
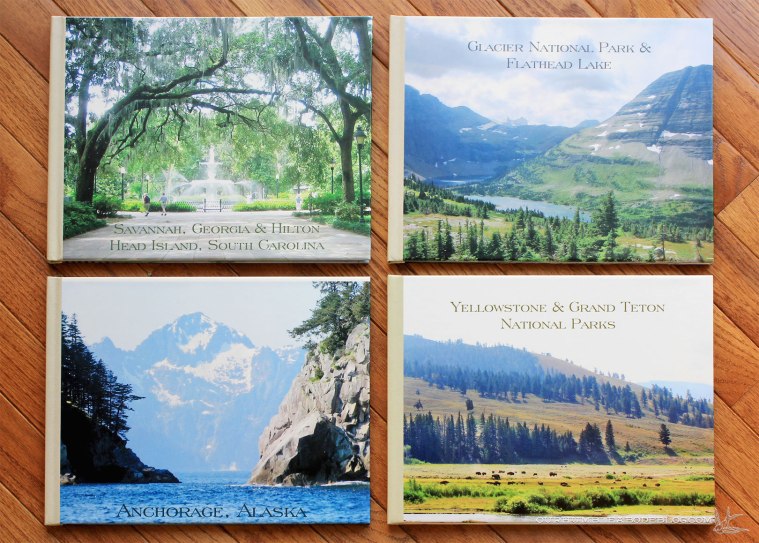
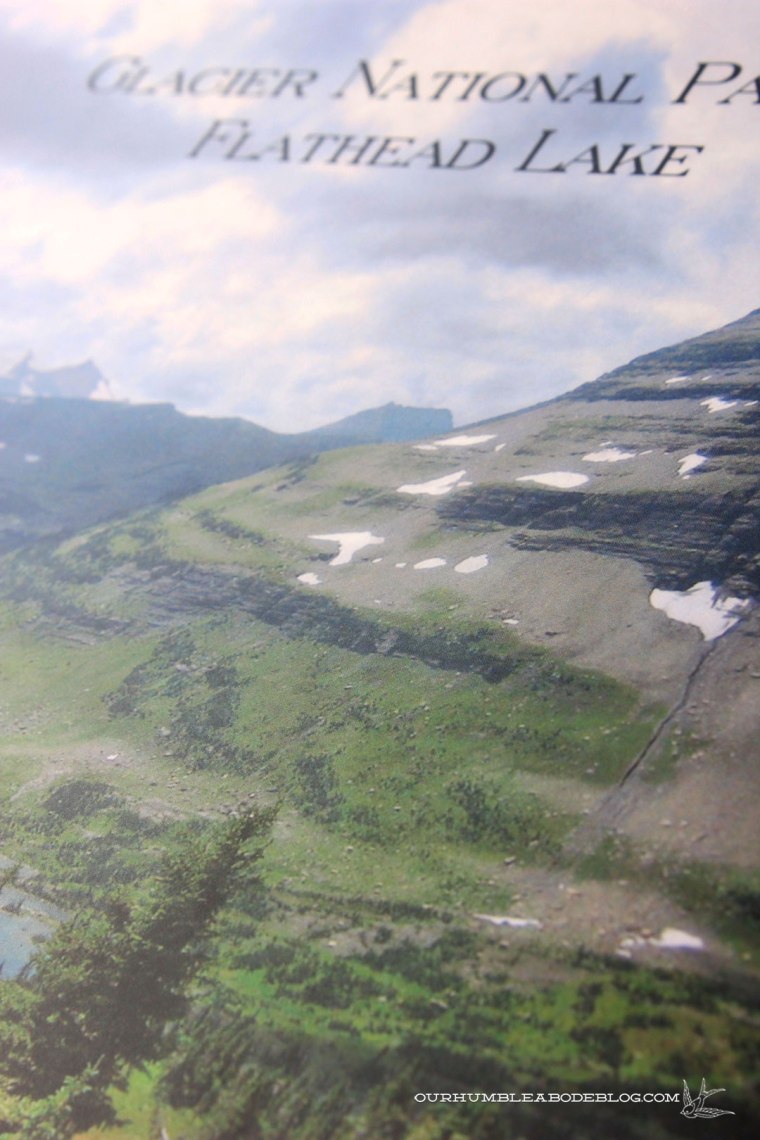
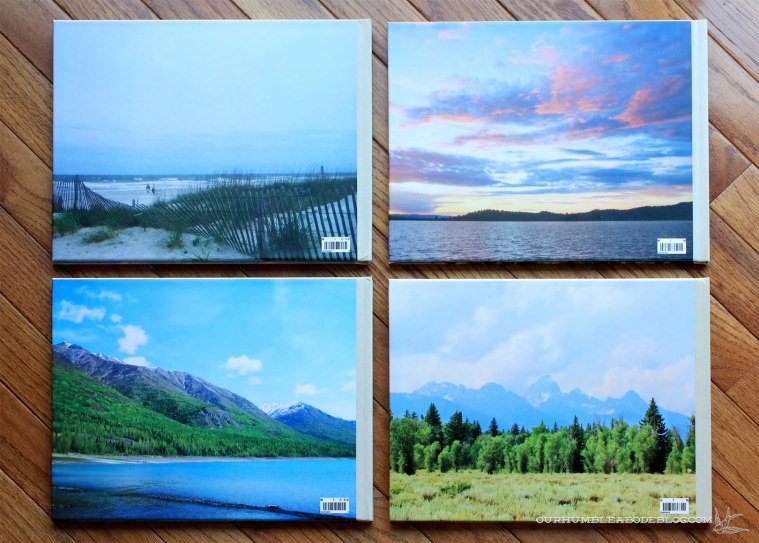
For a cohesive collection, I chose the same spine, fonts, and filled the covers with a single large photo. The backs are single images as well.
This stack lives on our stump coffee table in the family room, readily available to flip through.

As the saying goes, “a picture is worth 1,000 words” so I kept the text brief with only a location and date.
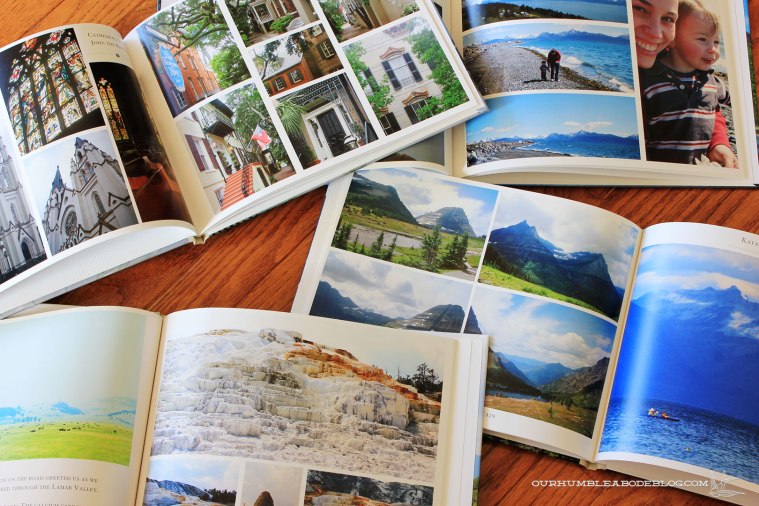
At first, I worried the 8 by 11 book size would make the images too small, but I’m thrilled with the size. By enlarging favorite photos and keeping the supporting photos smaller, it’s a great balance.
How do you deal with the photos you take? It’s sad, but so many great photos sit on our computers, forgotten about for who knows how long.