Etsy Favs: April

Whew, I didn’t realize how many crazy awesome things I’ve added until now.  Etsy keeps getting better and better, doesn’t it?  Anyway, check out these sweet finds. Triangle Concrete Pot from Rough Fusion: 
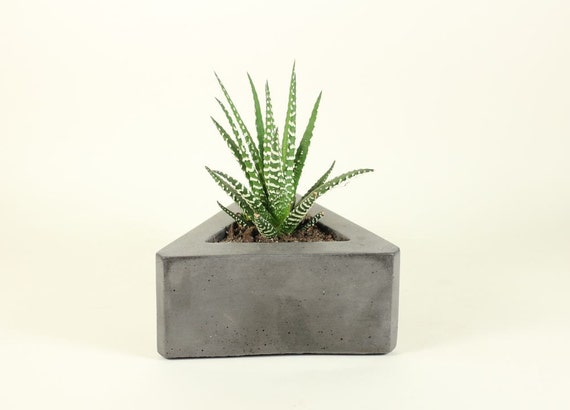
Watercolor Triangle Mousepad by Courtney Oquist: 
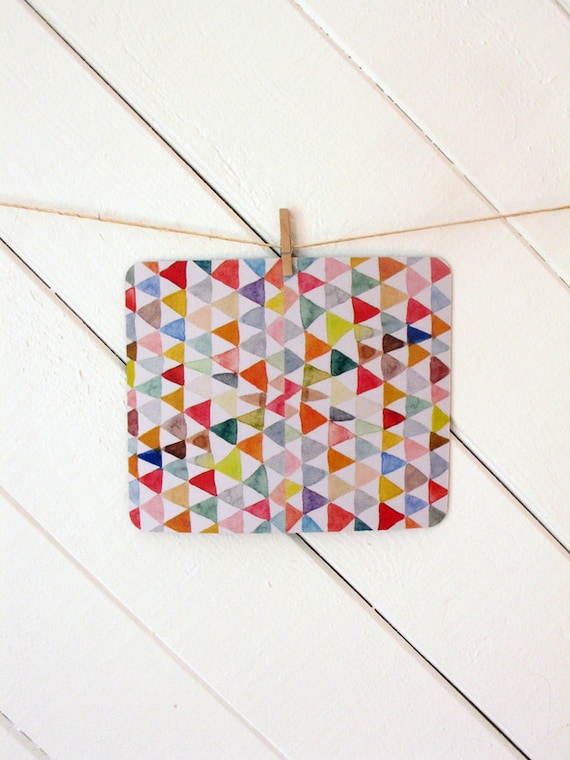
Anything, Not Everything Gold Foil print at Charm & Gumption: 
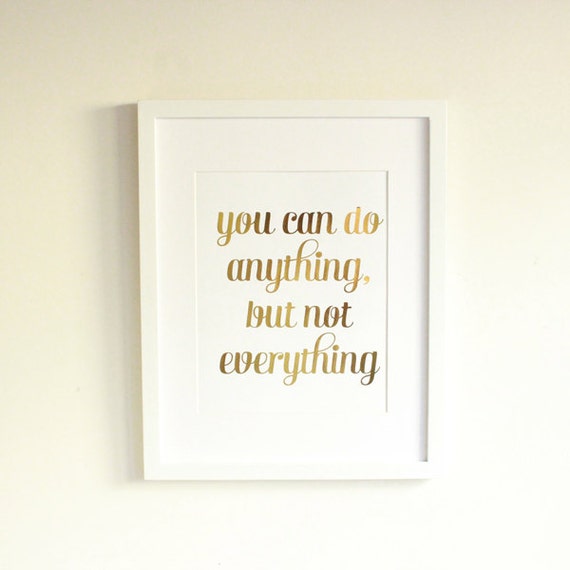
Every Day I’m Hustling pillow cover from Michelle Dwight Designs: 
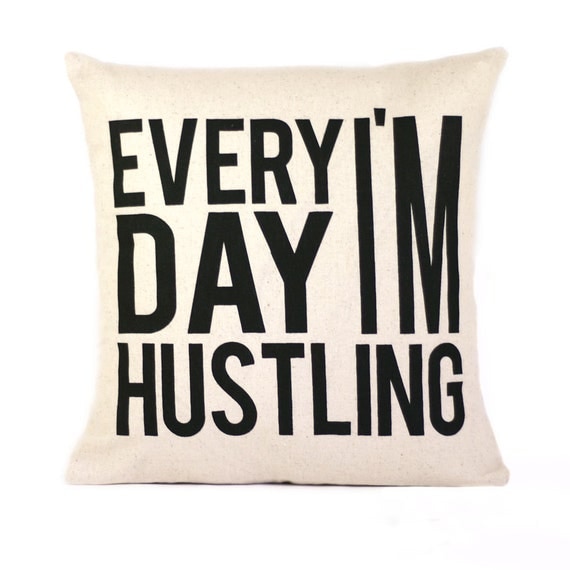
Bloom Floral Bouquet print and Butter Makes it Better towel at Little Low Studio: Poppy Print by Kelli Murray Art: 
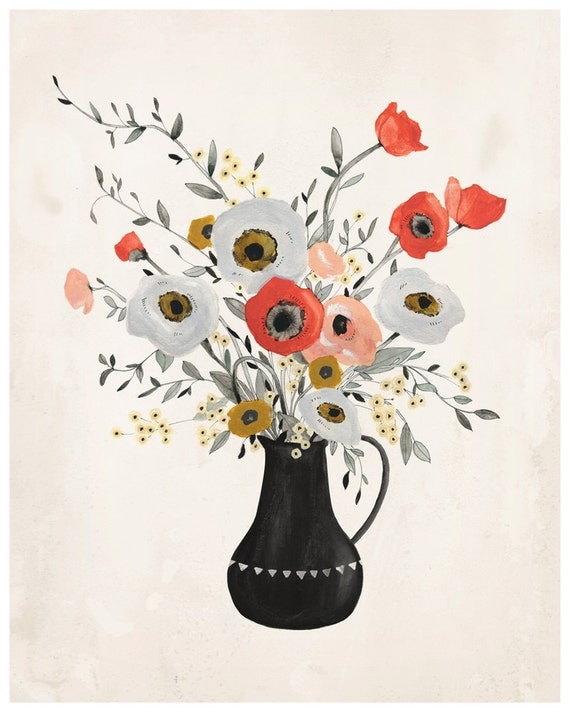
Tiny Spring Flowers Painting from Sorcha Moon: 
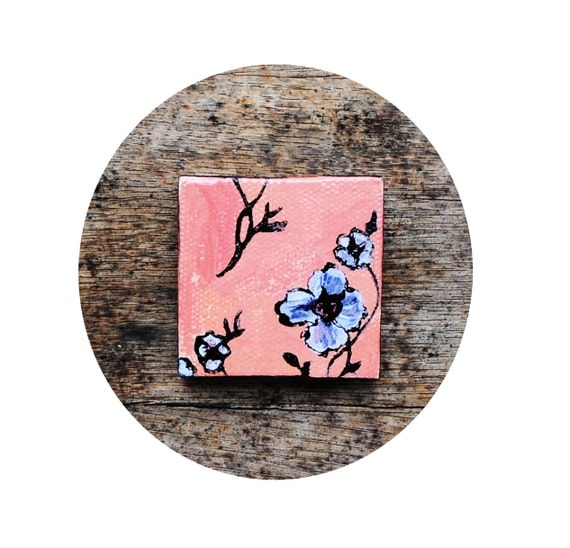
Brass Walnut Opener at Dress My Room: 
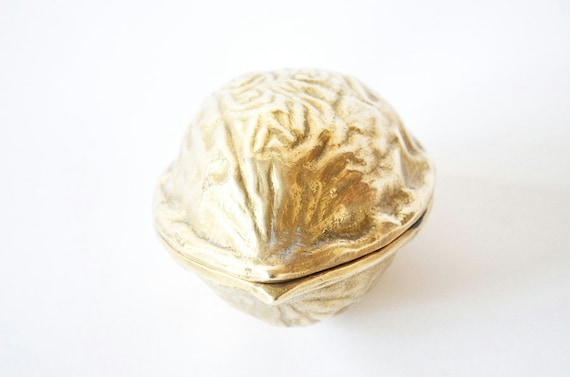
Walnut Boxcar Succulent Planters by Revolution Design House: 
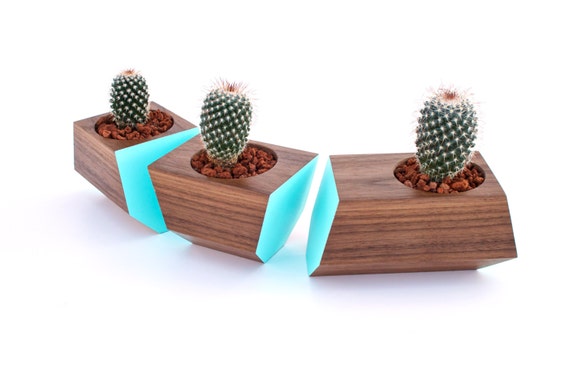
Modern Wooden Bird House from The Bird on the Tree: 
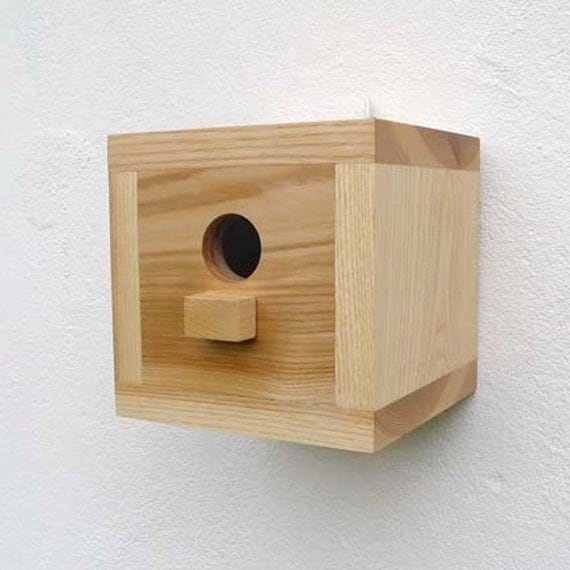
Porcelain Dairy Bottle Vase at Revisions Design: Green Striped Tote Bag by Juneberry Stitches: 
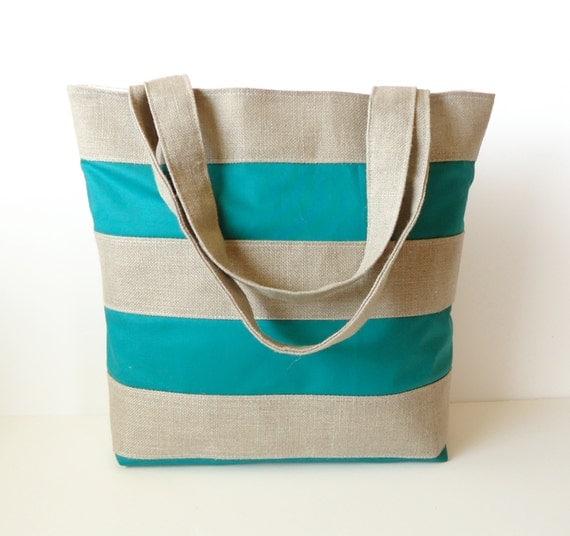
Beach Umbrella Pillow Cover from Alice B. Gardens: 
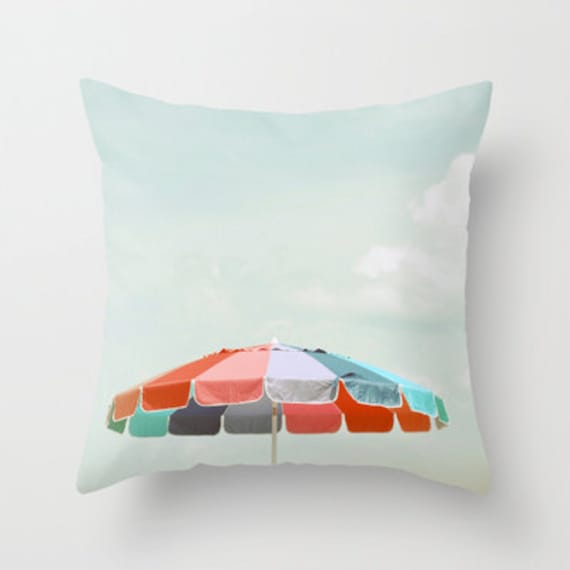
Diamond Air Plant Terrarium at Amy Burgess Jewelry: 
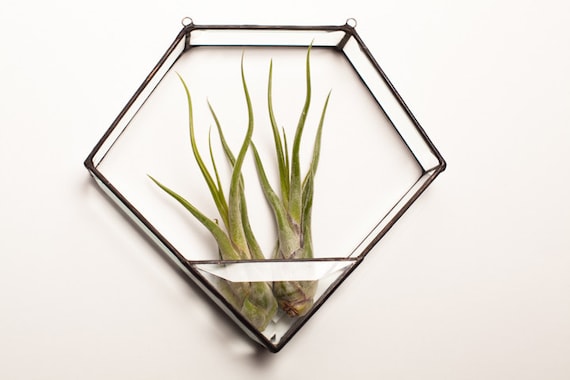
Triangle Patchwork Pillow from Geometric Electric: 
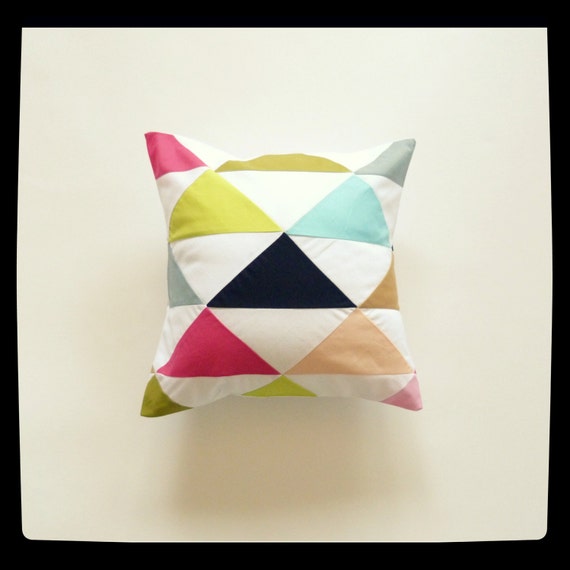
Mini Neon Planters by Wind & Willow Home: 
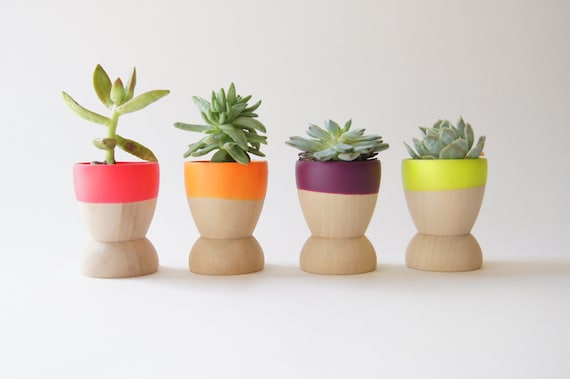
Coral Clock from Design Atelier Article: 
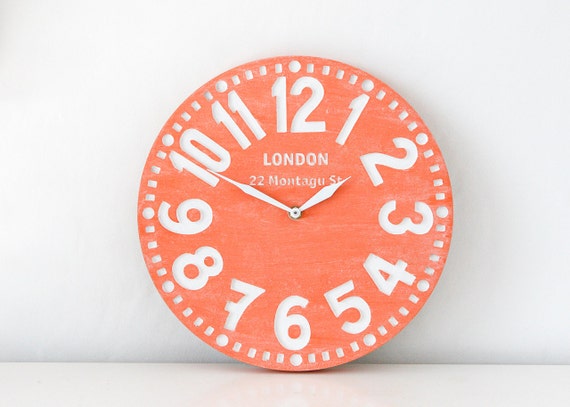
Chevron Outdoor Pillow Cover at Classic by Nature: 
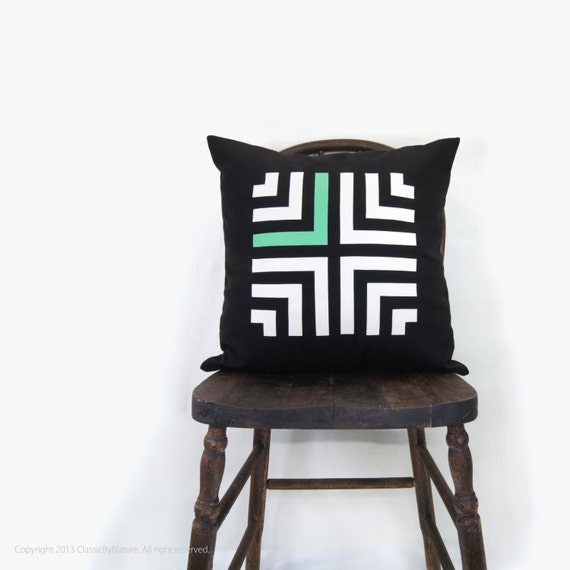
Matte Black Vase by Vitrified Studio: 
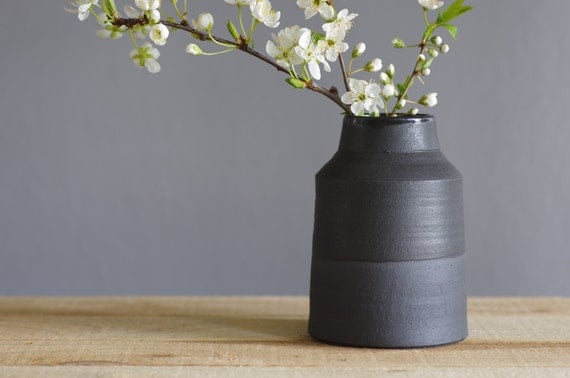
Red Scandinavian Print Towel from Hummingbird Factory: 
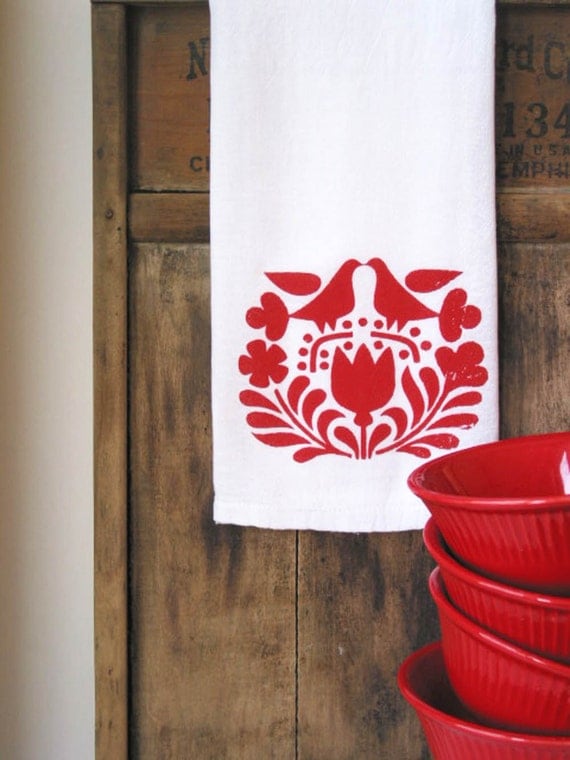
Canvas Apron at Meyer Textile Co: 
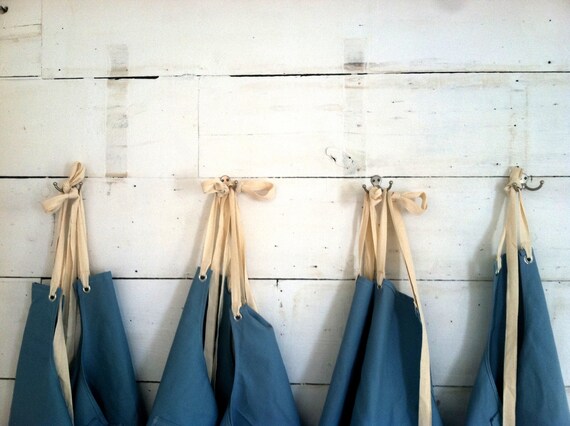
Purple Ranunculus Flower by Happy Blossoms: 
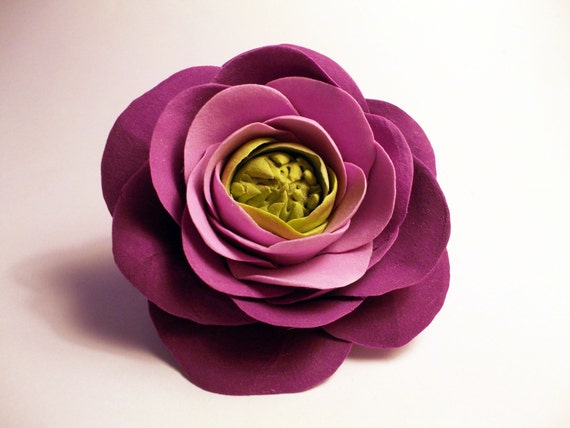
Overlapping Geometric Shapes Print and Scallop Pillow from Retro Menagerie: 
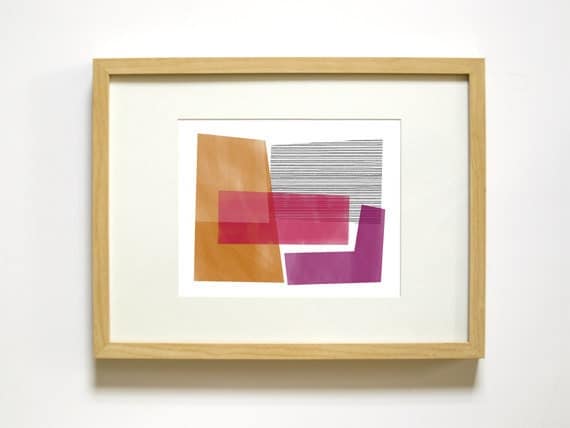
Wow, all so bright and colorful.  Do you have a favorite?

And thank you to our wonderful sponsor, Super Sweet Life for your support and sharing your awesome custom labels!

Think Green!

We’re teetering on the edge of spring here in Montana.  Just a few weeks ago we had sunny filled skies and near 70 degree temperatures.  So far this week (and most of last) we’re lucky to reach the 40’s while the snow falls.  Welcome to Montana, I suppose.  Minnesota and Wisconsin folks, I feel for you.  In an effort to usher spring sooner than later, I’m adding fresh green to our house.  The more, the merrier, starting with this mint, cream, and emerald-green color block pillow from Jillian Rene Decor.

Jillian-Rene-Decor-Spring-Pillow

Jillian was sweet enough to make me a custom pillow.  So wonderful and perfect.  Everything in her shop is so great, so check it out.  Next to the sofa, I’m trying to green up my thumb with a grass-like succulent and a few clay critters.

Succulent-Spring-Plant

More greenery on the mantel, this time a planter from Wal-Mart with two bunches of fake succulents.

Green-Planter-on-Mantle

And finally, my newest art obsession, right in my home; “Heavenly” by Annie Bailey of MT Photo Journal.

MT-Photo-Journal-Art

Annie lives in Montana and takes beautiful photos of our state.  Most Montana photography is wildlife, not my style.  Or taken in Glacier National Park or some other mountain area.  Which is pretty, don’t get me wrong.  To me, that’s not what Montana is really about.  This is Big Sky Country after all.

MT-Photo-Journal-Art-Toward-Fireplace

(Ignore the unfinished ceiling, please)  Annie captures the essence of Montana, with interesting compositions and vivid colors.

MT-Photo-Journal-Art-from-Back-Door

Immediately upon opening the package, I popped it in this cheap frame.  Soon, hopefully, I’ll convince Ben to make me a beautiful wooden frame, but I can admire this lovely until then.

MT-Photo-Journal-Art-Toward-Kitchen

So there you have it, two of my favorite Etsy shops.  Now, let’s get to spring, shall we?  Any new art you’re loving lately?

Quick Quilt

So, I made a quilt.  And it didn’t take that long.  About 10 total hours, from cutting to using.  After trying and disliking a small patterned bedding, I searched the internet for a more simple, but still colorful quilt.  This Pia Wallen Cross Blanket is awesome, but also expensive.

Then I saw this Polly blanket.

Perfect colors to tie in with the elements of the guest room.  White like the trim, gray to match the doors, yellow for the walls, blue like the headboard and dresser, and green accents.  But I couldn’t find a price or a place in the US selling it.  Instead, I used this as inspiration to make my own fabric quilt.

Quilt-on-Guest-Bed

I bought a half yard of six different colored linen fabrics.  Light gray, dark gray, mustard, white, teal, moss, and used navy I bought for the headboard.  To maximize the fabric, I cut nine 6 by 16 rectangles of each color, keeping the left over ends.

Sewing-Quilt-Cut-Pieces

With all pieces cut, I started randomly arranging the colors, sewing the short ends together to make a strip.

Sewing-Quilt-Ironed-Strip

Then I ironed each strip before sewing two together.

Sewing-Quilt-Strips

I continued sewing two strips together, then sewed those strips to form the front.  Once I made the front large enough, I laid an ironed flat twin sheet (five bucks at Wal-Mart) on the floor right side up.  Then my patchwork piece on top, right side down.  For a little more weight and warmth, I added a layer of white flannel on top of my patched sheet.

Sewing-Quilt-Layers

Before sewing, I marked my lines, then stitched along all three sides and part of the bottom.  Basically, I treated it just like an over sized pillow cover.  Once I turned it right side out, I had and front, back, and inner liner with a small hole at the bottom.  I hand stitched it shut and called it done.

Patch-Quilt-on-Guest-Bed

Folded at the foot of the bed it adds pattern and color, and functions as a throw or a summer blanket for one person.  Handy Sammy and I are both super happy with the results.  Bonus, I’ve finally sewn a full quilt.  Every time before, I’ve made way too small pieces for my patience and skill level.  Turns out, making large pieces makes the process quicker.  Who woulda thunk it?  How about you, have you ever made a quilt?

Stellar Embroiderery

Constellations.  They’re just so…cool.  In elementary school, we had a special week with the Star Lab, a big, inflatable dome with a star projector.  It was awesome.  And who doesn’t like star-gazing?  That’s what I thought.  So, I made two stellar embroidered art pieces for the boys’ bedroom.  I started by drawing a constellation map on navy fabric I bought for the guest room headboard (but didn’t use).

Embroidered-Constellation-Template

Using white embroidery floss, I made stars and connected the constellations together.  A large embroidery hoop kept my fabric tight while I worked in sections.

Embroidered-Constallations

Not sure why, but I thought this would be a relatively quick project.  I was wrong.  It took several hours to make each 16 by 20 piece.  But, it was worth it.  After stitching every star,  I stretched centered the fabric over an old canvas, then stapled it to the back, pulling tightly as I worked around.

Embroidered-Constellation-Detail

A few areas didn’t stay tight, but that’s okay.

Embroidered-Constellation-Loose-Detail

Now the boys can learn the constellations of the northern and southern hemispheres.

Embroidered-Constellation-Art

Like upside down Orion at the top, holding his bow.

Northern-Hemisphere-Constellation

And look!  There’s his lower half in the upper left corner.

Southern-Hemisphere-Constellation

Getting one small thing done always makes me want to start/finish/fix other things in a room.  Like painting the walls a solid color (popcorn, I’ll get to you one of these days!) and maybe spruce up this little hand me down play kitchen.

Embroidered-Constellations-with-Kitchen

Do you think these are stellar?  (Pun intended).  Have you recovered or repurposed old canvases?

Rock Wall, Waterfall

About that waterfall I mentioned last week.  How’s about a little more info?  Getting a finished patio in the back yard is a priority for this spring/summer.  Getting all heavy lifting done is key.  The waterfall was all Ben’s idea.  He has a knack for coming up with awesome ideas to complicate his life.  But they’re worth it in the end.  Here’s our rough landscape plan:

Back-Yard-Landscape-Plan-Sept-2012

The waterfall is made up of linear-ish stones we pulled from our property.  A meandering rubber backed stream filled with river rock (also taken from our property) meets the rock cliff.

Testing-Waterfall

Below, a hidden pond collects the water.  Hidden pond, what?  I’m glad you asked.  Ben dug a hole, lined it with a thick rubber, then placed plastic containers inside.  The containers have holes, allowing water to circulate and river rock fills the gaps, but the rubber liner holds water in the whole area.  The uncovered box will hold a submersible pump (to get the water up the hill).  Three other boxes store water, which we covered with flat stones before covering with crushed limestone.

Covering-Waterfall-Hidden-Pond

After living with the fountain that was in the back yard, we realized an open pond would quickly get filled with dirt, leaves, sticks, and rocks.  Some naturally landing in, other tossed in by the boys.  An open pond is also a safety hazard with two young kids around.

Waterfall-Stream-and-Filling-Pond

Instead, we’ve got a pond you can walk on.  As you can see, we’ve got more rock to haul up, but we’ve made tons of progress already.

Waterfall-Stream-and-Hidden-Pond

After the rock we can add plantings, pour a patio, and carry on with the rest of our plans, including a fire pit and pergola.  Grrrr, baby.  Very grrr.