
When I get the urge to create something, usually my first step is to raid my supplies. Be it fabric, paint, or in today’s case, our scrap lumber bin. It starts with a specific need, but finding ways to use left over materials is a slight way to push myself creatively. Much like my cedar tub shelf. And both pieces I made add function to spaces. For our living room, I built a large square tray to corral everything on the coffee table.

I started with a piece of 1/2 inch MDF that was 22 by 30 inches and an 8 foot strip of 1 1/2 inch wide 1/2 inch MDF. I cut the 1/2 inch piece to 22 inches square and then four strips for the sides. All trays are assembled the same way. Thin base material with side material attached on top. I used 1 inch staples in our air stapler to secure everything; undersides first, then corners.
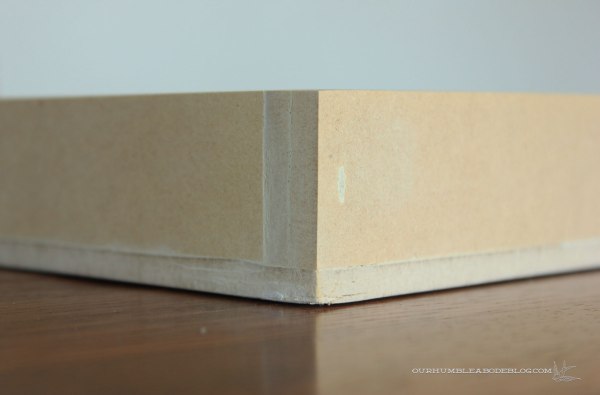
Due to the nature of MDF, it bulged out and cracked along the edges. I wasn’t concerned because I knew I’d fill it with putty and caulk. After filling the cracks and staple holes with wood filler, I caulked the inside corners.

Sanding everything smooth was quick and evened out the bumps.

For durability, I used some white exterior paint. After three coats, I took it outside to spray with clear gloss. Two light coats in I noticed how the gloss had yellowed the finish. Great. I lightly sanded it again and did two more coats of white paint and called it a day. Good enough, I can always repaint down the road. To spare the table from damage, I added small rectangles of felt to the underside. Clearly I didn’t care about the staples or paint drips on the bottom.

And now I’ve got a simple tray to keep magazines, remotes, and other crap (like the boys’ mini foods) organized.

Because their minis are so adorable, I used a wooden drawer organizer (it was actually a tiny shelf) to display the collection.

In other scrap pile happenings, I used a small chunk of left over cedar to make a shelf for our shower cubby.

Before assembly, I sanded all sides with 220 grit paper and drilled two pilot holes in each end of the top board. Obviously this shelf is exposed to water, so I used stainless steel screws so it wouldn’t rust. Once assembled, I coated it with teak oil for a protective layer.

The shelf holds a razor and bar soap, leaving more room on the bottom for bottles. There, two quick and easy scrap projects that don’t cost a dime.

Love the tray! And it’s a good reminder to try to use the materials I already have around the house. Maybe you’ve already shared this info elsewhere, but what kind of houseplant is that on the tray? I love it.
Hi Kristi!
Thanks for the love about the tray. 😀 The plant is a maidenhair fern. One of my current favorites.
Thanks!
Amanda
I’m so impressed that you think to make something you need instead of heading to the store to find it! I need to think that way more often especially since I love all things ‘green’! Great ideas, as always. 🙂
Hey Adrienne!
Sometimes for me, it’s just easier to make it instead of tracking the perfect one down. Especially because this is a large square tray. Most are rectangular. And this was easy. 🙂
Thanks!
Amanda
I’m loving the shower cubby shelf! It’s a super smart way to store that razor.
Thanks, Joyce! It’s so much better than resting in front of the bottles where it can get bumped off.
Thanks!
Amanda