DIY State ‘Flag’ Art

What do you hang over a bed?  Oddly enough, I don’t have much experience in this department as our bedroom has a window above.

Ceiling-Fan-in-Master-Bedroom-Overall

Even our previous home had a window, thus limiting the placement of art to the sides.

Master-Bedroom-from-Door

Heck, our guest bedroom is surrounded by built-in bookshelves, again not allowing art to be hung over the bed.

Guest-Bedroom-Bookshelves

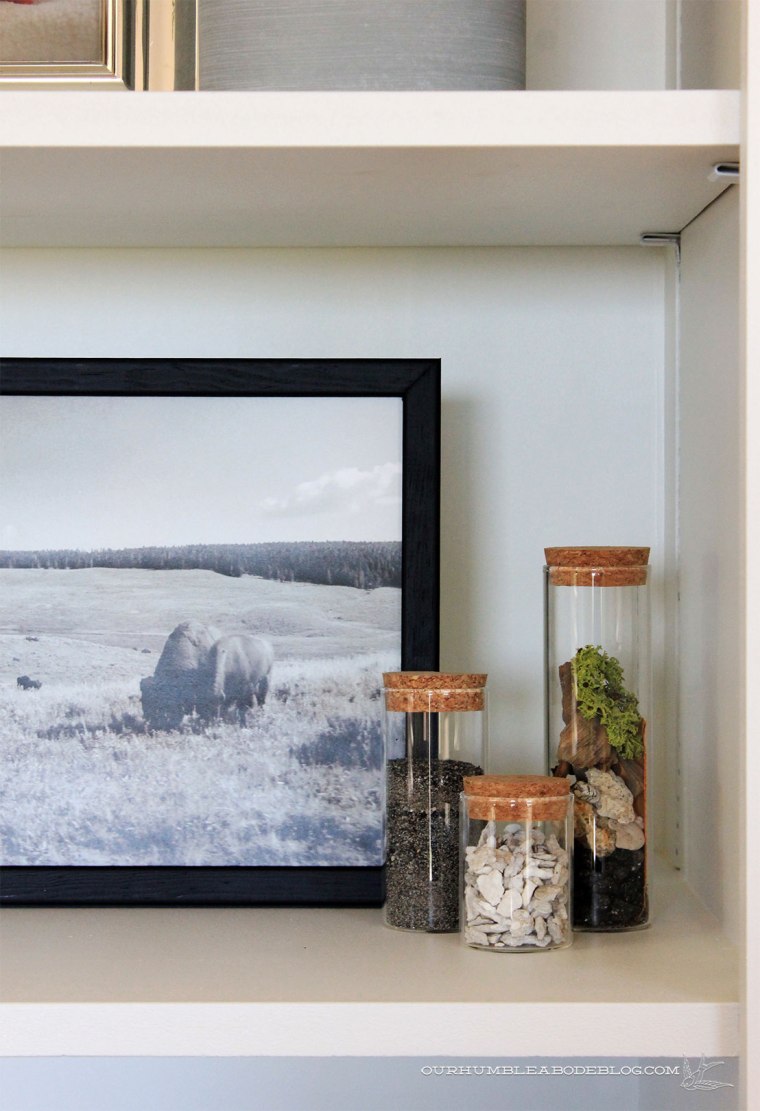
All that to say, I’ve had a hard time figuring out what to add above the basement bedroom bed.  I started with a print from a very talented fellow Montanan, Annie Bailey.  While I love the art, the dimensions weren’t right for this elongated space.

Five-Year-Home-Tour-Basement-Bedroom

I also don’t like hanging detailed art high up or in a place you can’t stand right in front and soak it all in.  Basically, I wanted/needed something long and narrow, simple, but still interesting.

Montana-Flag-Art-in-Basement-Bedroom

After considering another engineer print, I decided to go a different route with a ‘flag’.  Quotes because it isn’t really a flag, but it is a design on fabric.  Ideally, the Montana state flag would be beautiful, but it’s a far cry from the well designed California flag.  Haha, maybe we can have a do over?

Montana-VS-California-Flags.jpg

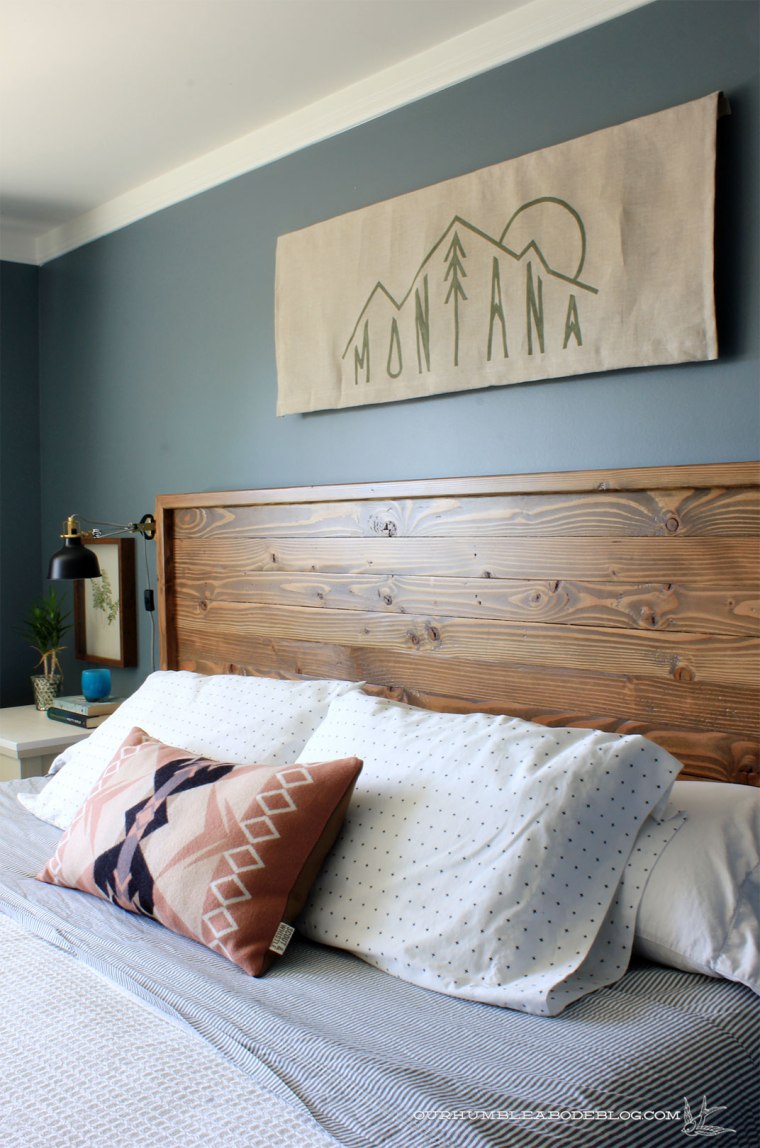
Instead, I opened Photoshop and created a simple, graphic design that I feel is representative of Montana.

Montana Flag Art Design.jpg

With the design ready, I printed it out on sheets of paper and taped them all together in a Frankenstein’s monster way.  Then I dug through my fabric remnants and found a piece of natural linen slightly larger than my desired finish size of 18 inches tall by 45 inches wide.  Ironing linen is incredibly annoying, so I helped the process along with spray starch.  Once my design and fabric were ready, I taped the design to the fabric and traced to transfer.

Montana-Flag-Art-Design-Drawn

Using left over paint from the main bathroom vanity, I filled in the design and allowed it to dry overnight.  Then I pinned and sewed the two short sides as well as the bottom, leaving the top unfinished.

Montana-Flag-Art-Sewn-Edges

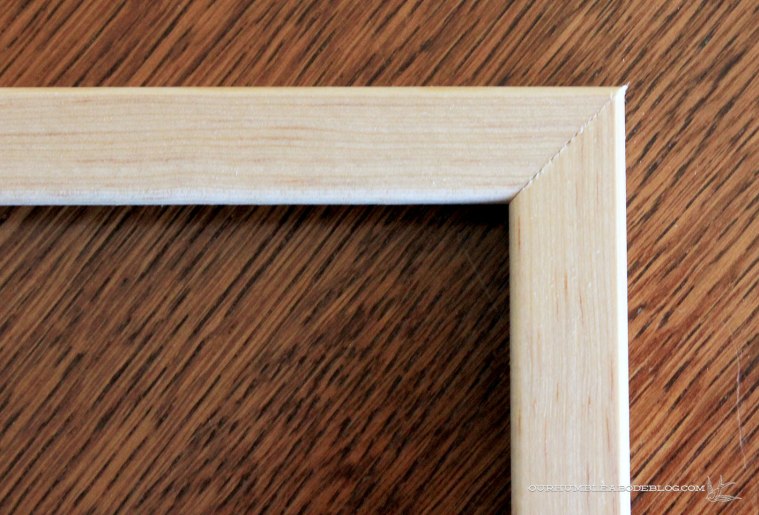
To hang the fabric, I had a few options to consider.  One, a dowel through a pocket at the top.  Two, stapled to a thin strip like the engineer print.  Three, wrapped around a frame, similar to a canvas.  Four, tacked to the wall at the corners.  Or five, wrapped over a thin strip at the top, which is what I chose.  Because this is fabric, I wanted the piece to have a little movement when the air picks up.

Montana-Flag-Art-Wood-to-Staple-Top

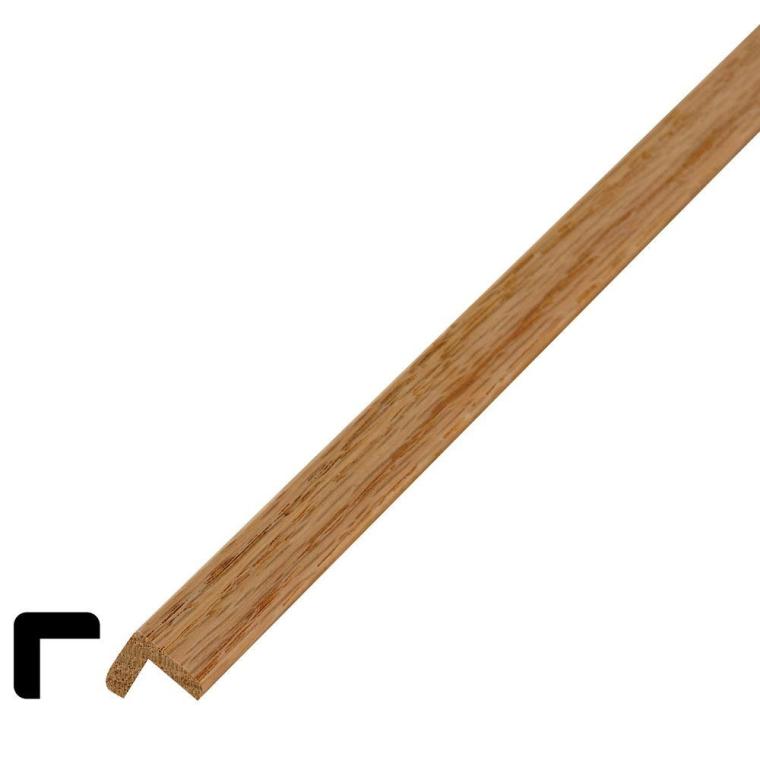
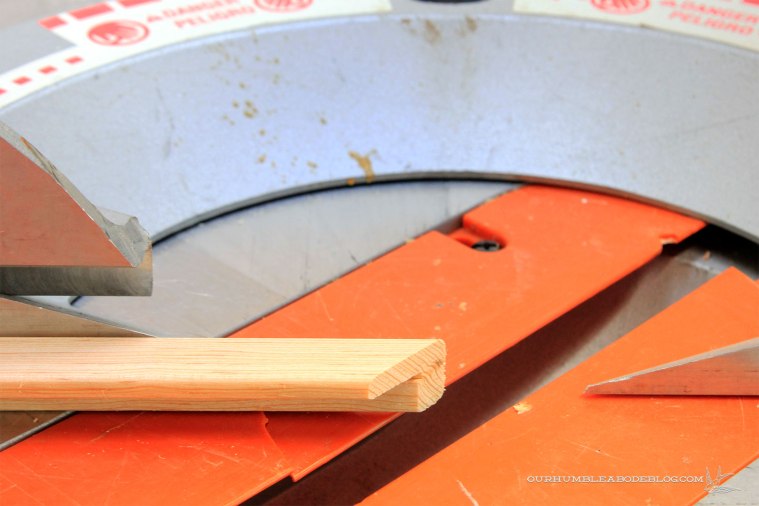
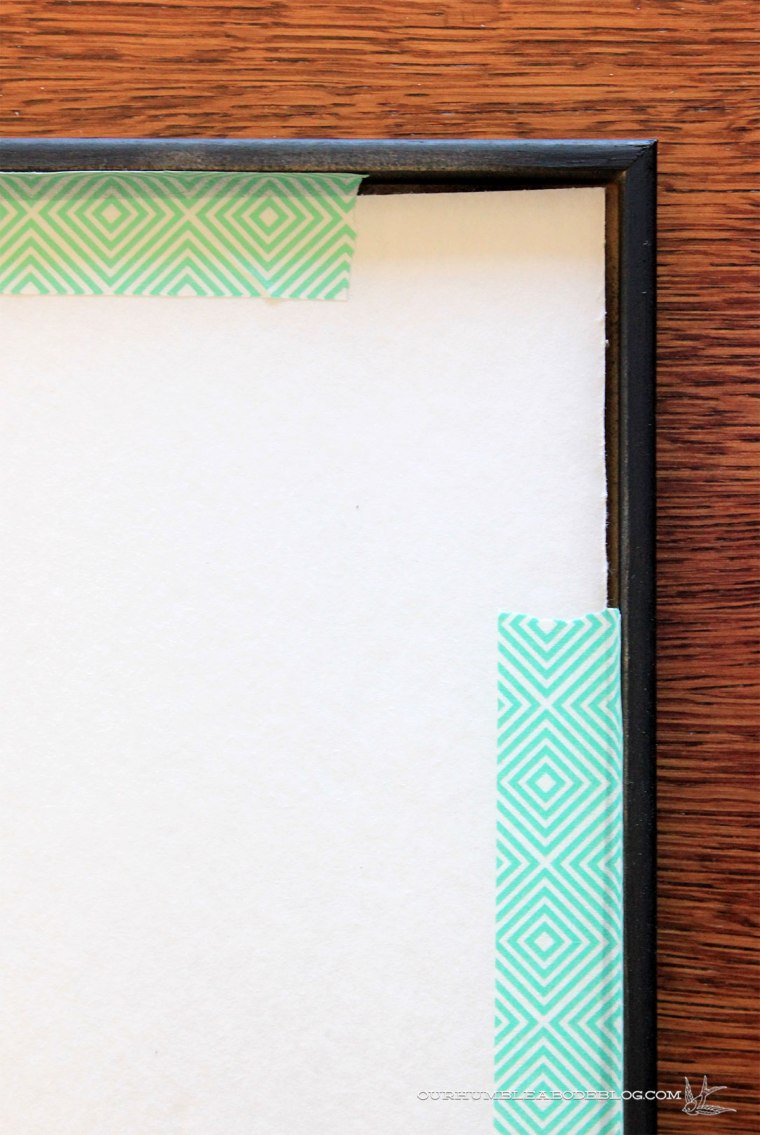
To do this, I rummaged through our scrap pile and found a strip of 1 by 2 pine and cut it one inch shorter than the fabric width.  I wrapped the fabric over the front and top of the board, stapling the fabric to the back to secure in place.

Montana-Flag-Art-Top-Stapled

A saw tooth hook attached at the center of the wood easily hangs from a nail in the wall.

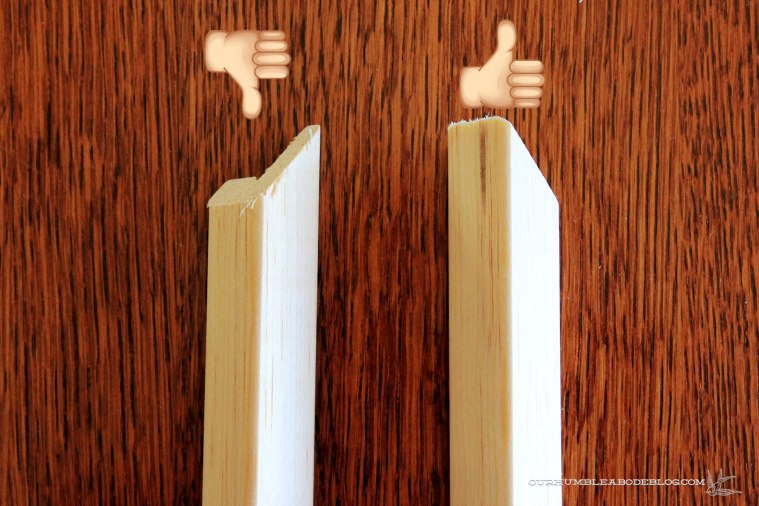
If seen from the side, a little bit of the wood peeks out.

Montana-Flag-Art-Hanging-Side-Detail

The thickness of the board holds the fabric off the wall, giving a slight shadow.

Montana-Flag-Art-Above-Bed

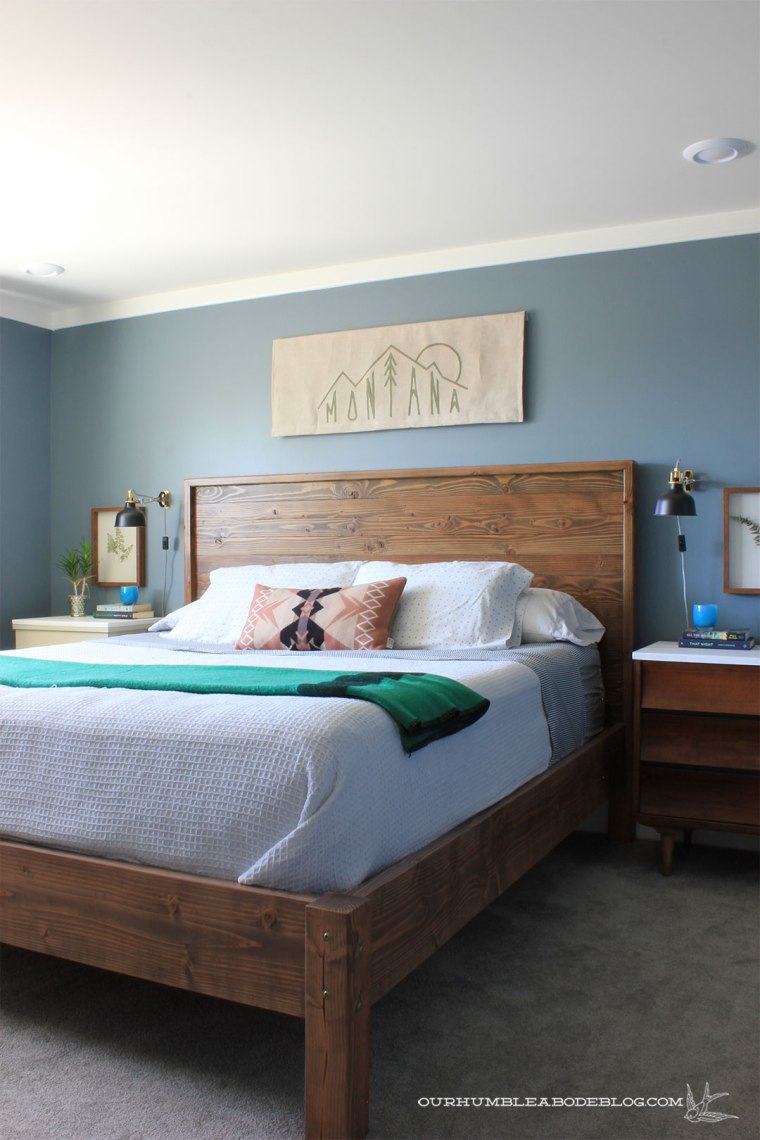
Unlike the framed print before, this wider design fills the wide, squatty space.

Montana-Flag-Art-Over-Basement-Bedroom

Still on my to do list is find similar night stands, but for now a petite dresser and a thrifted sewing table work.

Montana-Flag-Art

Montana-Flag-Art-in-Bedroom-from-Garage

It’s simple enough not to compete with the art on the sides, but still noticeable from a distance.  Any artful additions to your home recently?  Don’t be afraid to think outside the frame and embrace a unique hanging method.

A Quick, Easy DIY Frame

When I shared our new entertainment center, I quickly touched on the styling of it.  I love the look of art layered in bookshelves, so I snatched this almost panoramic sized black and white photo off our bedroom wall.  It fit perfectly, but I wanted the shelves to feel symmetrical and only had one.

Complete-Entertainment-Center-Styled-Left-Side

I love odd dimensions, but it’s not a standard size frame, so DIY to the rescuuuue!  Don’t feel limited to the cheap frames big box stores carry.  Or custom frames that can get expensive really quickly.

Complete-Entertainment-Center-Styled-Right-Side-Detail

This is the quickest way to make a custom sized frame.  Head out to Home Depot or Lowe’s and get a stick or two of Outside Corner Moulding.  I chose the smallest at 3/4 inch by 3/4 inch to better match the other frame, though the larger sizes would work well for bigger frames.

e72396f6-57d0-4706-bcfe-42169f6801b8_1000

When cutting, I like to keep the trim with one side tight against the saw, and the other face up.

DIY-Light-Weight-Frame-Cutting-Trim

Keeping it like this makes cutting safer, but also easier to remember which way you have to cut it.

DIY-Light-Weight-Frame-Right-VS-Wrong

Once cut to size at a 45 degree angle, apply wood glue to the insides of the cuts, press firmly together, and clamp in place until dry.

DIY-Light-Weight-Frame-Corner-Detail

While the glue dries, cut a piece of foam core to the inside dimension of the picture frame.  Apply double-sided tape around the perimeter of the print, then carefully line up the backing and press together.  Now you have a backing and the art is held in place.

DIY-Light-Weight-Frame Foam Backing

I chose not to add glass to my frame, as my other was also without.  To secure the back in place, you have a few options.  Either gently staple just above, tap small nails in place, or, if the contents are light enough, take the laziest way out: masking tape.

DIY-Light-Weight-Frame-Back-Detail

Yep, so, so fancy around here-ha!

DIY-Light-Weight-Frame-Finished-Detail

After about 30 minutes of work time and roughly 9 bucks, I have a finished frame and art.  In fact, this was so simple I have plans to make more to replace the art stolen from our bedroom.

DIY Nerf Gun Armory

As our boys get older, their interests seem to have narrowed to a few main things: Legos, Minecraft, Star Wars, sports, and Nerf guns.  Fellow boy moms, does this sound familiar?  Last week, I shared our Lego sorting and storing system and now we’re back in their little play lair with another organizational update.

Nerf-Gun-Armory-Overall

Our oldest is a Nerf fanatic lately, googling the best guns, hacks, and tactics.  Many times, he arranges his guns on the floor and says it’s his armory, so we decided to give him the real deal.

To start, Ben measured the angled wall, transferred the measurements to a sheet of 3/4 inch MDF, and cut the sheet.  Then, using a T-square, we marked a 4 inch spaced grid.

Nerf-Gun-Armory-Board--Measured

Put a half-inch Forstner bit in your drill, keep it as vertical as possible, and drill where the grid overlaps.  We chose not to drill the holes completely through the panel to give a stopping point to the dowels, rather than getting pushed into the wall.  The Forstner bit is helpful because it’s easy to stop when the bit is flush with the top.

Nerf-Gun-Armory-Drilling-HolesNerf-Gun-Armory-Drilled-Holes

The panel is held in place with four screws, directly into the studs behind.

Nerf-Gun-Armory-Sheet-Installed

With the panel in place, I set to work painting, including using a small brush to get into every.single.hole.  That was a test of my patience, but it made the overall project look much more finished.

Nerf-Gun-Armory-Painting-Holes

Cut two 48 inch long 1/2 inch diameter dowels into 4 inch sticks, then sand the edges smooth.  I chose to stain the dowels, as they are a tight fit in the drilled holes and paint could build too thick.  Once dry, place the pegs into the holes, arrange the Nerf guns on the board, and surprise your kid(s).

Nerf-Gun-Armory-OverallNerf-Gun-Armory-Rifle-Detail

Bigger weapons are held up by two pegs, but the smallest pistols are hung through the trigger on a single dowel.  At four inches long, the dowels are deep enough to accommodate two thinner guns or attachments.

Nerf-Gun-Armory-Pistol-Stack

To store ammo and safety glasses, I sewed two bins from duck cloth to hang at the bottom.

Nerf-Gun-Armory-Hanging-Ammo-Baskets

Each basket is easy to remove, simply hanging by two leather loops.

Nerf-Gun-Armory-Ammo-Baskets

This system would be easy to add to a bedroom or playroom, too.  If the peg board doesn’t go wall to wall, frame around with square trim or strips of 1 by 2 boards to finish it off.

Sorting & Storing Legos

If you have kids between the ages of four and forty, you probably have/had Legos in your home.  While I love this creative building toy, I don’t love all the teeny tiny pieces that get strewn about the house, vacuumed up, and inevitably, stepped on.  When we remodeled our basement, we made a few layout changes that helped us in the Lego department.

Before demolition, a door opened from the long end of the under stair storage, going into an unlit, unfinished dumping ground for junk.

New-House-Garage-Entry

As this is also just inside the garage entrance, we decided to carve out a little space to create a mini mudroom.  At 18 inches deep and six feet wide, it covers the former entrance.

Five-Year-Home-Tour-Mud-Nook

However, just around the corner, inside the bedroom is a three foot deep closet with an opening to access the under stair area.

Basement-Bedroom-Closet-Sheetrock

Sure, we could have left it unfinished, but for little effort and money, we decided to finish it.  In the photo below, taken at the entrance, the blue wall on the left backs the mud nook.  With short ceilings, we decided to turn this space into a cozy reading/Lego play space for our boys, that can double as storage space down the road.

Under-Stair-Play-Space-Before

Keeping the house tidy and organized is literally a sanity saver for me, and this space is no exception.  Coming down to vacuum and seeing a Lego explosion one too many times, I knew we had to come up with a good storage system.

After discussing with the boys, they said they look for specific colors when building.  The three of us got to work, sorting the colors into lidded shoe box sized plastic bins and called it a day.  Those bins worked for a while, but the small space didn’t leave room to play when they had all bins open at once.  Fast forward a few more times of seeing the Lego covered floor and I asked why they were dumping out full bins.  Their answer?  To find the itty bitty pieces that inevitably fall to the bottom of the bins.  Thus, our current storage system was born.

Storing-Legos-in-Stair-Space-Stacking-Bins-and-Drawers

Tucked under the short stair slope, we have cheapie stacking bins with an angled front that allows access, without taking up loads of floor space.  All large pieces go into these bins.

Under-Stair-Play-Space-Lego-Storage

Black and gray take up two bins each, but every other color fits nicely into one bin, including the minifigures.  Built or half built kits fill the top row of bins.

Storing-Legos-in-Stair-Space-Stacking-Bins

In the small gap to the side, we store the large baseplates against the wall.  Three expanding pockets keep the instruction manuals contained and organized.

Storing-Lego-Instructions

Just to the side, a small 60 drawer storage bin, usually used for nuts, bolts, and such, keeps all the small bits organized.

Storing-Legos-in-Stair-Space

Single pieces in the first column, special 2 brick pieces in the next.  Minifig accessories, weapons, special connecting pieces, car parts, and such each have a drawer, sorted by color.

Storing-Legos-Small-Drawer-Detail

All those small pieces are easy to find, with one tiny drawer to dump, search through, and clean up.  The space on top displays a rotation of favorite builds.

Storing-Legos-in-Stair-Space-Drawer-Stack

It’s a flexible system that can grow with their Lego collection, as it simply requires a few more stacking bins.  My love of labels/OCD really wants to label the stacking bins for the full effect.  Do you have Legos all over your house?  How do you contain and tame the jungle of plastic pieces?

Pool House Kitchen Plans

If you’ve been following for a while, you already know we’ve been chipping away at the pool house, which happens to be the biggest room in this house.  What started as a leaky, water stained dated room is slowly starting to come together.

New-House-Pool-to-House-April-13-2012

This year, we ripped out the old fiberglass ceiling sheeting and painstakingly installed individual tongue and groove pine planks.

pool-house-beams-stained

To create the light, bright atmosphere we’re after, we then stained the large beams and painted the ceiling white.

Pool-House-Ceiling-Overall-2

While already a huge improvement, the rest of the room still needs serious TLC, but today I’m focusing on the plan for this little offshoot area.   What was a wet bar, separated from the main room by three steps, will become a small kitchen.

New-House-Wet-Bar-April-13-2012

Work started in this spot four or so years back, when we discovered the raised platform was completely unnecessary.

Half-Demoed-Pool-House-Wet-Bar

For better flow, we demolished the platform, then lowered the door and window to create a seamless transition from inside to out.

Pool-House-Wet-Bar-Window-To-Lower

Pool-House-Door-and-Window-from-Inside

Today, it looks like this, with the back deck directly through that door:

Pool-House-Kitchen-and-Seating-Areas

Those floating white boxes represent the future range and sink.  We’ll have to reroute the drain pipe that drops into the concrete to be able to center the range on the wall.

Pool-House-Kitchen-Side

Something kind of like this:

Pool-House-Stove-Side

Or maybe this is a better visual:

Pool-House-Kitchen-With-One-Shelf

Before our kitchen remodel, but after we had already purchased the cook top and double ovens, Ben found a 48 inch DCS range with tall backguard on Craigslist for $1,500.  Normal retail price is around $7,000 plus around $800 for the backguard.  Before this amazing find, we planned to add a 30 inch range, which would have cost around $1,500 so this was a huge score.

Pool-House-Kitchen-Two-Shelves-Without-Backsplash

We’ll center the range, with a custom-built vent hood cover and an open shelf or two above.  Seeing as we’ve loved the stainless steel counters in our master bath and laundry room, we’re going that route again here.  A small bar sink will go off to the right, but we’re debating whether or not to add a stainless steel back splash from the counter to the shelf.

Pool-House-Kitchen-Two-Shelves-with-Backsplash

Range    .    Faucet    .    Tile    .    Bison Print    .    Serving Bowl    .    Drinking Glasses    .    Hand Soap    .    Cabinet Color

Over on the other side is an angled wall, with a five foot wide window in each section.

Pool-House-Seating-Areas

The plan includes building benches below, with hinged tops for pool toy, floatie, etc., storage inside.  A pair of sconces will flank the window, with a table and chairs for a little place to hang out or eat a snack.

Pool-House-Bench-Area

Union Square Sconces    .    Batik Pillow    .    Indigo Lumbar Pillow    .    Windsor Chairs

Just this weekend, we stocked up on our sheeting to cover the walls, hoping we can start hanging it soon!  Where do you fall on the one or two shelves?  How about the stainless back splash?

P.S. For more pool house progress and plans, check out the overall design board as well as the bathroom plan of attack.

Pool-House-Bathroom-Vanity