
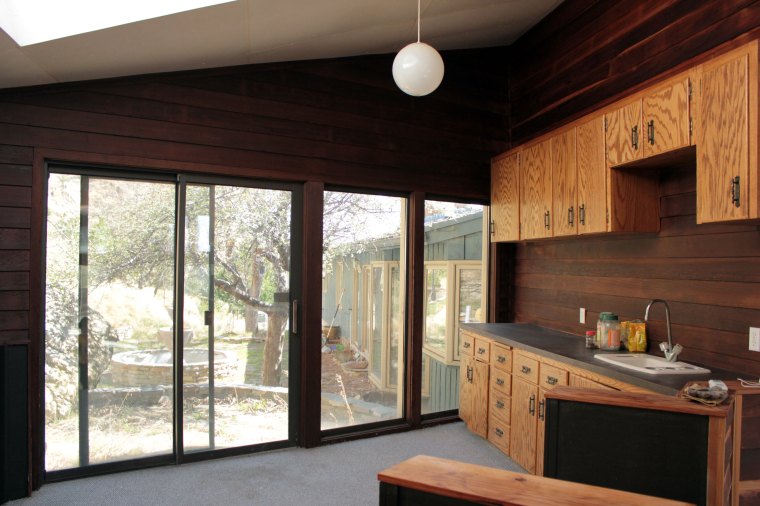
Exactly six years ago, also on a Friday the 13th, we officially became owners of this place we call home. Throughout that entire time, we’ve updated the house, room by room, step by step. Six years in, we’re nearing the end of our single biggest and last(!?!) space, the pool house. After slowly rebuilding the bones, we’re getting to the point where fun finishing elements are going in. One area that saw action this weekend is the kitchen, that started off life as a closed off three step raised wet bar.
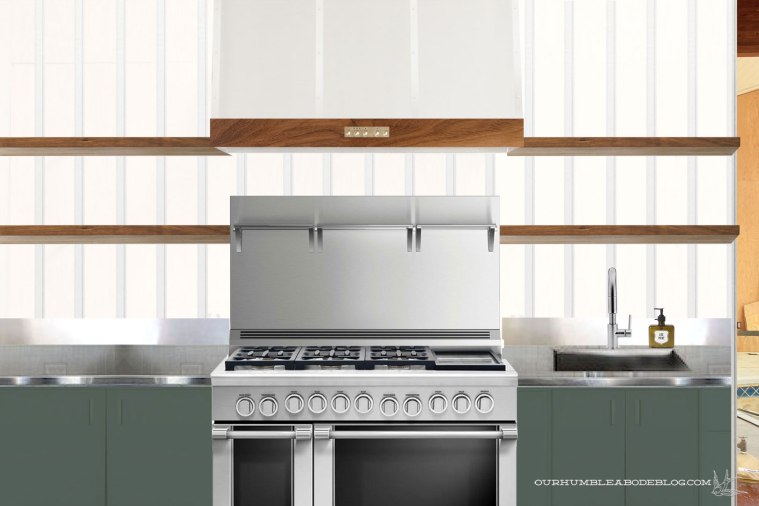
We removed the platform to keep an open flow, both inside and out onto the deck. For maximum entertaining, we’ve opted to add a range with floating shelves on either side. Something like this:
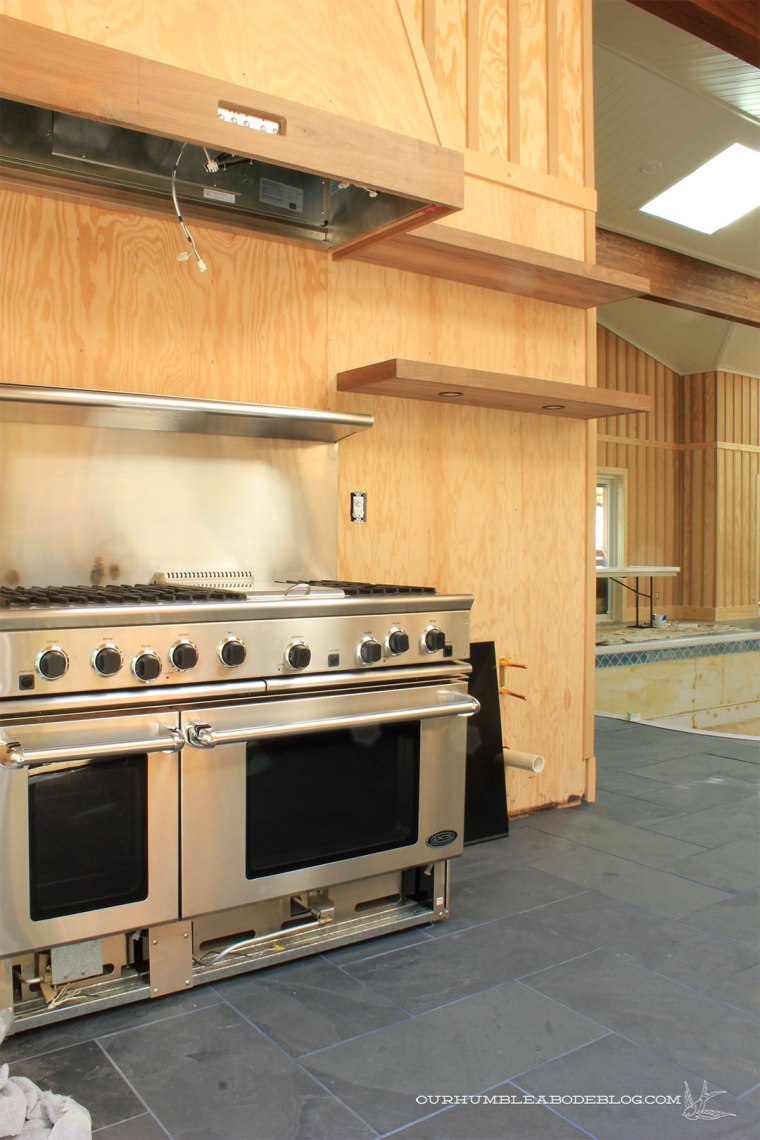
When Ben builds something, he builds it to withstand the weight of a large quadruped. These shelves are no different, with a frame work of welded steel brackets, secured into the studs.

A 48 inch wide vent hood provides ample ventilation.
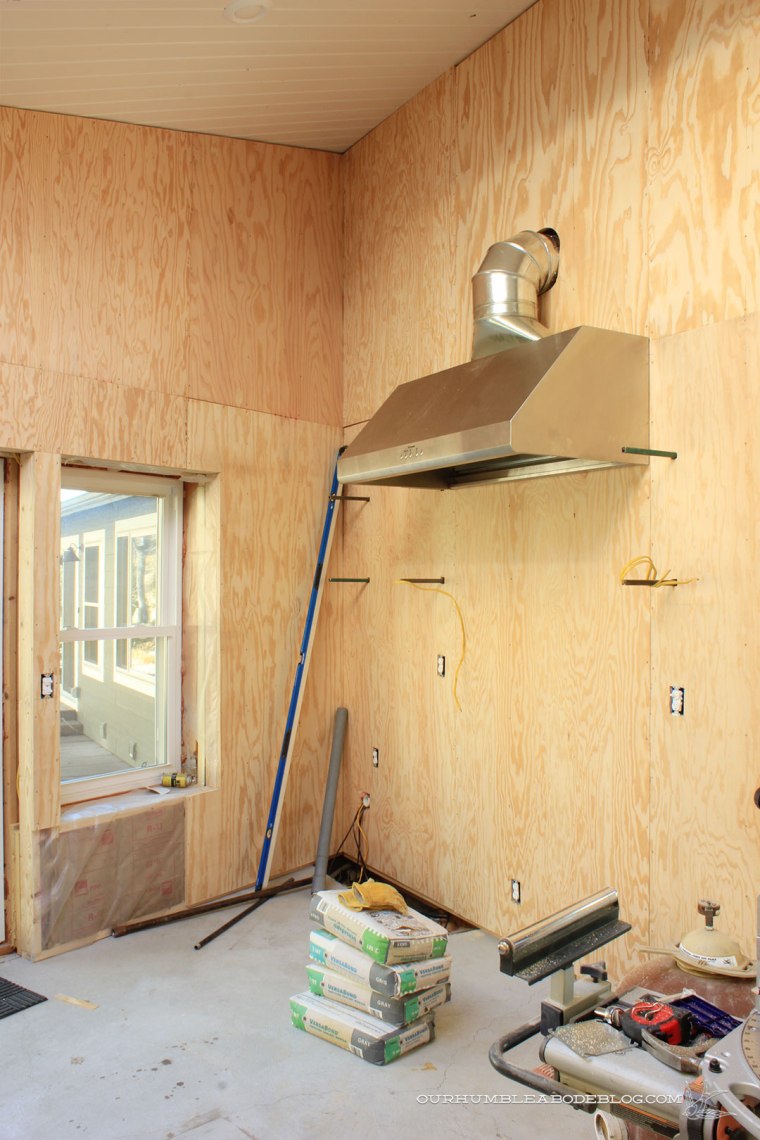
With a custom cover, it’s large and in charge, anchoring the wall.

Over the weekend, we built the walnut shelves and all of a sudden, things are taking shape. Between the steel bracket, Ben added 3/4 inch thick strips of wood to serve as a spacer.

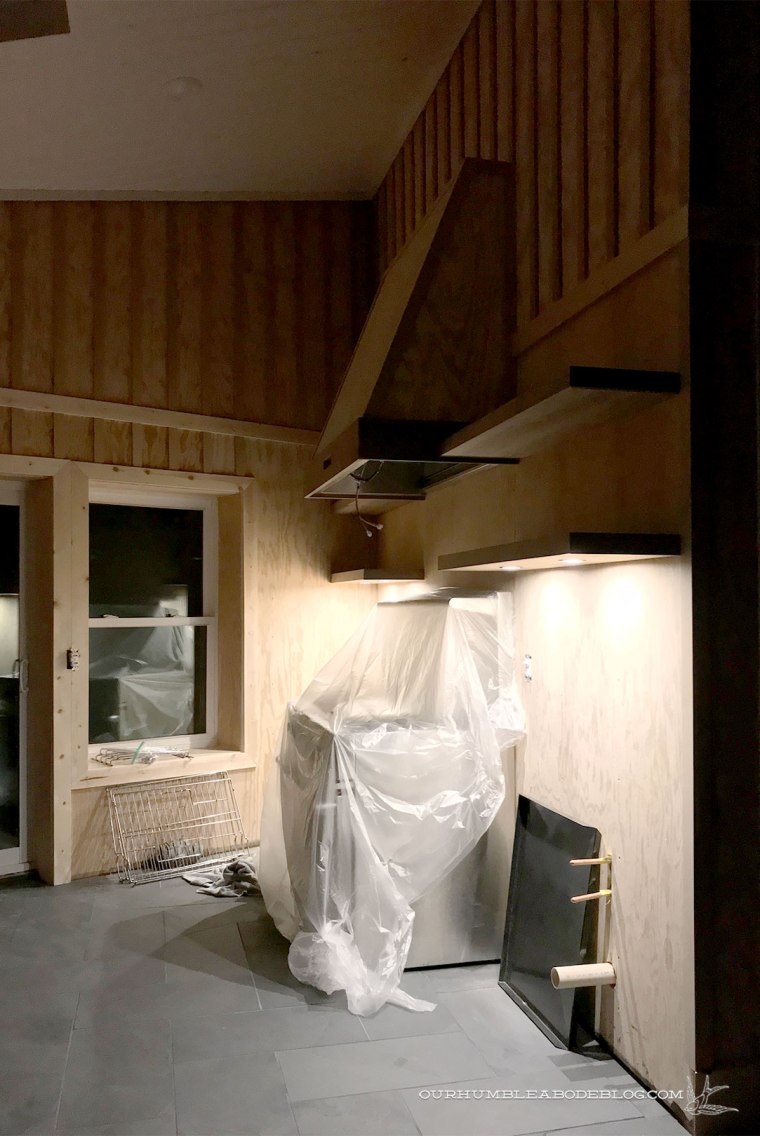
Then a piece of walnut plywood covers the top and the bottom, with recessed lights tucked in the bottom panels.


Solid walnut strips cut to 2 inches wide finish out the front and side faces.

A thin strip will cover the bottom of the vent hood cover, then I’ll fill, sand, and seal it all before we add the remaining batten strips. It’ll be a happy break from caulking for my fingers.
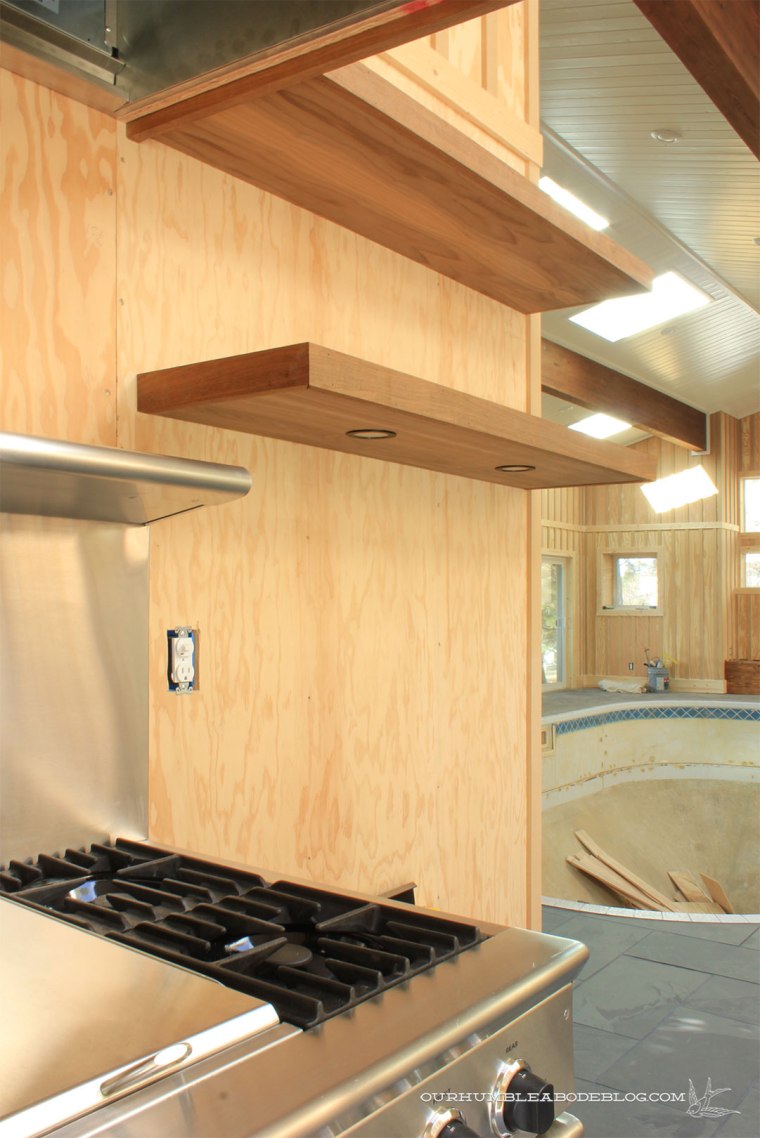
The shelves follow the angle of the outside wall, tucking in so perfectly.

I spent a couple of hours scrubbing and cleaning the 48 inch DCS range we found on Craigslist for only $1500. The toe kick cover is waiting off to the side until I clean it up.
Under shelf lights are a special touch that glow at night.
If you want to fully appreciate the progress, take a look back at these highlights. It’s what I do when I feel like this process is dragging on.
Installing the ceiling . Staining the beams . Painting the ceiling . Running electrical . Adding insulation . Board and batten steps one and two . Finishing tile floors

That walnut is looking SO good! What a great space, love seeing it all come together!
Jennblogshere.com
Beautiful! You two do such Amazing quality work. I love all these updates.