Stock the Shelves

Now that we’ve lived in this house for a few years, we’ve not only made our way through the house room by room, we’ve gotten a better feel for how we use and actually live in the spaces.  Our only tv stays in the living room, but we had considered putting a second in the nook to the left of the family room fireplace.

West-Elm-Rug-in-Family-Room-Overall

After discussing the impending basement remodel, we’ve since agreed on creating a designated ‘theater’ room in the darker basement instead.  With that settled, and a new cabinet in the kitchen for a bar area, the single shelf seemed tall and awkward.

Stump-Coffee-Table-in-Family-Room

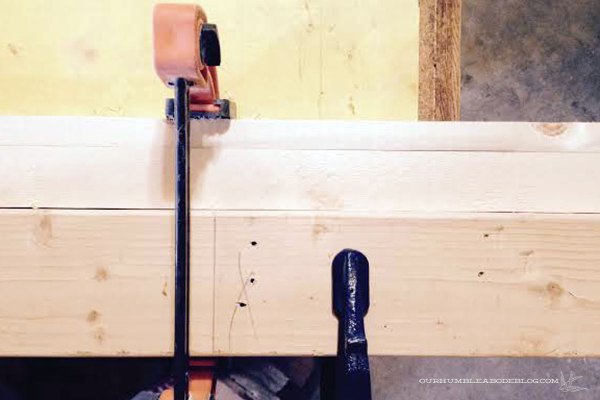
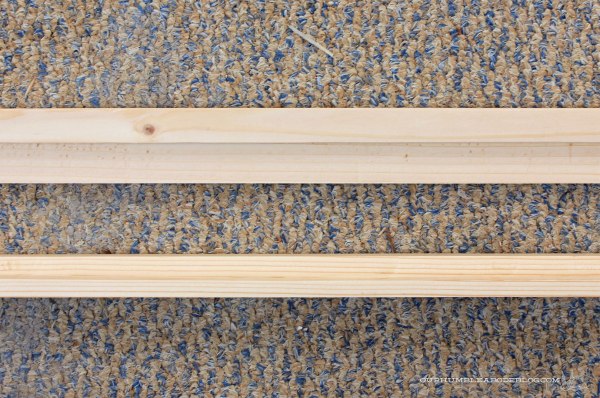
In a matter of minutes, Ben installed a second shelf, centered in the area.  The second matching shelf has created a display space for family photos.  Rather than touching up the old paint color around the new shelf, I worked myself up to repaint the room to match the adjacent living room and kitchen.  Painting around 8 doors, two windows, and the fireplace isn’t my favorite pastime, but the heart wants what it wants.

Family-Room-Shelf-and-Fireplace

Naturally, I couldn’t just paint the walls gray, I should freshen up the white on everything first, no?  So that’s what I did, creating a nice flow through the open rooms.

Family-Room-Shelf-from-Breakfast-Nook

With all the extra stuff on the shelves, I kept the mantle simple to balance.

Family-Room-Shelf-from-Dining

I’m still undecided whether it’s too full or just enough, but I love having a spot to display and rotate old photos.

Family-Room-Shelf-and-Wood-Storage

Family-Room-Shelf-Angled

Having all my favorites out in the open makes my heart happy, remembering how small my babies were.

Family-Room-Shelf-Bottom-and-Middle

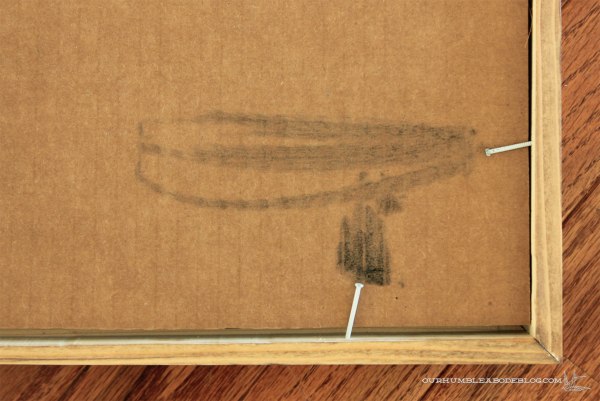
Everything’s a mixture: old frames, black and white photos mixed with color, open photo holders.

Family-Room-Shelf-Bottom-Detail

Family-Room-Shelf-Middle-and-Top

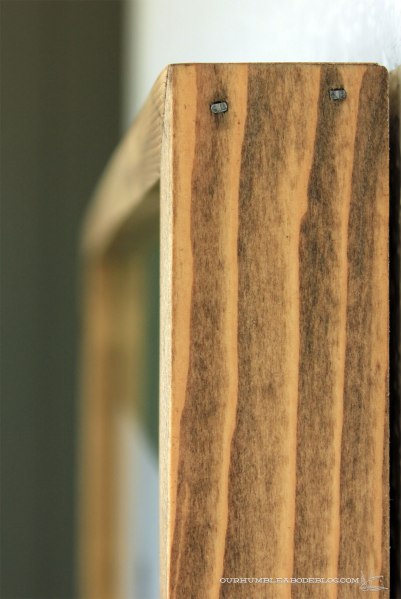
One holder is a tiny wooden easel, a second a vintage floral frog, and a stump on the bottom.

Family-Room-Shelf-Middle-Detail

Funny how a shelf that took a few minutes to build sets about so much change.  Any projects like that pop up for you recently?

Mirror Makeover

When I found this dresser for a friend, it also came with a matching mirror.  The kind that attach to the back of the piece on stilts.  You can kind of see it sticking out the top, reflecting another chest of drawers.

Drexel-Dresser

Luckily for me, she didn’t want it as a set, and I loved the look and size, but not the speckled finish or the color.

Campaign-Mirror-Finish-Before

A few areas of the veneer started to bubble, so my first step was fixing those by applying glue under and clamping it until dried.

Campaign-Mirror-Bubbled-Veneer

Then, to remove the stain, I generously spread Citristrip over everything, letting it work its magic.

Campaign-Mirror-Citristrip-Applied

Just like scraping off popcorn ceilings, the process is satisfying and oddly similar.  Instead of using a wide metal spatula, I used a narrow plastic tool to gently remove the old finish.

Campaign-Mirror-Stripping-Finishl

One thing I really dislike about using a paint stripper is the clean up.  But, with such a small area, I didn’t have the option to sand instead.  To clean the residue, I brushed on a little paint thinner, then scrubbed the grooves with an old toothbrush.  Flat areas are easier to clean with an old rag.  After all that, I had my clean slate.

Campaign-Mirror-Ready-for-Oil

For a little color and protection, I rubbed on two coats of Dark Walnut tinted Danish Oil.  The coloring isn’t as strong as a stain, and can be applied as needed.  I wasn’t looking for a new mirror, but I swapped the one in the main bathroom for this handsome fella because I like him so much.  The mirror already had hooks on the back, so we strung 100 pound picture wire to hang it. To accommodate the slightly taller size, we did raised the two wall screws a few inches.

Campaign-Mirror-Hung-in-Bathroom

Adding that small dose of natural wood brought in so much warmth and texture, making the once white space feel layered and earthy.

Our Humble Abode Blog Main Bathroom Vanity This frame is two inches narrower and three taller than the old frame, so it makes the ceilings feel a bit higher.

Campaign-Mirror-in-Bathroom-Overall

A serendipitous change for the main bathroom, that just proves changes are always taking place, even when unplanned.  That white mirror will be saved for the basement or pool house half bath, so it won’t go to waste either.

Walk This Way

Over the last two years I’ve dreamed, researched, plotted, and planned, and at long last, I’m slowly tackling our landscape plan.  Having an incredibly steep lot, both front and back, has been challenging to say the least.  Before starting anything, we discussed oodles of options: wood, metal, concrete, or stacked stone retaining walls, all of which are difficult to secure enough to prevent leaning or toppling over time.  Yes, plenty of houses have these in our ‘hood, but they’re all leaning or have caved in heavy rains.  We kept coming back to one option, setting boulders against the natural slope to prevent erosion, but it also serves as a retaining wall, without being rigid and noticeable if it shifts a little.  But, that led to another decision to fill even the flat areas with rock, not knowing where or how to separate the slope from the flat areas.

Basically what I’m saying is, we have literal TONS, and tons, and tons of rock and while it’s super low maintenance, I’ve been looking for ways to break up large areas.  Of course, plants are a must and I’ve added 170 (no exaggeration) between this year and last, though I have deviated/changed up my landscape plan.  Sadly, I’m not finished, instead focusing my attention to the most noticeable areas, then I’ll take time to tackle the smaller, untouched areas later on.

Landscape-Plan-Current

Our bocce court is a water and hassle free way to section off a large rectangle.

Another large part of the rock is broken up by the reclaimed beam back deck, stairs, and front steps, but between the bocce court and stairs was a long strip of super boring rock.  After nestling in a few pavers in the back, I knew adding a longer, winding path would add interest.

Flagstone-Pavers-to-Firepit-Detail

Reusing leftover pavers from the old back patio, I created a stepping stone walkway to connect the two areas.

Paver-Walkway-Toward-Wood-Stairs

Just off the step edge, narrower stones go between the Russian sage and day lilies.

Paver-Walkway-Between-Russian-Sage-and-Lily

On the other side of the Russian sage, I plan to add a short ground cover plant below the basement windows, so I curved around, leaving room for growing plants.

Paver-Walkway-Start-of-Curve

Paver-Walkway-from-Steps-to-Bocce-Court

On the other side, I’ve already added my favorite succulent, a stonecrop Angelina.

Paver-Walkway-Stonecrop-Detail

I know it grows well here with little water or effort because the one in the back near the waterfall has gone crazy over the last year.

Succulent-by-Waterfall-in-Back-Yard

Waterfall-Stonecrop-Angelina

Creeping junipers are always welcome, covering large areas with year round color, but need little maintenance.  To contrast against the deep emerald-green, I added two golden barberry plants.  Ben says the just look like dying plants, but I love the chartreuse color.

Paver-Walkway-Around-Plants

Looking from the bocce court toward the entry, things are taking shape, but still not finished.

Paver-Walkway-Toward-House

I find adding plants extremely enjoyable, bordering on addicting, but waiting for each to mature is a different story.  Much like children, even fast growing plants are hard to notice growth when seen on a daily basis.  You don’t see a startling difference, but looking back on pictures proves just how much they’ve changed in a short time span.

Big-Ass-Bench-on-Front-Landing

Look at the puny Russian sage not even a year ago, now they’re almost five feet tall!  Can you tell plants and landscaping have been at the front of my mind these warmer months?  Never before did I enjoy gardening, but I’m totally digging it now.  Oh the puns, the hilarity.  Now I feel like going through old photos of my kids and plants to fully appreciate the changes and growth that have taken place right in front of my face.  I didn’t realize how nostalgic a simple walkway could make me feel.

Freeze Frame!

Near the beginning of the year, I ordered a lovely 18 by 24 inch leaf print from Minted, with intentions of immediately hanging it in our living room.  After coming up short on the perfect frame, I planned to make a 24 by 30 inch frame to protect and display the print.  At that time, we were just beginning our kitchen remodel (which is still nearly finished, with one more cabinet to build and hang-hence the lack of reveal) and time was limited to pertinent projects only.  Until recently, the frames were on the back burner, but after seeing the art sitting in my closet, begging to be seen by others, I jumped in and got it done.

Before building, I bought two pieces of plexiglass from Ace Hardware because these frames are in the living room and could get bumped or hit with a ball.  Shattered glass is always a concern with two boys in the house, so this seemed like a safer choice.  You certainly don’t need to buy glass first, but if you’re making a big frame, make sure your size is available before building.

For my project, I wanted a square edge thin frame, so I bought four 1 by 2 sticks and had the store cut each one into 3 and 5 foot lengths.  To create the channel for the glass, mat, and backing to rest in, I had to router out a groove.  Pine is a soft wood, so I found it easiest to clamp a few boards down to create a guide to run the router against.

DIY-Picture-Frame-Clamped-Before-Router

I set the router depth to 7/8 inches deep and slowly let it cut the channel, slowing at knots or weak points to prevent splitting.  Then I smoothed everything out with a thorough sanding.  Below, the top board shows the wide side, and the bottom the narrow face after cutting.

DIY-Picture-Frame-Routered-Strips

After grooved, I cut my pieces to length, mitering the corners but leaving an extra 1/8 for a little wiggle room.  Cutting after left perfectly square inside corners that a router can’t create after assembly, and with such a small face, I didn’t have much space to lose.

DIY-Picture-Frame-Checking-Corners

With tight corners, I pulled the glass out and held the pieces tight before nailing.

DIY-Picture-Frame-Mitered-Corner

I found it easiest to set the two sides on a flat surface, letting just the corner over hang the counter while nailing.  This way, I didn’t angle the nailer funny to shoot it out somewhere and with narrow margins, it was important.  Two little nails are visible on each side, but not noticeable after staining.

DIY-Picture-Frame-Side-Nails

To darken the pine, I applied a quick coat of Special Walnut stain.  I love the richness it adds to the cheap wood, and it brings out the character of each board.  Normally, I’d staple the glass, mat, and backing in place, but I didn’t want to weaken the thin sides.  Instead, I tapped small nails in.

DIY-Picture-Frame-Backing

And there’s the King now, matted in grass-green to bring a little splash of the curtain color across the room.

DIY-Picture-Frame-Right-Side

DIY-Picture-Frame-Side-Profile

To balance out that print, I dried a maple leaf, photographed it, edited it, and printed a black and white engineer print.

DIY-Picture-Frame-Left-Side

Finally, we have art flanking the entertainment center, even more importantly, out of my closet!  Another to do list project is just staring at me in that last photo-move or create a cover for the ugly subwoofer.  With a cover, I could make it look kind of like a plant stand, right?  Let’s be honest though, who knows when that’ll happen; we’ve waited on entertainment center doors for years.  Perhaps that should happen next.  It wouldn’t be much different from making picture frames, but these would hide the ugly junk.

New Knife on the Block

One thing I’ve always wanted in an organized kitchen was an in drawer knife block.  We often have several fruit bowls on the counters, but I prefer minimal clutter.  With the drawers finished, I got in a mood to organize, including a knife block.  Target carries an option, but I didn’t need as many small knife slots.  Instead, I put my thinking cap on to create a contained block, with a compartment for loose steak knives.  I started with a left over maple section from the countertops.  Before cutting, I measured our countertop knife block spacing.  Each slot is 1/8 inch wide and 3/4 of an inch apart, so I marked it on the top.

Knife-Block-Spacing

When I decided I liked the size and spacing, I used a square to transfer the marks to the leading edge.  At 2 inches thick, the board has enough depth to house knives.  Ben set the blade of the table saw blade to 1 1/2 inches and ran the board through each line.  I followed up with 120 grit, sanding every surface smooth and rounding the front and back edges.

In-Drawer-Knife-Block-Wood-Detail

To make a contained compartment, we used 1/4 inch MDF scraps to build a frame.  Supporting the knife handles is important in keeping the blades safely stowed.

In-Drawer-Knife-Block-Finished

Attaching a strip 3 1/2 inches from the block edge holds the handles.

In-Drawer-Knife-Block-Rest

In-Drawer-Knife-Block-Detail

For easier removal, I left 3 inches between the support and the steak knife divider.

In-Drawer-Knife-Block

With the knives stored out of sight, I’m planning dividers for the rest of the drawer contents.

In-Drawer-Knife-Block-in-Drawer

For such a simple project, I’m not sure why it has taken me so long to get it done.  One less thing to clean around and look at.